Honda Civic
Key Fob Battery Replacement Guide
How to replace the CR 1616 coin cell
battery in the keyless entry remote control for a 2006 to 2011 Honda Civic.
By Paul B. Michaels Author & Photographer Auto Mechanic Since 1989 |
||
 Honda Civic Key Fob |
 Small Screwdrivers |
 Remove Tiny Phillips Screw |
| This
automotive "how-to" guide was specifically written to assist owners
of the 8th generation (2006, 2007, 2008, 2009, 2010, & 2011) Honda
Civic in replacing the coin cell battery inside the combination car
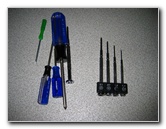
key and keyless entry remote control. Owners of other Honda or Acura vehicles such as the Accord, Crosstour, CR-V, CR-Z, Element, Fit, Insight, Odyssey, Pilot, Ridgeline, RL, TL. TSX, ZDX, MDX, and RDX may also find these instructions to be helpful. The original battery in a Honda Civic key fob remote control is a Panasonic CR1616 watch type battery. Replacements can be purchased at a variety of retailers or online at Amazon. The only tools needed to open the remote control and replace the battery is a # 0 Phillips head screwdriver such as in a Jeweler's screwdriver set. A small flathead screwdriver can also be helpful. |
||
|
|
||
 Tiny Phillips Screw Removed |
 Remove Rear Cover |
 Rear Cover Removed |
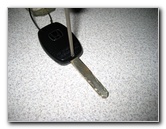
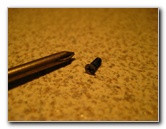
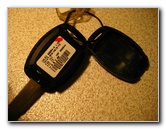
To remove the one screw on the back of the Honda Civic key fob, you'll need a tiny # 0 Philips head screwdriver. A jeweler's screwdriver kit will contain one of these. The screw is secured in the remote with blue "medium strength" Loctite Threadlocker adhesive. If you attempt to remove the screw with a screwdriver that doesn't fit perfectly, you run the risk of stripping the screw. If necessary, you may need to secure the key fob and apply plenty of downward pressure and torque to remove the screw without stripping it. |
||
 Remote Unit Removed |
 Pry Open Remote Unit |
 Remote Opened |
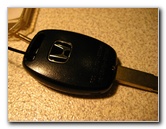
| Once the screw is
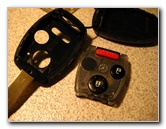
removed, you can pop off the rear cover of the car key and remove the actual
remote control unit.
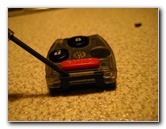
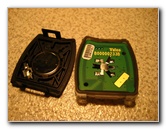
The remote control unit is held together by a clip on the edge closest to the red "Panic" button. Pry apart the two halves with your fingers or a small flathead screwdriver. Embedded in the rear cover, you'll see the "-" side of the Panasonic CR1616 battery. Pop it out with the small flathead screwdriver and replace it with a new CR1616 cell. Make sure that the "+" side is facing down and the "-" side without any markings is facing upwards. |
||
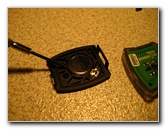 Pry Out Battery |
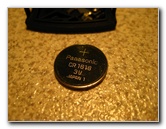 Panasonic CR1616 Cell |
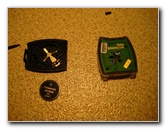 Push In New Battery |
| Then line up the
two halves of the remote control unit and snap them back together.
I'd recommend testing the new battery in the remote control before proceeding. Once you know it's working, lay it down into the top side of the car key so that the buttons line up properly. Finally, snap on the rear cover of the
key and screw in the small Phillips head screwdriver to complete the job. |
||
| For more of my
related automotive maintenance or repair instructions, click on the
following links: Honda Civic Engine Oil Change Guide,
Honda Civic Cabin Air Filter Replacement Guide,
Honda Civic Front
Brake Pads Replacement Guide,
Honda Civic Tail Light Bulbs Replacement Guide,
Honda Civic Front Door Panel
Removal Guide, Honda Civic Front Door Speaker Replacement Guide, Honda Civic
Third Brake Light Bulb Replacement Guide,
Honda Civic Headlight Bulbs Replacement Guide, Honda Civic Overhead Map Light Bulb Replacement Guide,
and Honda Civic Dome Light Bulb Replacement Guide.
For more, check out all of my
Honda Civic DIY Repair & Maintenance Guides. |
||
| If you found this guide to be helpful,
please consider making a small donation by clicking on the PayPal.com
"Donate" button located to the right of this paragraph. Thank you!
(Note: I am not a registered charity. Donations are not tax deductible.) |

