Dimmer Switch
To Single Pole Light Switch Replacement Guide
How to replace a dimmer light switch with
a standard single pole on/off electrical switch in order to use CFL light bulbs.
By Paul B. Michaels Author & Photographer Auto Mechanic Since 1989 |
||
|
|
||
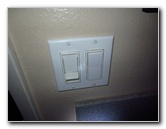 Bathroom Dimmer Switch |
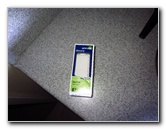 Single Pole On/Off Switch |
 Turn Off Power! |
| This home
maintenance "how-to" guide was specifically written to assist
homeowners in replacing a dimmer switch with a standard single pole
on/off electrical light switch. It may also be useful for those who'd like to replace a faulty dimmer switch, a faulty single pole wall switch, or just install a decorative wall plate or light switch. Our new home had a dimmer wall switch installed in one of the bathrooms. Since we prefer to use our collection of energy saving CFL (compact fluorescent) light bulbs that are not dimmable, I had to replace the switch. A new standard single pole on/off electrical wall switch was just a few dollars at Home Depot. The tools needed to complete this procedure include a flashlight, either a flathead or Phillips head screwdriver and a pair of needle nose pliers. |
||
|
|
||
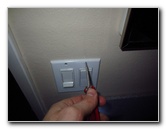
 Remove Wall Plate |
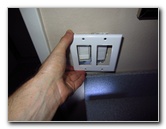
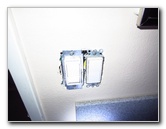 Light Switches Exposed |
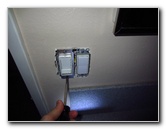 Unscrew Dimmer Switch |
| The first step is
to turn off the power at the home's breaker box. Do not proceed
unless you are 100% sure that the power has been disconnected or you risk
being electrocuted which may cause severe injury or death. Test the dimmer switch that you'd like to replace to be sure that it no longer has power. Then use a screwdriver to remove the plastic wall plate. Set the wall plate aside for re-installation later unless you are replacing it. Unscrew the two screws that hold the dimmer switch in the gang box and carefully pull it out. |
||
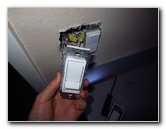 Pull Out Dimmer Switch |
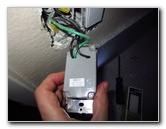 Examine Power Wires |
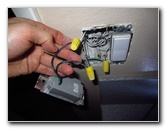 Common, Neutral, Ground |
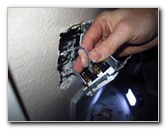
| Look at the wires coming out of the dimmer switch and identify the two power wires and the one ground wire (usually green). | ||
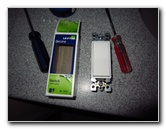 New On/Off Wall Switch |
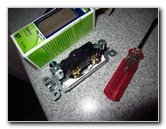 Two Electrical Connections |
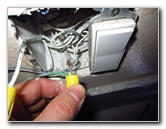 Unscrew Wire Nuts |
|
|
||
| Pull the new single
pole light switch out of the box and locate the two power wire connections
and the ground connection.
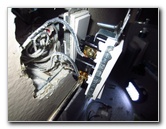
Either unscrew the wire nuts on the dimmer switch wires, or loosen the screws holding the wires in place. I'd recommend testing the "common" ("live" or "hot") wires with an electrical circuit tester or probe to once again check that the they are not energized. |
||
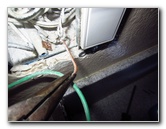 Curve Copper Wire |
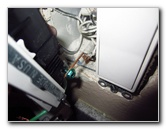 Attach Green Ground Wire |
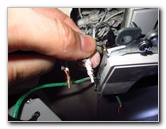 Hot Wire & Return |
| Curve the bare copper end of the ground wire (green) and wrap around the ground screw on the new light switch. Tighten the screw to hold the ground wire in place. | ||
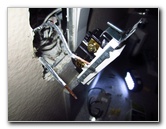 Line Up On/Off Switch |
 Attach Power Wires |
 Tighten Screws - Hold Wires |
| Curve the bare
copper ends of the common (hot) wire and the neutral (return) wires with the
needle nose pliers. (For a standard single pole switch, it doesn't matter
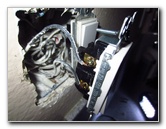
which wire goes on each contact point.) Slip the curved ends over the power connection screws on the side of the new wall switch and tighten them with the screwdriver. Make sure that the ground and two power wires are securely in place before continuing to the next steps. |
||
 Power Wires Attached |
 Install Single Pole Switch |
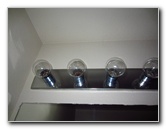 Old Incandescent Bulbs |
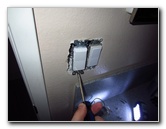
| Push the new wall switch into the gang box and tighten the two screws to hold it in place. | ||
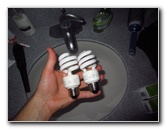 Energy Saving CFL Bulbs |
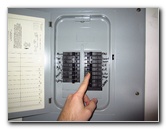 Breaker Box - Power On |
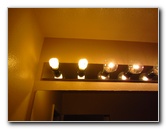 Test New Light Switch |
| Twist out the old
energy wasting and excessive heat producing incandescent bulbs and screw in
the energy saving and much cooler CFL bulbs. Restore power to the room by switching the breakers to "on". Test the new light switch and enjoy your
lower power utility bill.
We eventually hope to replace the old CFL bulbs with new LED bulbs as they burn out over the next few years. For more, check out my other
Home Repair & Maintenance Guides. |
||
| If you found this guide to be helpful,
please consider making a small donation by clicking on the PayPal.com
"Donate" button located to the right of this paragraph. Thank you!
(Note: I am not a registered charity. Donations are not tax deductible.) |

