Honda Fit
(Jazz) Front Brake Pads Replacement Guide
How to replace the front brake pads on a
Honda Fit or Honda Jazz with picture illustrated step by step instructions.
By Paul B. Michaels Author & Photographer Auto Mechanic Since 1989 |
||
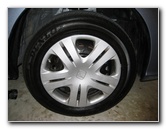 Honda Fit Front Wheel |
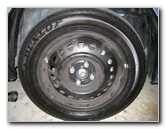 Remove Wheel Cover |
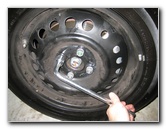 Loosen 4 Lug Nuts |
| This
automotive "how-to" guide was specifically written to assist owners
of the 2nd generation (2009, 2010, 2011, 2012, 2013 & 2014) Honda Fit or Jazz in changing the
front brake pads. Owners of previous generation 2001-2008 Fit or Jazz vehicles, or similar Honda Global Small Car vehicles such as the Airwave, Partner, Mobilio, Freed, Logo, City, and Aria may also find this guide to be useful. The following items are needed to replace the front brake pads: a tire iron, a floor jack, jack stands, a 12mm socket with ratcheting wrench, and a "C" or "F" clamp.A few compatible brake pads with their part numbers are as follows: Wagner QC621, Akebono ACT1394, Bosch BP1394, Raybestos PGD948C, KFE KFE1394-104, Wagner ZD621 and Honda 45022-TK6-A00. |
||
|
|
||
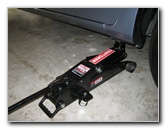 Floor Jack |
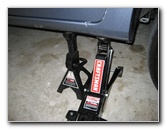 Raise Passenger Side |
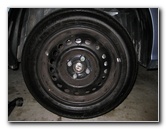 Spin Off Lug Nuts |
| The first steps are
to remove the plastic wheel cover, slightly loosen the four lug nuts with
the tire iron, raise the vehicle with a floor jack and support it with two
jack stands.
Then spin off the lug nuts and carefully pull off the wheel. |
||
 Four Lug Nuts Removed |
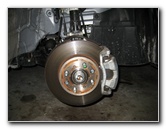 Front Brake Rotor & Caliper |
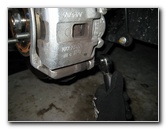 Loosen 12 MM Caliper Bolt |
| Once the wheel has
been removed, you'll be able to see the brake rotor and the caliper.
Locate the lower caliper bolt which is located on the rear side of the caliper facing the engine and remove it with a 12 mm socket or wrench. If you find that the caliper bolt just keeps on spinning around instead of loosening, use a thin cone spanner wrench or pair of pliers to hold the caliper pin while turning the caliper bolt. |
||
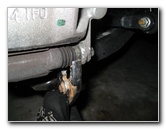 Holding Caliper Pin |
 Remove 12mm Lower Bolt |
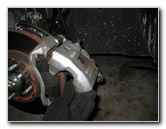 Swing Caliper Upwards |
| After you remove
the lower caliper bolt, pull the caliper off the brake pads and swing it
upwards away from the rotor.
Support the caliper by tying it to the suspension spring with some rope or twine. This will prevent the caliper from crashing down on your fingers or the rotor while you are working. |
||
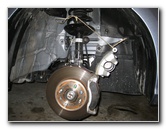 Rope Securing Caliper |
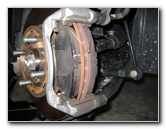 Brake Pads & Spring Clip |
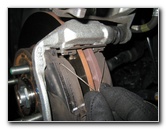 Remove Metal Spring Clip |
| Next pull off the
metal spring clip attached to the front edge of the two brake pads.
This clip helps reduce vibrations and braking noise. Set it aside in a safe place just in case your new set of pads don't come with a replacement spring clip. |
||
 Spring Clip Removed |
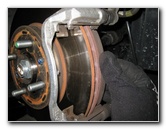
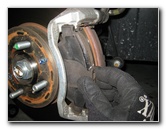 Wiggle Off Brake Pads |
 |
| Then pull off both
brake pads away from the rotor and out of the caliper bracket.
If you have trouble removing the pads, try wiggling them while pulling. Be sure to make a mental note of where the wear or "squeal" bar is located on the old brake pads. On this 2011 Honda Fit, the wear bar was situated at the top of the inner brake pad. I recommend buying the Wagner ThermoQuiet QC621 brake pads since they have great reviews on Amazon. I also like how they don't require any backing plates, shims or disc brake quiet gel due to the built in insulators.
|
||
|
|
||
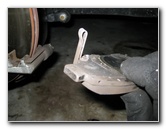 Squeal Bar Location |
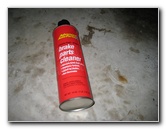 Brake Parts Cleaner |
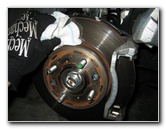 Clean & Inspect Rotors |
| Clean off the brake
rotors and the caliper bracket with Brake Parts Cleaner spray.
An optional step is to apply a product such as CRC Brake Quiet Gel to the rear of the new brake pads where they come in contact with the caliper to help reduce or eliminate braking noise. |
||
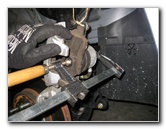 Compress Caliper Piston |
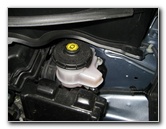 Brake Fluid Reservoir |
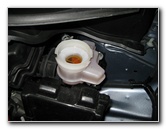 Remove Brake Reservoir Cap |
| In order for the
caliper to fit over the thicker new brake pads, the caliper piston will need
to be compressed backwards.
Remove the cap from the brake fluid reservoir to allow the brake fluid to more easily flow back through the brake lines. Use the back of an old brake pad and a "C" or "F" clamp to very slowly compress the piston. Only compress the caliper piston until it rests flush with the rubber boot. |
||
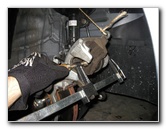 Caliper Piston Compressed |
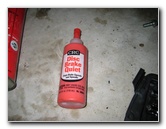 Disc Brake Quiet Gel |
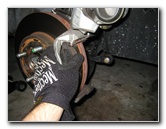 Install New Pads On Bracket |
| After the caliper
piston is compressed far back enough, you can install the new pads into the
caliper bracket and replace the metal spring clip.
Be sure that the wear or "squeal" bar on the new brake pad is orientated in the correct position. Squeeze the two new brake pads together to ensure that they rest flush against the brake rotor surface. |
||
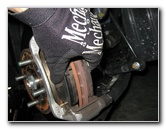 New Pads Flush On Rotor |
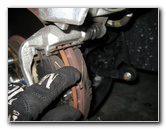 Re-Install Spring Clip |
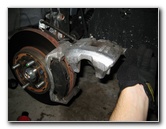 Cut Twine - Lower Caliper |
| Then cut the twine
and carefully rotate the caliper down towards the rotor.
Move the caliper slightly towards and away from yourself to check that the upper caliper pin moves freely. If you encounter any resistance, you'll need to lubricate the upper caliper pin with high pressure brake caliper grease. |
||
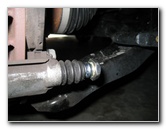 Lower Caliper Pin |
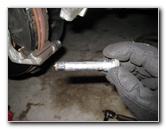 Inspect & Lubricate Pins |
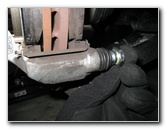 Replace Caliper Pin |
| Move to the lower
caliper pin and carefully pull it out of the rubber dust boot. Check that it is adequately lubricated with brake caliper grease. If it is covered in a generous amount of grease, insert it back into the caliper bracket and pop the rubber cover back in place. If the lower caliper pin had little or no lubrication, apply some new caliper pin grease to both the lower and also the upper caliper pin to ensure proper brake operation. |
||
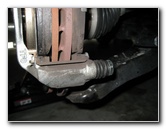 Rubber Boot Over Pin |
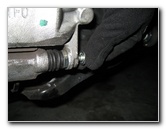 Insert Caliper Bolt |
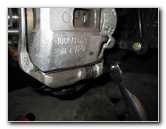 Tighten 12mm Caliper Bolt |
| Then lower the
caliper completely over the new brake pads while lining up the end of the
caliper pin with the caliper bolt hole in the bracket.
Insert the lower caliper bolt into the bracket and tighten it with the 12mm socket to about 25 ft-lbs of torque. If you don't have a torque wrench, tighten the two caliper bolts to just past hand tight for the time being. Double check that the bolts are tight before continuing to the final steps. If your brake pedal previously felt mushy or spongy, the brake fluid may be contaminated or the brake lines may contain air bubbles. It would be best to bleed the brake lines at this time to flush out the old fluid and replace it with new DOT3 brake fluid. For more on this topic, check out my Brake Line Fluid Bleeding Guide. |
||
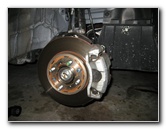 Double Check Both Bolts |
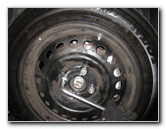 Replace Wheel & Lug Nuts |
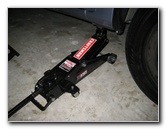 Lower Floor Jack |
| Replace the front
wheel and spin on the four lug nuts by hand to prevent cross threading them.
Tighten the lug nuts a bit with the tire iron in a criss cross or "star" pattern. Next lower the vehicle until the tire holds some weight and complete tightening the lugs nuts. It would be best to use a torque wrench or air gun with a torque stick to tighten the lug nuts to 80 lb-ft (108 N*m). Please check your owner's manual to verify the lug nut torque specification for your vehicle. Double check that the lug nuts are tight before replacing the wheel cover and completely lowering the floor jack. Get into the driver's seat and pump the brake pedal a few times to restore brake line pressure. Then check the brake fluid level in the reservoir and remove some if it is above the "COLD" line or add a bit of new DOT 3 brake fluid if the level is below the "COLD" level line. Once the brake fluid level is correct, replace the brake fluid reservoir cap by twisting it on clockwise. |
||
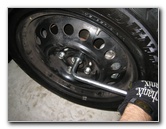 Tighten Four Lug Nuts |
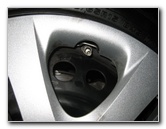 Push On Plastic Wheel Cover |
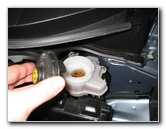 Replace Brake Reservoir Cap |
|
To break in your new brake pads, just drive
normally for the first few hundred miles while trying to avoid any hard or
"panic" stops.
It's also a good idea to regularly inspect
your driveway for drops of brake fluid which may indicate a leak, verify the
brake fluid level in the reservoir, and also check that the lug nuts are
still properly tightened. |
||
| If you found this guide to be helpful,
please consider making a small donation by clicking on the PayPal.com
"Donate" button located to the right of this paragraph. Thank you!
(Note: I am not a registered charity. Donations are not tax deductible.) |

