Chevrolet
Cruze Tail Light Bulbs Replacement Guide
How to change a brake, reverse,
turn signal, parking light or rear side marker bulb in a 2011-2015 GM Chevy Cruze.
By Paul B. Michaels Author & Photographer Auto Mechanic Since 1989 |
||
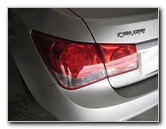 2013 Cruze Tail Light |
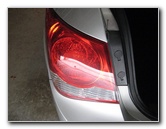 Open Trunk Lid |
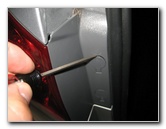 Pry Out Screw Covers |
| This
automotive "how-to" guide was specifically written to assist owners
of the first generation (2011, 2012, 2013, 2014 and possibly the 2015
model year)
GM Chevrolet Cruze in changing a burnt out brake, turn signal,
reverse, parking light or rear side marker bulb in the tail light
assemblies. Owners of other General Motors vehicles such as the Spark, Sonic, Volt, Malibu, Camaro, Corvette, Impala, Equinox, Traverse, Suburban, Tahoe, Avalanche, Colorado, Silverado, Express, Cadillac ATS, XTS, CTS, SRX, Escalade, Buick Verano, Regal, LaCrosse, Encore, GMC Sierra, Terrain, Acadia, Yukon and Savana may also find these DIY instructions to be helpful. Replacement tail light bulbs with their part numbers are as follows: Brake & Parking Lights # 3057, Turn Signal # 7440A or 7440NA, Reverse # 921 and Rear Side Marker # 194. The tools needed to replace the tail light bulbs include a small flathead screwdriver and a Phillips head screwdriver. To replace the parking light bulb, you'll just need the flat head screwdriver. |
||
|
|
||
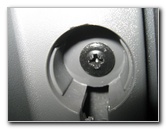 2 Phillips Head Screws |
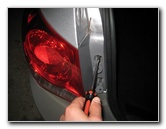 Remove Upper Screw |
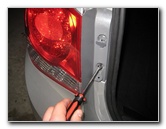 Lower Phillips Head Screw |
| The first two steps
are to pop open the trunk lid and move to the side of your Cruze with the
burnt out tail light bulb. Pry off the two grey round plastic screw covers along the inner edge of the tail light housing that were hidden by the trunk lid with the small flathead screwdriver. Remove the two screws behind the covers with the Phillips head screwdriver by turning them counter clockwise. Set the screws aside in a safe place. |
||
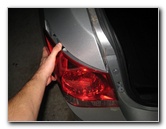 Pull Off Tail Light Housing |
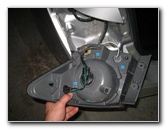 Turn Over Assembly |
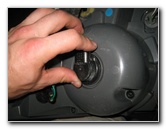 Brake Light Bulb Socket |
| Carefully pull the
tail light assembly straight off the rear of the vehicle. If you have
trouble removing it, try gently wiggling the housing back and forth while
pulling. Turn the housing over and rest it on the bumper. Place a towel in between the tail light and bumper to avoid scratching the paint or the plastic lens. On the back of the tail light, you'll see four light bulb sockets including the brake, turn signal, reverse and rear side marker bulbs. |
||
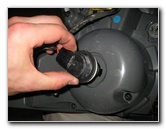 1/4 Turn Counter Clockwise |
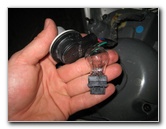 Pull Out Old Brake Bulb |
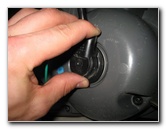 1/4 Turn Clockwise |
| Rotate the large
black brake light bulb socket 1/4 turn counter clockwise and pull it
straight out of the housing. Pull the old brake light bulb straight out of the socket and push in a new # 3057 or 3057K bulb. Re-insert the socket in to the housing and rotate it 1/4 turn clockwise to secure it in place. |
||
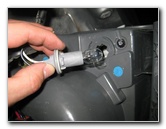 1/4 Turn Counter Clockwise |
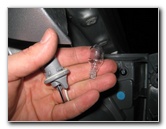 Pull Out Old Reverse Bulb |
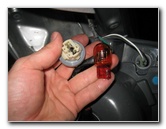 # 7440A Turn Signal Bulb |
| The light grey
reverse light bulb socket is located at the bottom inner corner of the tail
light. Rotate the socket 1/4 turn counter clockwise and pull it straight out of the housing. Pull the old reverse bulb straight out of the socket and push in a new # 921 bulb. Re-insert the socket in to the housing and rotate 1/4 turn clockwise to secure it in place. Next to the reverse bulb socket is the light tan/yellow turn signal bulb socket. Rotate the turn signal bulb socket 1/4 turn counter clockwise and pull it straight out of the housing. Pull out the old bulb and push in a new amber colored # 7440A or 7440NA bulb. |
||
|
|
||
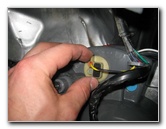 1/4 Turn Clockwise - Lock |
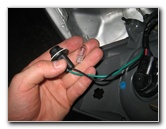 Rear Side Marker Bulb |
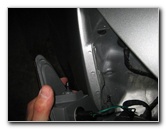 Line Up Pegs & Holes |
| Re-insert the turn
signal bulb socket in to the assembly and rotate it 1/4 turn clockwise to
lock it in place. The small black rear side marker light bulb socket is located at the outer edge of the housing. Rotate the side marker bulb socket 1/4 turn counter clockwise and pull it straight out. Pull the old bulb straight out of the socket and push in a new # 194 bulb. (If necessary, you may also use any other miniature wedge base bulb such as the # 168, 175, 2825, W5W or a brighter LED unit.) Line up the two black metal pegs or "spikes" on the rear of the tail light housing with the corresponding holes on the rear corner of the vehicle. |
||
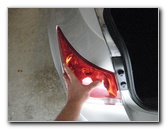 Push On Tail Light Housing |
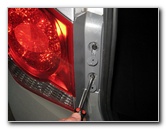 Replace Two Phillips Screws |
 Push In Screw Covers |
| Gently push the
tail light housing back in to place until it is flush with the vehicle's
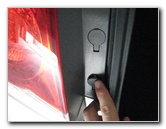
metal body panels. Re-insert the two screws and tighten them with the Phillips head screwdriver by turning them clockwise until they are snug. Do not over tighten the screws to avoid cracking the plastic tail light housing. Flip up the two screw covers and push them back in to place. |
||
 Parking Light In Trunk Lid |
 Carpet Trunk Lid Cover |
 Pry Out Center of Fastener |
| The parking light
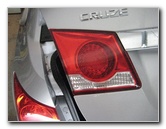
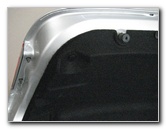
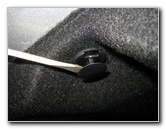
bulb is located in a separate housing on the trunk lid. Remove the round black plastic pop rivet fasteners on the carpet trunk lid liner by first prying out the smaller center piece with a flathead screwdriver and then pull out the entire fastener. |
||
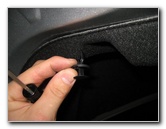 Remove Plastic Fastener |
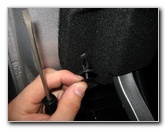 Pull Out Other Pop Rivet |
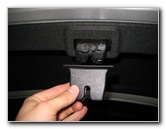 Pull Off Trunk Latch Cover |
| Remove the
fasteners all around the housing with the burnt out parking light bulb. Pull off the black plastic cover from the trunk lid locking latch mechanism. |
||
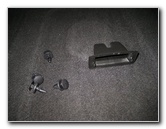 Fasteners & Cover Removed |
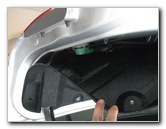 Pull Back Trunk Lid Carpet |
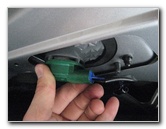 1/4 Turn Counter Clockwise |
| Pull back the
carpet trunk lid liner to access the green parking light bulb socket. Rotate the socket 1/4 turn counter clockwise and pull it straight out of the housing. |
||
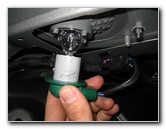
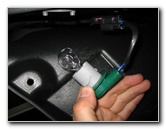 Remove Bulb Socket |
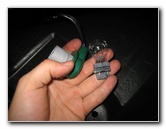 Pull Old Bulb Straight Out |
 Re-Insert Bulb Socket |
| Pull the old
parking light bulb straight out of the socket and push in a new #
3057 bulb. Re-insert the socket in to the housing and rotate it 1/4 turn clockwise to lock it in place. |
||
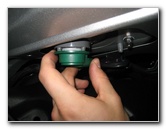 1/4 Turn Clockwise |
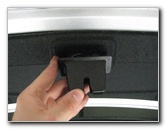 Push On Trunk Latch Cover |
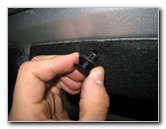 Push In Pop Rivet Fasteners |
| Push the trunk lid
liner back in to place and pop the black plastic latch cover over the
mechanism.
Double check that the latch cover is securely in place. Make sure that the center piece of each black plastic pop rivet fastener is raised up. |
||
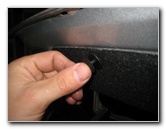 Push In Center of Fasteners |
 Trunk Lid Liner Replaced |
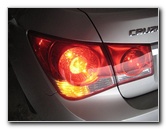 Test New Tail Light Bulbs |
| Re-insert the
fasteners in through the trunk lid liner and in to holes in the metal trunk
lid.
Push the center piece of each fastener in to secure them in place. Close the trunk. Test the new tail light bulbs by having someone turn on the headlights, press the brake pedal, activate the hazard signals and place the transmission in reverse. For more,
check out my other
Chevrolet Cruze Repair & Maintenance Guides. |
||
| If you found this guide to be helpful,
please consider making a small donation by clicking on the PayPal.com
"Donate" button located to the right of this paragraph. Thank you!
(Note: I am not a registered charity. Donations are not tax deductible.) |

