Ford Crown
Victoria Tail Light Bulbs Replacement Guide
How to replace the brake, turn signal and
reverse bulbs in the tail light assemblies of a 1998-2011 Ford Crown Victoria.
By Paul B. Michaels Author & Photographer Auto Mechanic Since 1989 |
||
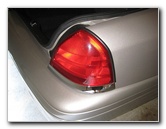 Crown Victoria Tail Lights |
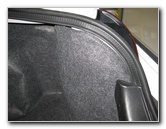 Trunk Carpeting |
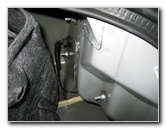 Pull Back Trunk Carpet |
| This
automotive "how-to" guide was specifically written to assist owners
of the 2nd generation 1998-2011 Ford Crown Victoria in replacing the
brake, turn signal and reverse bulbs in the tail light assemblies. Owner's of other related '98-'11 "Panther" platform Ford, Mercury or Lincoln vehicles such as the Grand Marquis, Marauder, and Town Car, may also find these DIY instructions to be helpful. Replacement bulbs include the following with their part numbers: Brake/Stop Lamp # 4157 or 3157K, Rear Turn Signal # 4157 or 3157K and Reverse / Back Up Lamp # 3156.The only tool needed to replace any of the tail light bulbs is either an 11mm socket or a 7/16 socket with a 1/4" drive ratchet. You could also use a standard 11mm wrench or an adjustable crescent wrench. |
||
|
|
||
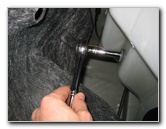 Loosen 3 Tail Light Nuts |
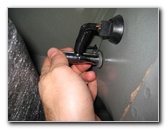 |
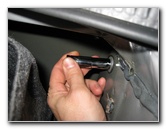 Spin Off 11mm Nuts |
| The first two steps
are to pop open the trunk and move to the corner of the vehicle with the
burnt out tail light bulbs. Pull off the round black plastic fastener that holds the grey carpeting to the rear corner of the trunk. Lift the grey trunk carpeting away from the corner of the trunk to expose the three nuts that secure the tail light assembly to the rear of the vehicle. |
||
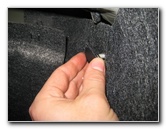 Pull Off Carpet Fastener |
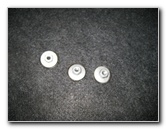 Three 11mm Nuts Removed |
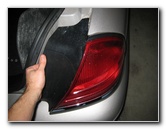 Pull Off Tail Light Assembly |
| Use either an 11mm
metric or SAE 7/16 socket with a ratcheting wrench to remove the three
silver nuts and set them aside in a safe place. Move to the outside of the vehicle and gently pull off the tail light assembly. If you have trouble removing the tail light housing, try tapping on the exposed screw ends on the inside of the trunk with the ratcheting wrench to help dislodge it. |
||
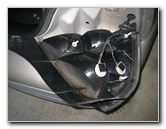 Flip Over Tail Light |
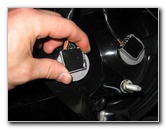 Brake Light Socket |
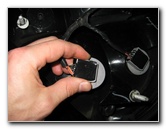 1/4 Turn Counter Clockwise |
| Turn over the tail
light assembly and rest it on the bumper.
To avoid scratching the paint on the bumper or the plastic tail light, place a towel in between them. The brake light is located closer to the center line of the vehicle while the turn signal bulb is located near the outer edge of the car. Remove the brake light or turn signal light bulb sockets by rotating them 1/4 turn counter clockwise before pulling them straight out. |
||
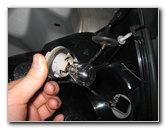 Remove Brake Light Socket |
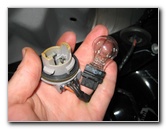 Pull Out Old Brake Light Bulb |
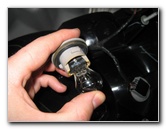 Push In New # 3157K Bulb |
| Pull the old bulb straight out of the socket and carefully push in a new # 4157 or 3157K light bulb. | ||
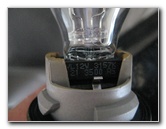 Sylvania 3157K |
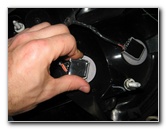 1/4 Turn Clockwise |
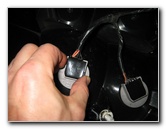 Brake Light Secure |
| Insert the new bulb and the socket back into the tail light housing. Rotate the socket 1/4 turn clockwise to lock it in place. | ||
|
|
||
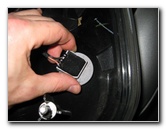 Turn Signal Bulb Socket |
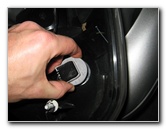 1/4 Turn Counter Clockwise |
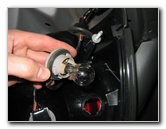 Remove Turn Signal Socket |
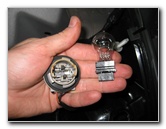 Pull Out Turn Signal Bulb |
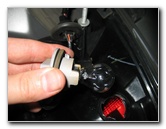 Insert New # 3157 Bulb |
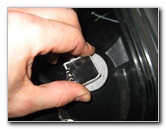 1/4 Turn Clockwise |
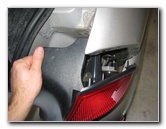 Line Up Tail Light Assembly |
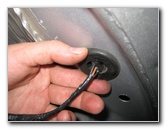 Replace Wiring Grommet |
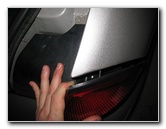 Push Assembly In Place |
| If you pulled out
the black round rubber wiring grommet to give yourself more room to work on
the tail light, push it back in place. Line up the 3 screw ends on the tail light assembly with the holes in the rear corner of the vehicle and push them into place. |
||
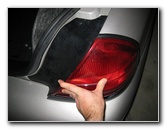 |
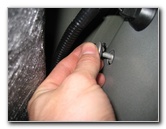 Spin On 11mm Nuts |
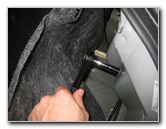 Tighten 3 Tail Light Nuts |
| Hold the tail light
assembly in place with one hand while spinning on the three 11mm nuts to the
screw ends in the corner of the trunk. Tighten the three nuts with the 11mm or 7/16 socket to just past hand tight. Do not over tighten the nuts to avoid cracking the plastic tail light housing. |
||
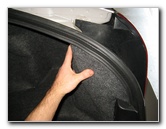 Replace Trunk Carpeting |
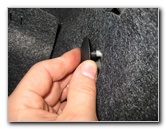 Push On Trunk Fastener |
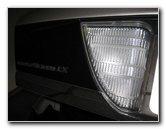 Reverse Light |
| Push the grey trunk
carpet back in place over the rear corner of the trunk.
Push on the round black plastic fastener to hold the carpet in place. The reverse or "back up" lamps are situated by themselves inside the trunk lid next to the license plate. |
||
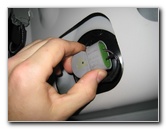 Underside of Trunk Lid |
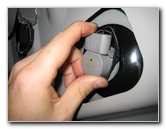 1/4 Turn Counter Clockwise |
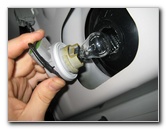 Remove Reverse Socket |
| To access the
reverse light bulb, open the trunk lid and locate the light grey and green
socket. Rotate the socket 1/4 turn counter clockwise and pull it straight out of the underside of the trunk lid. |
||
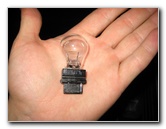 Reverse # 3156 Bulb |
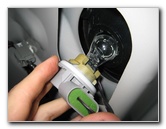 Push In New Bulb |
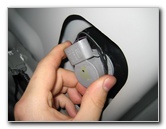 1/4 Turn Clockwise |
| Pull the old
reverse light bulb straight out of the socket and push in a new #
3156 bulb. Insert the new bulb and socket back into the trunk lid and rotate it 1/4 turn clockwise to lock it in place. |
||
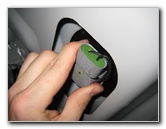 Reverse Bulb Secured |
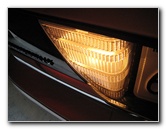 Test Back Up Light Bulb |
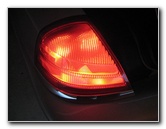 Test Brake & Turn Signal |
| Test the new tail
light bulbs by having someone turn on the parking lights, stepping on the
brake pedal, activating the turn signals and place the transmission into
reverse. For more,
check out my other
Ford Crown Victoria Repair & Maintenance Guides. |
||
| If you found this guide to be helpful,
please consider making a small donation by clicking on the PayPal.com
"Donate" button located to the right of this paragraph. Thank you!
(Note: I am not a registered charity. Donations are not tax deductible.) |

