
Dodge Charger Overhead Map
Light Bulbs Replacement Guide
How to replace the overhead map light
bulbs in a 2006 to 2010 Dodge Charger with picture illustrated instructions.

By Paul B. Michaels Author & Photographer Auto Mechanic Since 1989 |
||
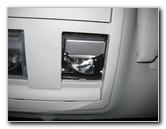
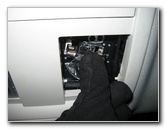
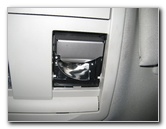
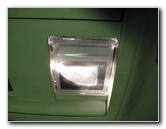
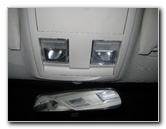 Overhead Map Lights |
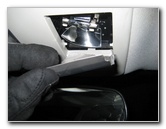
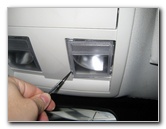 Pry Out Clear Lens Cover |
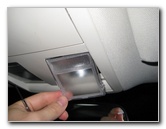 Gently Remove Lens |
| This
automotive "how-to" guide was specifically written to assist owners
of the 2006-2010 Dodge Charger in replacing a burnt out overhead map
light bulb. Owners of other Dodge or Chrysler vehicles such as the 300, 300C, Magnum, Challenger, Caliber, Journey, Avenger, Nitro, Durango, Grand Caravan, 200 and Town & Country minivan may also find this guide to be useful. Replacement overhead map light bulbs from Sylvania and other manufacturers are part # 578. If you would like to have brighter map lights, install some compatible 578 LED bulbs. To replace the bulbs, you'll need a small flathead screwdriver or a plastic pry bar tool and possibly a pair of needle nose pliers. Insert the blade of the flathead screwdriver into the sides of the clear plastic lens covering the map light and gently pry it out. |
||
|
|
||
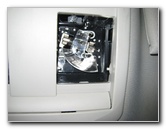
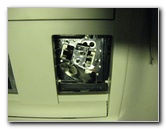
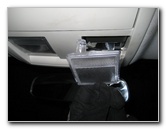
 Lens Cover Removed |
 Metal Reflector Over Bulb |
 Pull Off Metal Cover |
| Behind the clear
plastic lens cover there is a metal reflector piece over the map light bulb.
Gently pull off the cover or pry it out with the flathead screwdriver. Try to avoid bending the metal cover so that it can be re-installed properly later. |
||
 Map Light Bulb Exposed |
 Pliers - Pull Out Old Bulb |
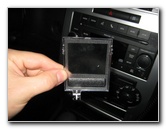
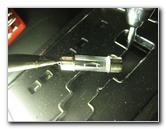 Old # 578 Light Bulb |
| Remove the old light bulb with our thumb and forefinger or by pulling it out with some needle nose pliers. | ||
|
|
||
 Light Bulb Socket |
 Push In New # 578 Bulb |
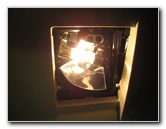 Press Button - Test Bulb |
| Push a new #
578 light bulb in to the socket and toggle the switch to test the new bulb.
If you would like to have brighter and longer lasting map lights, install some compatible 578 LED bulbs. |
||
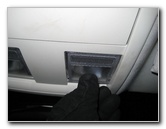
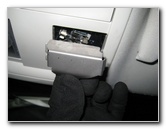 Re-Install Metal Cover |
 Metal Cover Over Bulb |
 Line Up Clear Lens Cover |
| Line up the metal bulb cover and snap it back into place. Then orientate the clear plastic lens cover and snap that back into place as well. | ||
 Snap Lens In Place |
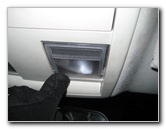 Press Button |
 Test New Light Bulb |
| Push the light
switch again to test the new map light bulb.
For more, check out my
Dodge
Charger Maintenance & Repair Guides page. |
||
| If you found this guide to be helpful,
please consider making a small donation by clicking on the PayPal.com
"Donate" button located to the right of this paragraph. Thank you!
(Note: I am not a registered charity. Donations are not tax deductible.) |