Kia Sorento
Engine Air Filter Replacement Guide
How to change the engine air filter in a
third generation 2016 to 2020 Kia Sorento with the Lambda II 3.3L V6.
By Paul B. Michaels Author & Photographer Auto Mechanic Since 1989 |
||
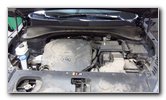 Lambda II GDI 3.3L V6 |
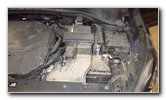 Right (Driver) Side |
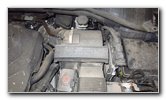 Engine Air Filter Box |
|
This automotive maintenance tutorial was specifically written to assist owners of the third generation (2016, 2017, 2018, 2019 and 2020) Kia Sorento SUV in checking, cleaning or changing the engine air filter element for the Lambda II GDI 3.3 liter V6 engine. (The procedure should be the same or very similar for the Theta II GDI 2.4L I4 engine and the Theta II GDI 2.0L Turbocharged I4 engine.) Owners of other Kia, Hyundai and Genesis vehicles such as the Soul, Seltos, Sportage, Niro, Telluride, Forte, Rio, Optima, Stinger, Cadenza, K900, Sedona, Kona, Venue, Santa Fe, Elantra, Sonata, Accent, Veloster, Ioniq, Nexo, G70, G80 and G90 may also find these instructions to be helpful. The OEM (original equipment manufacturer) engine air filter element part number is Kia 28113-A9100. A few other compatible replacement aftermarket engine air filters with their part numbers are as follows: Spearhead MT-943, EPAuto GP943, Premium Guard PA99071, EcoGard XA10460, Fram CA11943 and Wix WA10271. Please double check the Amazon Part Finder website to verify the correct replacement filter for your vehicle. The appropriate filter may vary depending on the model year and the engine (3.3L V6, 2.0L Turbo I4 or Theta II 2.4L I4). No tools are needed to access and replace the filter. The first two steps are to open the hood and then move to the right (driver) side of the engine bay. The black plastic engine air box is situated behind the 12V automotive battery and to the left of the engine bay fuse box. There is a rectangular shaped access cover on the front edge of the air box assembly with the words "Pull Out To Open (Air Filter)" printed on it and two triangles (arrows) pointing up. |
||
|
|
||
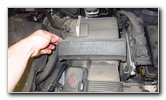 Pull Out Top Of Flap |
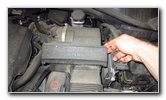 Release Clip - Right Side |
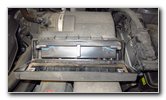 Access Cover Opened |
| Gently pull out the
top edge of the filter access cover on both the left and right sides to
release the two retaining clips. Swing down the hinged plastic flap to access the old filter. |
||
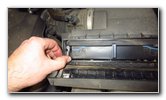 Grey Plastic Lock Tab |
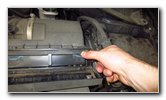 Swing Down Locking Tabs |
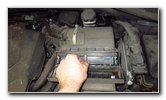 Grasp Handle - Center |
| Locate the two gray
plastic locking tabs on the left and right sides of the old air filter. Swing the lock tabs down from the "Locked" position to the "Unlocked" position. You'll notice there are padlock icons and arrows indicating how to unlock the old air filter. Grasp the small vertically orientated handle in the middle of the old air filter. |
||
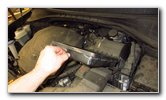 Slide Out Old Air Filter |
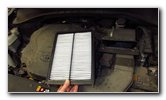 Original OEM Air Filter |
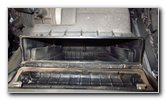 Check Filter Slot - Debris |
| Slide the old air
filter straight out of the slot. Check the filter slot for any large debris such as leaves, twigs or insects that might restrict the air flow. If you have a wet/dry shop vacuum with a crevice attachment, clean out the filter slot. |
||
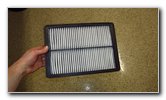 Old Air Filter Removed |
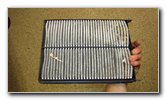 Inspect Both Sides |
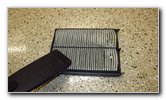 Clean With Vacuum |
| Inspect both sides
of the old air filter. If the old filter is dark grey or black and clogged with dirt, dust, pollen, soot, hair, insects, twigs, leaves, sand and other debris, it should be replaced with a new element. I recommend buying the Spearhead MT-943 engine air filter since it has excellent reviews on Amazon. If you'd prefer to have the OEM (original equipment manufacturer) filter, the part number is Kia 28113-A9100 (made by Leehan). If the old air filter is relatively clean, just tap out the large debris and remove any fine dust with a wet/dry shop vacuum. |
||
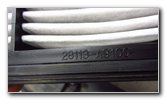 Part # 28113-A9100 |
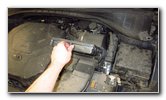 Slide In New Air Filter |
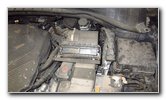 New Filter Installed |
| Orientate the new
air filter with the grey plastic locking handles located on the outer edge
facing towards you. Slide the new air filter into the slot until it is fully seated in the housing. |
||
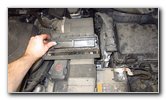 Swing Up Left Lock Tab |
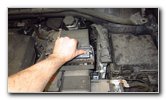 Secure Right Lock Latch |
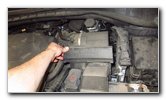 Flip Up Access Cover |
| Rotate the two lock
tabs up from the "Unlocked" to the "Locked" position. You should feel or hear the two lock tabs "click" securely into place. Flip up the hinged access cover towards the filter slot. |
||
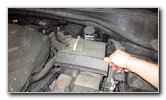 Push To Secure Two Clips |
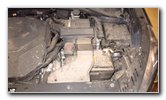 Access Flap Secured |
 Engine Air Filter Changed! |
| Push on both sides
of the access flap to secure the two metal retaining clips into place. Double check that the filter cover is secured. Be sure to write down the filter change in your vehicle's service records. Please
take a look at
all of my
2016-2020 Kia Sorento DIY Repair & Maintenance Guides. |
||
| If you found this guide to be helpful,
please consider making a small donation by clicking on the PayPal.com
"Donate" button located to the right of this paragraph. Thank you!
(Note: I am not a registered charity. Donations are not tax deductible.) |

