Chevrolet
Cruze MAF Sensor Replacement Guide
How to clean or change the mass air flow
sensor in a 2nd generation 2016, 2017, 2018 and 2019 GM Chevy Cruze.
By Paul B. Michaels Author & Photographer Auto Mechanic Since 1989 |
||
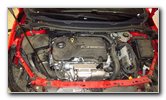 2018 Cruze LE2 1.4L I4 |
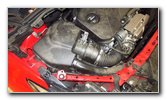 Engine Air Filter Housing |
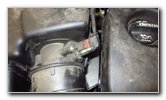 Mass Air Flow Sensor |
| This automotive
maintenance tutorial was specifically written to assist owners of the second
generation 2016, 2017, 2018 and 2019 GM Chevrolet Cruze in checking,
cleaning and replacing the MAF (mass air flow) sensor for the Ecotec LE2 1.4
liter turbocharged inline four cylinder engine. (The procedure should be the same or very
similar for the LH7 1.6L L4 diesel engine.) Owners of other General Motors vehicles from Chevrolet, Buick, GMC, Cadillac and Holden such as the Sonic, Spark, Malibu, Impala, Volt, Bolt, Camaro, Corvette, Trax, Equinox, Blazer, Suburban, Tahoe, Traverse, Colorado, Silverado, Express, TrailBlazer, Encore, Regal TourX, Envision, Enclave, LaCrosse, Cascada, Sierra, Canyon, Acadia, Terrain, Yukon, Savana, XT4, XT5, XT6, Escalade, CT5, CTS-V, XTS, CT6, ATS, Astra and Commodore may also find these DIY instructions to be helpful. The OEM (original equipment manufacturer) mass air flow sensor in this 2018 Cruze LT was marked as genuine General Motors part number ACDelco 55498433. (It is also known as part number GM 55498433 or Bosch 0280218471.) The compatible replacement MAF sensor for the earlier 2016 and 2017 model years is part number ACDelco 12671625. If your Cruze has the Ecotec 1.6L diesel engine, the compatible sensor part number is ACDelco 12671624. The tools needed to remove and replace the sensor include a Torx T30 star bit screwdriver to remove the engine cover and a Torx T25 screwdriver to remove the two screws that secure the sensor to the engine air filter housing. The first two steps are to open the hood and then move to the left (passenger) side of the engine bay. The MAF sensor is attached to the right side of the engine air filter housing in between the rubber hose that leads to the turbocharger and the top half of the air box. The sensor is also situated near the oil fill cap. |
||
|
|
||
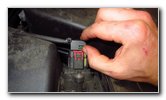 Slide Out Red Lock Tab |
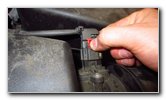 Push In Black Release Tab |
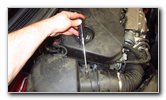 Loosen Counterclockwise |
| Slide the red
locking tab on the electrical connector straight out away from the old
sensor. Push down the black plastic release tab on the electrical connector before pulling the power plug straight off the old sensor. I later realized that in order to remove the second screw located further down on the sensor, you'll first have to remove the plastic engine cover. You can choose to first remove the engine cover, or follow the steps as I've shown in the pictures. To remove the engine cover, loosen the large bolt located at the front right (driver) side corner of the cover. The bolt is situated below the "T" and "E" in "ECOTEC" and located closer to the front of the car. |
||
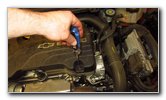 Engine Cover Bolt |
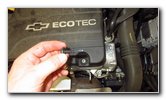 Torx Bolt Removed |
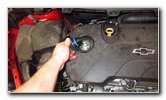 Remove Oil Fill Cap |
| Loosen the engine
cover bolt in the counterclockwise direction with the Torx T-30 star bit
screwdriver. Set the bolt aside in a safe place. Remove the oil filler cap by twisting it off in the counterclockwise direction. Set the cap aside in a safe place. |
||
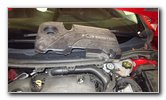 Pull Off Plastic Cover |
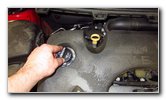 Replace Oil Filler Cap |
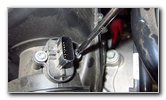 Lower Second Screw |
| Set the plastic
engine cover aside in a safe place. To help prevent from having foreign objects or debris fall down into the engine, replace the oil fill cap by twisting it on in the clockwise direction until it is snug. Now that the engine cover has been removed, you'll have easy access to both of the screws on the outer edge of the old MAF sensor. |
||
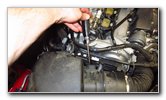 Loosen Counterclockwise |
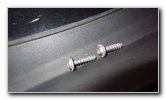 Two Screws Removed |
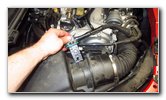 Slide Out Old MAF |
| Remove the two
screws on the outer edge of the old sensor by turning them in the
counterclockwise direction with the Torx T-25 star bit screwdriver. Spin out the two screws the last few turns by hand to help prevent them from falling down into the engine bay and becoming lost. Set the two screws aside in a safe place. Carefully slide the old sensor straight out of the port in the air intake assembly. |
||
|
|
||
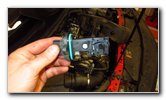 Old Sensor Removed |
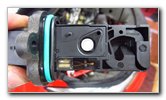 Inspect Sensor Wire |
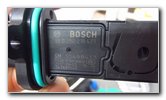 OEM Bosch Part # |
| Inspect the old
sensor for any damage, soot or oily deposits.
Some of the symptoms of a dirty, failing or faulty MAF sensor include hard starting, rough idling, hesitating, surging, poor acceleration, hiccupping, low fuel economy (less MPG), stalling, loss of power and misfiring. You might also see a CEL / SES (check engine light / service engine soon warning) on the gauge cluster. If you have an OBDII scanner (or OBD2 scan tool) it might reveal a MAF sensor related DTC (diagnostic trouble code) such as P0100, P0101, P0102, P0103 or P0104. If you would like to try cleaning your old sensor before purchasing a new one, use CRC Mass Air Flow Sensor Cleaner spray. Carefully spray the exposed sensor wire with the spray and allow it to air dry. Do NOT use compressed air or forcefully wipe the sensor wire with a towel to dry it. |
||
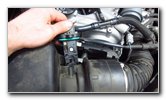 Slide In New Sensor |
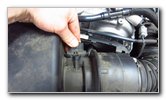 New Sensor Installed |
 Tighten Screws Clockwise |
| Orientate the
cleaned or new sensor in the correct position with the sensor wire facing up
towards you and the side with the written part numbers facing down. Carefully slide the new sensor straight into the port on the engine air filter housing. Spin in the two screws a few turns by hand in the clockwise direction to make sure they don't fall down and become lost in the engine bay. Tighten the two screws in the clockwise direction with the Torx T25 screwdriver until they are snug. |
||
 Replace Second Screw |
 Push On Power Plug |
 Slide In Red Locking Tab |
| Try to avoid over
tightening the screws to prevent from cracking the plastic sensor housing or
the air box. Push the electrical connector straight on to the new sensor with the red locking tab facing up towards you. You should feel or hear the power plug "click" securely into place. Slide the red lock tab in towards the sensor to secure the electrical connector in place. |
||
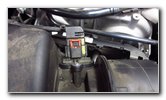 Power Plug Secured |
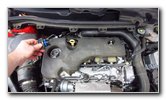 Remove Oil Fill Cap |
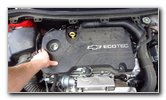 Push On Plastic Cover |
| Double check that
the new sensor is properly installed, the two screws are tight and the
electrical connector is securely attached. Remove the oil fill cap by turning it in the counterclockwise direction. Set the cap aside. Push the plastic engine cover down into place. |
||
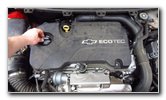 Replace Oil Fill Cap |
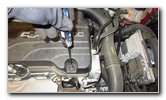 Tighten Torx Bolt |
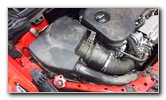 MAF Sensor Replaced |
| Replace the oil
fill cap by twisting it on in the clockwise direction until it is snug. Then replace the bolt at the front right corner of the engine cover by turning it in the clockwise direction with the Torx T-30 screwdriver until it is snug. Be sure to write down the MAF sensor cleaning or replacement in your vehicle's service records. For more,
please check out all of my
2016-2019 GM Chevrolet Cruze DIY Repair & Maintenance Guides. |
||
| If you found this guide to be helpful,
please consider making a small donation by clicking on the PayPal.com
"Donate" button located to the right of this paragraph. Thank you!
(Note: I am not a registered charity. Donations are not tax deductible.) |

