Chevrolet
Cruze Headlight Bulbs Replacement Guide
How to change a burnt out low beam, high
beam or front turn signal light bulb in a 2016 to 2019 GM Chevy Cruze.
By Paul B. Michaels Author & Photographer Auto Mechanic Since 1989 |
||
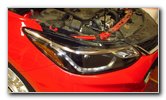 2018 Cruze Headlight |
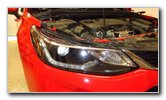 Low / High / Turn Signal |
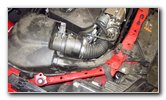 Engine Air Filter Box |
| This automotive
maintenance tutorial was specifically written to assist owners of the second
generation 2016, 2017, 2018 and 2019 GM Chevrolet Cruze in changing a burnt
out combination low beam / high beam headlight bulb or the front turn signal
light bulb. (The front side marker and parking lights are LED bulbs that
should last the life time of the car.) Owners of other General Motors vehicles from Chevrolet, Buick, GMC, Cadillac and Holden such as the Sonic, Spark, Malibu, Impala, Volt, Bolt, Camaro, Corvette, Trax, Equinox, Blazer, Suburban, Tahoe, Traverse, Colorado, Silverado, Express, TrailBlazer, Encore, Regal TourX, Envision, Enclave, LaCrosse, Cascada, Sierra, Canyon, Acadia, Terrain, Yukon, Savana, XT4, XT5, XT6, Escalade, CT5, CTS-V, XTS, CT6, ATS, Astra and Commodore may also find these DIY instructions to be helpful. The compatible replacement light bulb part numbers are as follows: Low & High Beam Headlight Bulb # 9005 and Front Turn Signal # 7444NA. If you would like to have brighter lights that will also last a lot longer before burning out, install some 9005 LED headlight bulbs and amber colored front turn signal 7444NA LED bulbs. Please check the part numbers on your old bulbs before purchasing new parts or use the Amazon Part Finder website to verify the correct bulbs for your car's model year and trim level. No tools are required to access any of the bulbs in either the driver side or passenger side headlight housings. You may need a flat head screwdriver or a plastic pry bar tool to pull back a stubborn plastic retaining clip on the headlight bulb electrical connectors. The first two steps are to open the hood and then move to the side of the car with the burnt out headlight bulb. |
||
|
|
||
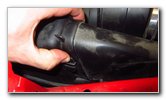 Pinch Together Tabs |
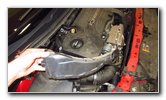 Pull Out Air Intake Tube |
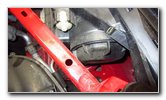 Passenger Side Bulb Cover |
| In order to easily
access the bulbs in the passenger side headlight housing, you'll have
to first remove the black plastic air intake tube. Squeeze together the two tabs on the rear edge of the air intake tube (attached to the engine air filter box). Pull the rear of the air intake tube off the air box and lift the front edge out of the front of the engine bay near the radiator. Set the black plastic air intake tube aside in a safe place. (For easier access to the bulbs in the driver side headlight housing, pull the windshield window wiper fill tube straight out of the engine bay.) |
||
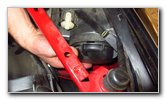 1/4 Turn Counterclockwise |
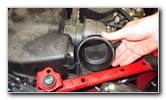 Dust Cap Removed |
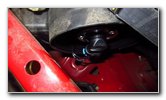 Low / High Beam Bulb |
| Twist off the large
round black plastic cover on the back side of the headlight housing by
turning it 1/4 turn in the counterclockwise direction.
Set the dust cover aside in a safe place. |
||
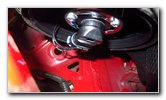 Electrical Connector |
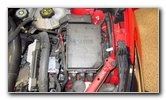 Driver - Washer Fill Tube |
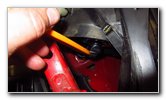 Pry Back Retaining Clips |
| Gently pry back the
two prongs on the electrical connector attached to the base of the old light
bulb before sliding it straight off. If you have trouble disconnecting the power plug, use a plastic pry bar tool or a flat head screwdriver to gently pull back the retaining clips on the electrical connector before sliding it straight off. |
||
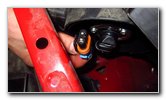 Pull Off Power Plug |
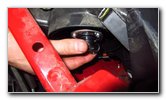 1/4 Turn Counterclockwise |
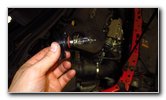 Old Light Bulb Removed |
| Rotate the base of
the old light bulb 1/4 turn in the counterclockwise direction before pulling
it straight out of the housing. The OEM (original equipment manufacturer) low / high beam headlight bulb in this 2018 Cruze LT was a Sylvania 9005 12V 60W. Your Cruze might have a different bulb part number depending on the market (North America, Europe, South America, Etc.), the model year or the trim level. Please check your old light bulbs before purchasing new ones. |
||
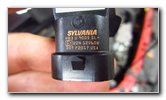 Sylvania 9005 Low / High |
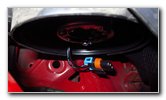 Empty Bulb Housing |
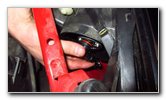 Install New Light Bulb |
| Avoid touching the
glass part of the new halogen bulb with your fingers or anything greasy in
the engine bay. If you do get the new bulb dirty, wipe it clean with a paper towel and some rubbing alcohol. Any dirt or grease on the new bulb will cause a hot spot which could lead to the bulb failing prematurely. If you would like to upgrade your headlights to a brighter bulb that will also last much longer before burning out, install some compatible replacement 9005 LED bulbs. Install the new 9005 bulb straight into the housing and rotate it 1/4 turn in the clockwise direction to secure it into place. |
||
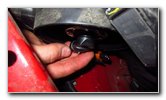 1/4 Turn Clockwise - Lock |
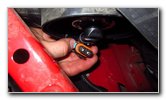 Electrical Connector |
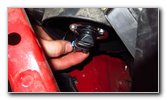 Push On Power Plug |
| Push the electrical
connector straight on to the base of the new light bulb. You should feel or hear the power plug "click" securely into place. |
||
|
|
||
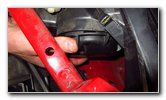 Twist On Dust Cover |
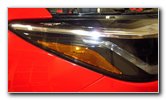 LED Side Marker |
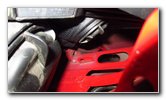 Cover - Side Marker |
| The side marker lights are LED bulbs that should last about 50,000 hours or longer than the useful life of the vehicle. | ||
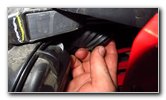 LED Side Marker Cover |
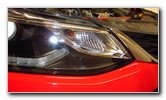 Turn Signal - Inner Corner |
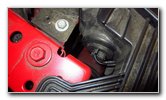 Black Plastic Bulb Socket |
| The front turn
signal light is located at the inner corner of the headlight housing near
the grille and radiator. Reach in behind the headlight assembly and rotate the front turn signal bulb socket 1/4 turn in the counterclockwise direction. |
||
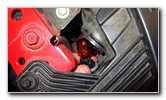 1/4 Turn Counterclockwise |
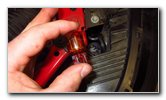 Pull Out Old Light Bulb |
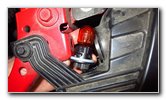 Push In New Light Bulb |
| Pull the bulb
socket straight out of the housing. Pull the old light bulb straight out of the socket. If you have trouble removing the old light bulb due to rust or debris, try gently wiggling the bulb back and forth while pulling it straight out. Please avoid using excessive pressure on the old light bulb to prevent from having the glass break and cut your fingers. |
||
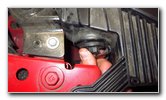 1/4 Turn Clockwise - Lock |
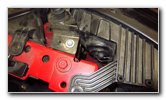 Turn Signal Installed |
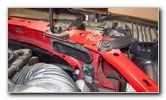 Air Intake Mount |
| Push a new "natural
amber" colored number 7444NA
wedge base light bulb straight into the socket. Wipe off any grease, oil or dirt from the new bulb with a paper towel or a micro fiber cloth. If you would like to have brighter front turn signal lights, install some compatible replacement 7444NA LED bulbs. Re-insert the bulb socket into the housing and rotate it 1/4 turn in the clockwise direction to secure it into place. |
||
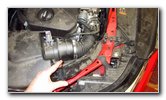 Replace Air Intake Tube |
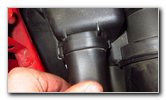 Push To Secure Clips |
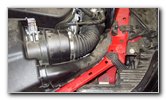 Air Intake Secured |
| Lower the front
edge of the plastic air intake tube into the opening in the front of the
engine bay near the radiator. Lower the rear edge of the air intake tube into the mounting bracket on the engine air filter box. Push on the rear edge until you feel or hear the two retaining clips "click" securely into place. |
||
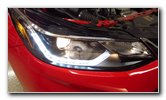 Test New Headlight Bulb |
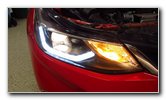 Test New Turn Signal |
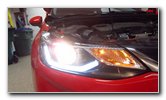 Testing High Beam Light |
| To test the new
light bulbs, turn on the headlights, activate the hazard signals and flash
the high beams. Be sure to write down the light bulb change in your vehicle's service records. For more,
please check out all of my
2016-2019 GM Chevrolet Cruze DIY Repair & Maintenance Guides. |
||
| If you found this guide to be helpful,
please consider making a small donation by clicking on the PayPal.com
"Donate" button located to the right of this paragraph. Thank you!
(Note: I am not a registered charity. Donations are not tax deductible.) |

