Chevrolet
Cruze Engine Air Filter Replacement Guide
How to clean or change the engine air
filter element in a 2nd generation 2016, 2017, 2018 & 2019 GM Chevy Cruze.
By Paul B. Michaels Author & Photographer Auto Mechanic Since 1989 |
||
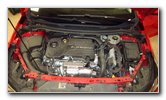 2018 Cruze LE2 1.4L I4 |
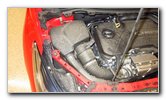 Left Side - Engine Air Box |
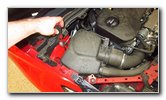 Loosen Counterclockwise |
| This automotive
maintenance tutorial was specifically written to assist owners of the second
generation 2016, 2017, 2018 and 2019 GM Chevrolet Cruze in checking,
cleaning or changing the engine air filter element for the LE2 1.4 liter
turbocharged inline four cylinder gasoline engine. The procedure should be
the same or very similar for the LH7 1.6L L4 diesel engine. Owners of other General Motors vehicles from Chevrolet, Buick, GMC, Cadillac and Holden such as the Sonic, Spark, Malibu, Impala, Volt, Bolt, Camaro, Corvette, Trax, Equinox, Blazer, Suburban, Tahoe, Traverse, Colorado, Silverado, Express, TrailBlazer, Encore, Regal TourX, Envision, Enclave, LaCrosse, Cascada, Sierra, Canyon, Acadia, Terrain, Yukon, Savana, XT4, XT5, XT6, Escalade, CT5, CTS-V, XTS, CT6, ATS, Astra and Commodore may also find these DIY instructions to be helpful. A few compatible replacement air filters for the LE2 1.4L turbo I4 engine with their part numbers include the following: ACDelco A3202C, EcoGard XA10653, Premium Guard PA99207, Wix WA10646 and Mahle LX 3015/14. The only tool required to access and replace the air filter is a Phillips head screwdriver. The first two steps are to open the hood and then move to the left (passenger) side of the engine bay. The black plastic engine air filter box is situated just behind the passenger side headlight housing and in front of the cowl near the windshield. |
||
|
|
||
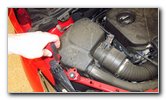 Front Left Screw |
 Right Front Screw |
 Plastic Air Intake Tube |
| The top cover of
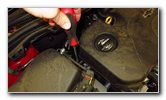
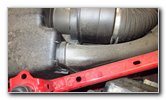
the air box is held in place by four screws. Three of the screws are visible and the fourth is hidden under the black plastic air intake tube. Loosen the screw at the rear edge, left side and right side by turning them in the counterclockwise direction with the Phillips head screwdriver. The screws are "captured" and will remain attached to the air box cover. (The screws can not be fully removed.) Locate the two release tabs on the rear edge of the plastic air intake tube situated by the air filter box. |
||
 Two Release Tabs |
 Squeeze Together Tabs |
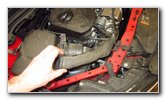 Pull Out Air Intake Pipe |
| Squeeze or "pinch"
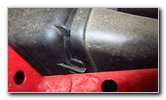
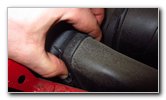
together the two release tabs to release the retaining clips. Pull the rear edge of the air intake tube off the air box and out of the front of the engine bay. Set the air intake tube aside in a safe place. |
||
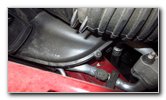 Hidden - Fourth Screw |
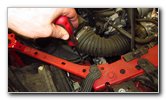 Loosen 4th Screw |
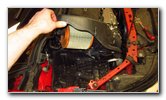 Lift Open Air Box Cover |
| Loosen the fourth
screw that was hidden under the air intake tube by turning it in the
counterclockwise direction with the Phillips head screwdriver.
The screw is "captured" and will remain attached to the air box cover. Gently lift the air box cover to access the old filter. |
||
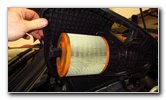 Old Air Filter Exposed |
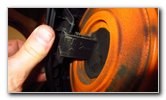 Mounting Bracket |
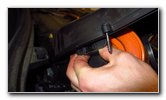 Pinch Together Tabs |
| If you have trouble
opening the air box, an optional step is to detach the rubber air hose that
leads from the air box to the turbocharger air intake. Loosen the hose clamp by turning the stainless steel (silver) screw in the a few turns in the counterclockwise direction with a flat head screwdriver. To remove the old filter from the housing, pinch together the two release tabs and slide the filter towards the rear of the engine bay (in the direction of the windshield). If you take a close look at the air filter's mounting bracket, you'll see the arrows indicating the squeeze to release the retaining clips and removal procedure. |
||
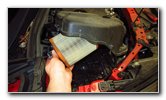 Remove Old Air Filter |
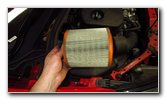 Old Air Filter Removed |
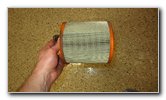 Inspect Old Air Filter |
| Inspect the old air
filter.
If the old filter is dark grey or black and clogged with dirt, dust, leaves, insects, twigs, hair, pollen, soot, sand and other debris, it should be replaced with a new element. I recommend buying the ACDelco A3202C since it is the OEM (original equipment manufacturer) part and it has excellent reviews on Amazon. If the old filter is relatively clean, just tap out the large debris and remove any fine dust with a vacuum cleaner. (The GM part number for the OEM air filter is 13367308.) |
||
|
|
||
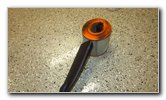 Clean With Vacuum |
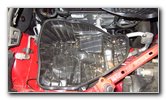 Clean Out Bottom Half |
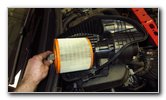 Line Up New Filter |
|
Check the bottom half of the air box for any debris, insects, leaves or sand. Clean out the air box with the crevice attachment of a wet/dry shop vacuum. Line up the new air filter with the mount on the air box cover. |
||
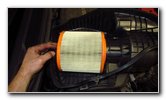 Push To Secure Clips |
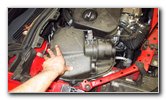 Lower Air Box Cover |
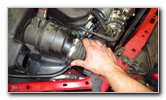 Replacing Air Hose |
| Slide the new air
filter into place and push on it to secure the retaining clips. You should feel or hear the clips "click" securely into place. Lower the cover down on to the bottom half of the air box. Make sure the screw holes are aligned. If you detached the rubber air hose, push it back on the air box and secure the stainless steel hose clamp by turning the screw in the clockwise direction with a flat head screwdriver. |
||
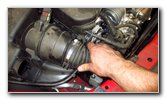 Rubber Hose In Place |
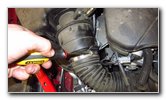 Tighten Hose Clamp |
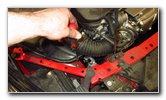 Tighten Front Screw |
| Tighten the screw at the front edge of the air box cover by turning it in the clockwise direction with the Phillips head screwdriver until it is snug. | ||
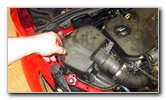 Left Rear Screw |
 Tighten Rear Screw |
 Rear Right Screw |
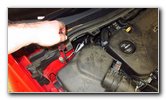
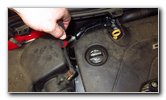
| Then tighten the
screws at the left edge, rear edge and right side of the air box cover in
the clockwise direction with the Phillips head screwdriver until they are
snug. Try to avoid over tightening the screws to prevent from cracking the plastic air box. |
||
 Lower In Plastic Air Intake |
 Push To Secure Clips |
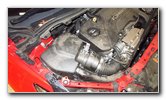 Engine Air Filter Replaced |
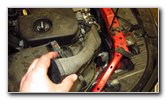
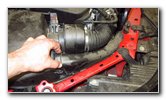
| Lower in the front
of the air intake tube into the front of the engine bay near the radiator
and passenger side headlight housing. Gently lower the rear edge into the bracket on the air box housing and push on it to secure the retaining clips. You should feel or hear the retaining clips "click" securely into place. Be sure to write down the filter change in your vehicle's service records. For more,
please check out all of my
2016-2019 GM Chevrolet Cruze DIY Repair & Maintenance Guides. |
||
| If you found this guide to be helpful,
please consider making a small donation by clicking on the PayPal.com
"Donate" button located to the right of this paragraph. Thank you!
(Note: I am not a registered charity. Donations are not tax deductible.) |

