Mitsubishi
Outlander Electrical Fuse Replacement Guide
How to change a blown electrical fuse or
relay in a 3rd generation 2014 to 2021 Mitsubishi Outlander SUV.
By Paul B. Michaels Author & Photographer Auto Mechanic Since 1989 |
||
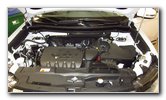 2020 Outlander 2.4L I4 |
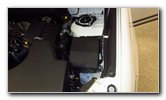 Engine Bay Fuse Box |
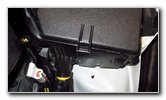 Retaining Clip - Front Edge |
| This automotive
maintenance tutorial was specifically written to assist owners of the third
generation (2014, 2015, 2016, 2017, 2018, 2019, 2020 & 2021) Mitsubishi
Outlander SUV in checking or changing a blown fuse or a faulty relay in
either the engine bay or interior passenger compartment electrical panels. Owners of other Mitsubishi vehicles such as the Outlander Sport, Eclipse Cross, Mirage, Mirage G4, Lancer, ASX, Montero Sport, Pajero, Xpander, Strada and RVR may also find these DIY instructions to be helpful. The compatible replacement fuse type for this 2020 Outlander SEL are the "Low Profile" Mini Blade Electrical Fuses. Please check your old fuses before purchasing new ones. Some older Outlander models may be equipped with the slightly taller standard mini blade electrical fuses. The only tool that might be needed to access the interior passenger compartment electrical panel is either a flat head screwdriver or a plastic pry bar tool. The first two steps are to open the hood and then move to the right (driver) side of the engine bay. The somewhat square shaped engine bay electrical panel housing is situated just to the right of the engine air filter box, behind the driver side headlight assembly and in front of the suspension tower. Locate the small black plastic release tab on the front edge of the fuse box cover. |
||
|
|
||
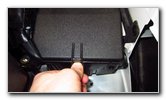 Push In Release Tab |
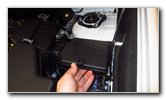 Lift Off Fuse Box Cover |
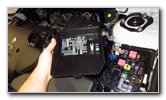 Turn Over Cover |
| Push in the tab to
unlock the retaining clip and lift the front edge of the fuse box cover. Pull off the fuse box cover and turn it over to view the fuse location diagram. There is also a fuse and relay location chart in the owner's manual. A few spare fuses in a variety of amperage ratings are included on the underside of the cover along with the white plastic fuse puller tool. |
||
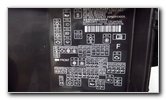 Fuse Location Diagram |
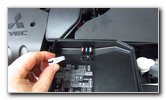 Fuse Puller Tool |
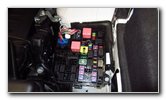 Engine Bay Fuse Block |
| If the plastic fuse
puller tool is missing, you could use a pair of needle nose pliers with
rubber insulated handles.
I would also recommend wearing nitrile or latex rubber gloves as well for extra safety. Lift the fuse puller tool off the underside of the cover. |
||
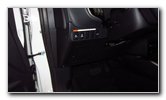 Driver Side Dashboard |
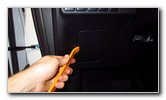 Pry Out Access Cover |
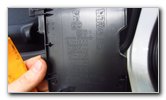 Fuse Location Chart |
| The interior
passenger compartment electrical panel is located behind a plastic access
cover on the driver side of the dashboard. The access panel is situated just in front of where the driver's left knee would reside while driving. It would be easiest to use a plastic pry bar tool or a flat head screwdriver to pull out the access cover. Insert the blade of your tool into the notch on the left edge of the access cover. Gently pry it out to release the retaining clips. Turn over the cover to view the fuse and relay location diagram. |
||
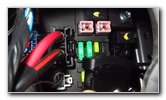 Interior Fuse Panel |
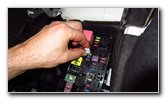 Place Jaws Over Fuse |
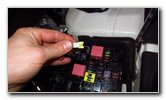 Pull Out Old Fuse |
| Squeeze the end of
the plastic tool and place the jaws over the fuse you'd like to check or
change. Pull the old fuse straight out of the socket. |
||
 Low Profile Mini Blade |
 Hold Up To Light Bulb |
 Push In New Fuse |
| To check the
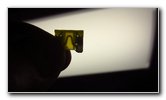
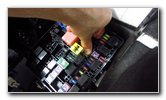
condition of the old fuse, hold it up to a light bulb. If the thin metal strip in the translucent plastic center of the old fuse appears to be burnt or broken, the old fuse is most likely "blown" (faulty) and should be replaced with a new one. Push a new "Low Profile" Mini Blade Electrical Fuse of the same amperage rating (e.g. 5A, 10A, 15A, 25 Amps, etc.) straight into the socket. Make sure the new fuse is fully seated in the socket. If the thin metal bar in the middle of the old fuse appears to be intact, the fuse might still be in good working condition. I would still recommend changing the old fuse as part of your electrical issue troubleshooting process. If you would like to add a hard-wired 12 volt power source for an automotive accessory such as a digital gauge, a cell phone charger, a dash cam, back-up camera, radar detector or an LED lighted Uber / Lyft sign, you can install an "Add-A-Circuit" fuse tap adapter (also known as a piggy back fuse holder). Use a digital multimeter to find either a "switched" or "hot / live" circuit depending on your needs for the device. A "switched" circuit will be off when the ignition is in the "Off" position and only supply 12 volt power when the ignition is in the "On" position. A constant or "hot" / live circuit will always supply 12V power even when the SUV's ignition is switched off. Be careful to not drain the 12V automotive battery if you choose a hot / live circuit that is always on. If you suspect that a faulty relay is the cause of your problem, the easiest way to check is to simply replace the relay with a new one of the same amperage rating. You could also test the old relay with a digital multimeter tool. To remove a relay (or one of the square shaped "cartridge fuses"), use a pair of pliers to pull it straight out of its socket. |
||
 Line Up Two Tabs |
 Pop In Access Cover |
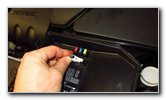 Replace Plastic Tool |
| To replace the
interior fuse panel access cover, first insert the two tabs on the right
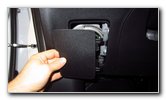
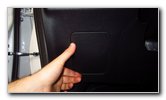
side into the opening in the dashboard. Then gently snap in the retaining clips on the left side of the cover. Make sure the cover is flush with the rest of the dashboard panel at every edge. Reattach the fuse puller tool to the holder on the underside of the cover. |
||
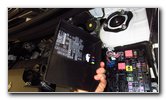 Line Up Fuse Box Cover |
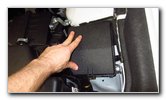 Push Down - Secure Clips |
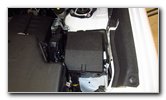 Fuse Change Complete |
| Line up the cover
with the engine bay electrical panel housing. Push the cover straight down to secure the retaining clips. You should feel or hear the clips "click" securely into place. Double check that the cover has been properly reinstalled. Test the electrical component that you were having problems with such as the horn, power windows, power driver seat, stereo system (radio), 12V electrical outlet, USB ports, A/C system, headlights, tail lights, interior lights, etc. If you are still having the same issue, there might be some wiring with worn away insulation that caused an electrical short or the component itself needs to be replaced. Be sure to write down the fuse change in your vehicle's service records. Please check out all of the
2014-2021 Mitsubishi Outlander DIY Repair & Maintenance Guides. |
||
| If you found this guide to be helpful,
please consider making a small donation by clicking on the PayPal.com
"Donate" button located to the right of this paragraph. Thank you!
(Note: I am not a registered charity. Donations are not tax deductible.) |

