Nissan Rogue
Rear Wiper Blade Replacement Guide
How to change the rear wiper blade on the
back windshield window of a 2nd generation 2014 to 2018 Nissan Rogue.
By Paul B. Michaels Author & Photographer Auto Mechanic Since 1989 |
||
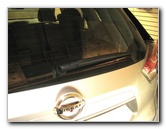 2016 Rogue Back Window |
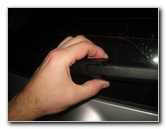 Pull Of Plastic Base Cap |
|
| This
automotive maintenance tutorial was specifically written to assist
owners of the second generation 2014, 2015, 2016 and the updated
2017 or 2018 model year Nissan Rogue SUV in changing the rear wiper
blade on the back windshield window. Owners of other Nissan or Infiniti vehicles such as the Murano, Altima, Titan, Versa, Sentra, Maxima, Leaf, 370Z, GT-R, Juke, Pathfinder, Armada, Patrol, Skyline, Cube, X-Trail, Xterra, Qashqai, Rogue Sport, NV200, NV400, Teana, Q50, Q70, Q60, QX30, QX50, QX56, QX60, QX70 and QX80 may also find these DIY instructions to be helpful. The OEM rear wiper blade size in inches is 12". A few compatible replacement wiper blades with their part numbers are as follows: Bosch H301, Anco AR-12E, Trico Exact Fit 12-J and Goodyear 728NIRO14R12B. No tools are needed to remove and replace the wiper blade. |
||
|
|
||
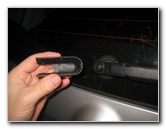 Base Cover Removed |
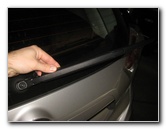 Lift Wiper Arm Off Window |
|
| The first step is
to gently pull off the black plastic cap on the base of the wiper arm. Set the base cover aside in a safe place. Lift the rear wiper arm off the back window. |
||
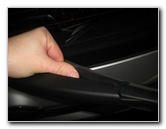 Rotate Away Old Wiper Blade |
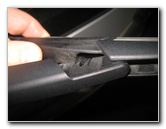 Pop Old Blade Off Arm |
|
| Rotate the old
wiper blade away from the wiper arm at a slight angle. Continue rotating the old wiper blade away from the arm until the mounting bar in the center of the old blade pops out of the "C" shaped socket at the end of the wiper arm. |
||
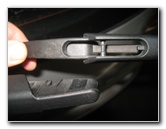 Mounting Bar - Center of Blade |
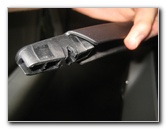 "C" Shaped Socket - Wiper Arm |
|
| Place a towel in
between the wiper arm and the back window to protect the glass from being
scratched while you are replacing the wiper blade. I recommend buying the Bosch H301 12" rear wiper blade since it has excellent reviews on Amazon. |
||
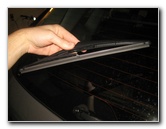 Old Wiper Blade Removed |
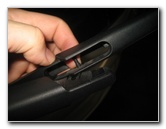 Line Up Bar & Socket |
|
| Line up the mounting bar in the center of the new wiper blade with the "C" shaped socket at the end of the wiper arm. | ||
|
|
||
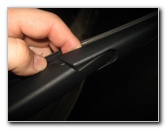 Pop Bar In To Socket |
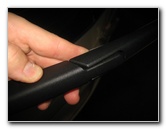 Rotate Blade Parallel |
|
| Hold the new wiper
blade at about a 45 degree angle to the wiper arm. Insert the mounting bar in to the "C" shaped socket at the end of the wiper arm. Rotate the new wiper blade until it is parallel with the wiper arm. |
||
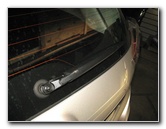 Lower Blade To Glass |
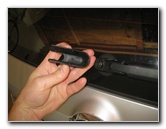 Plastic Base Cover |
|
| Double check that
the new wiper blade is securely attached to the wiper arm. Gently lower the rear wiper arm back down to the back window. |
||
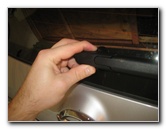 Gently Snap In Place |
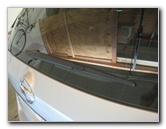 Rear Wiper Blade Replaced |
|
| Line up the plastic
cap and push it back in to place over the base of the wiper arm. For the best wiper performance, I recommend thoroughly cleaning off the back window and applying a glass treatment product that will repel water such as Rain-X. For more, check out all of my
2014-2018 Nissan Rogue DIY Repair & Maintenance Guides. |
||
| If you found this guide to be helpful,
please consider making a small donation by clicking on the PayPal.com
"Donate" button located to the right of this paragraph. Thank you!
(Note: I am not a registered charity. Donations are not tax deductible.) |

