Chevrolet
Impala Glove Box Light Bulb Replacement Guide
How to change a burnt out glove box light
bulb in a 10th generation 2014 to 2018 GM Chevy Impala with the part number.
By Paul B. Michaels Author & Photographer Auto Mechanic Since 1989 |
||
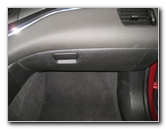 2014 Impala Glove Box |
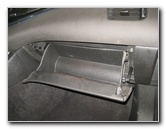 Open Glove Box |
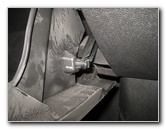 Glove Box Damper Arm |
| This
automotive maintenance tutorial was specifically written to assist
owners of the tenth generation (2014, 2015, 2016, 2017 and 2018) GM
Chevy Impala in changing a burnt out glove box light bulb. Owners of other General Motors vehicles such as the Malibu, Cruze, Camaro, Sonic, Spark, Volt, Corvette, Trax, Equinox, Traverse, Tahoe, Suburban, SS Sedan, Bolt, Colorado, Silverado, Buick Verano, Regal, LaCrosse, Cascada, Encore, Envision, Enclave, Canyon, Sierra 1500, Terrain, Acadia, Yukon, Savana, ATS, CTS, XTS, CT6, XT5, SRX and Escalade may also find these DIY instructions to be helpful. A replacement light bulb is part number 168. You can also use a brighter LED unit. The tools needed to access and replace the light bulb include a flathead screwdriver and a Phillips head screwdriver. |
||
|
|
||
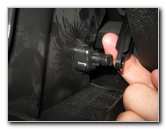 Pop Off Damper Arm |
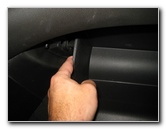 Firmly Push In Side Walls |
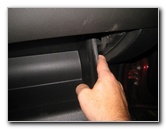 Release Side Stops |
| The first two steps
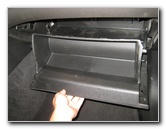
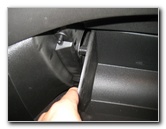
are to open the glove box and empty out the contents. (You may be able to replace the glove box light bulb with out any extra steps. Just use a small flathead screwdriver to pry out the light housing at the small notch. Push out the old bulb with the screwdriver and insert a new # 168 bulb.) I was going to replace the cabin air filter, so I removed the glove box and the plastic access panel behind it. Removing the glove box and the black plastic cabin filter access panel can make it a lot easier to replace the glove box light bulb. Move to the right side of the glove box and gently pop off the damper arm from its mounting peg. Firmly push in the two side walls of the glove box until the plastic side stops can be removed from behind the dashboard. |
||
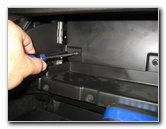 Remove Phillips Screws |
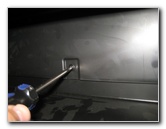 Loosen Counterclockwise |
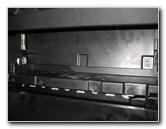 Black Plastic Cover |
| There are seven
screws holding the black plastic panel in place. Three of them are near the
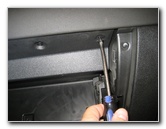
bottom of the panel and the other four are at the top edge. Remove the bottom three screws by turning them counterclockwise with a Phillips head screwdriver. |
||
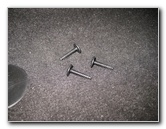 3 Screws Removed |
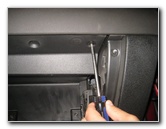 4 Screws At Top |
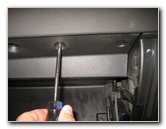 Loosen Counterclockwise |
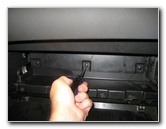
| Then remove the four screws mounted vertically at the top edge of the panel by turning them counterclockwise with the Phillips head screwdriver. | ||
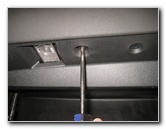 3rd Upper Screw |
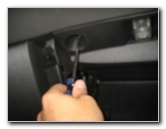 |
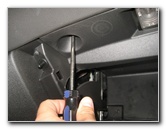 4th Top Screw |
| Set the seven screws aside in a safe place. | ||
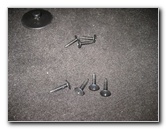 7 Screws Removed |
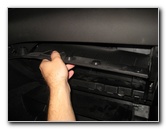 Pull Off Plastic Cover |
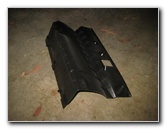 Plastic Panel Removed |
| Gently pull out the plastic panel and set it aside in a safe place. | ||
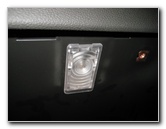 Small Notch - Front Edge |
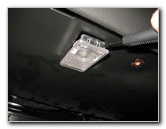 Gently Pry Out Housing |
 Light Housing Removed |
| Insert the blade of
the small flathead screwdriver in to the notch at the front edge of the
light housing. Gently pry out the light housing. |
||
|
|
||
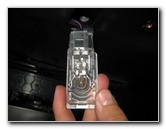
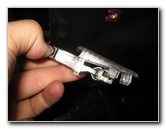 Press Tab - Release Plug |
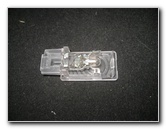 Power Plug Disconnected |
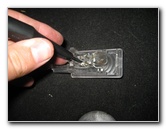 Gently Push Out Bulb |
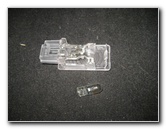
| Press in the tab on
the electrical connector before sliding the power plug straight out of its
socket. If the old bulb was recently turned on, be careful since it might still be hot enough to burn your fingers. Either pull out the old bulb with your fingers or gently push it out from the rear of the socket with a small flathead screwdriver. |
||
 Old Light Bulb Removed |
 Old # 168 Light Bulb |
 Push In New Light Bulb |
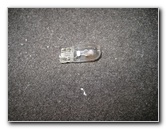
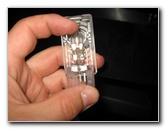
| Push a new number
168 light bulb straight
in to the socket. If you would like to have a brighter glove box light, choose an LED upgrade. |
||
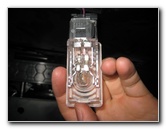
 Push In Power Plug |
 |
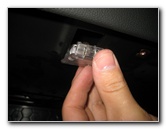 Re-Insert Wires First |
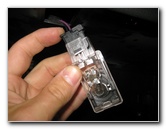
| Push the power plug
back in to its socket. Re-insert the wires and the rear edge of the light housing back in to place. |
||
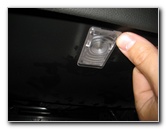 Gently Pop In Housing |
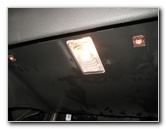
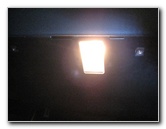 Testing New Light Bulb |
 |
| Gently snap in the
front edge of the light housing to secure the retaining clip. To test the new light bulb, open and close the glove box or press the "Unlock" button on the key fob to activate the interior lights. |
||
 Replace Plastic Panel |
 |
 Replace Phillips Screws |
| Push the plastic
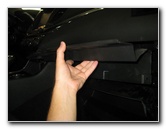
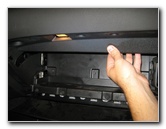
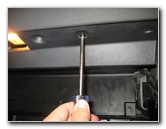
panel back in to place. Replace the four screws at the top edge of the panel by turning them clockwise with the Phillips head screwdriver. |
||
 |
 4 Upper Screws Replaced |
 Replace 3 Lower Screws |
| Then replace the three Phillips head screws near the bottom edge of the panel by turning them clockwise until they are snug. | ||
 Raise Glove Box |
 Firmly Push In Side Walls |
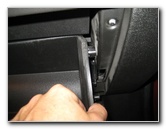 Re-Insert Side Stoppers |
| Raise the glove box
and firmly push in the side walls. Re-insert the plastic side stops behind the dashboard. |
||
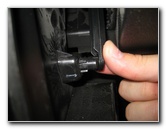 Re-Attach Damper Arm |
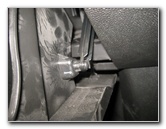 Damper Arm Secured |
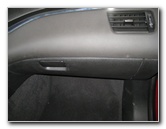 Close Glove Box |
| Push the glove box
damper arm back on to its mounting peg. Replace the contents of the glove box and close it to complete the job. For more, check out all of my
2014-2018 Chevrolet Impala DIY Repair & Maintenance Guides. |
||
| If you found this guide to be helpful,
please consider making a small donation by clicking on the PayPal.com
"Donate" button located to the right of this paragraph. Thank you!
(Note: I am not a registered charity. Donations are not tax deductible.) |

