
2009-2013 Toyota
Corolla Trunk Cargo Net Installation Guide
How to install a cargo net in the trunk of a
tenth generation (2009 to 2013) Toyota Corolla sedan with pictures.

By Paul B. Michaels Author & Photographer Auto Mechanic Since 1989 |
||
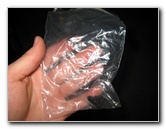
 Corolla OEM Cargo Net |
 2010 Corolla S Trunk |
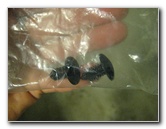
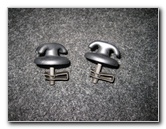 Included Mounting Hardware |
| This automotive
accessory installation "how-to" guide was specifically written to assist
owners of the 10th generation (2009, 2010, 2011, 2012 and 2013)
Toyota Corolla sedan in adding a Toyota OEM accessories bungee cargo
net to the trunk. Owners of other Toyota, Lexus, Scion or similar Pontiac sedans or coupes such as the Altis, Axio, Camry, Yaris, Avalon, Prius, tC, G5, ES350, IS 250, IS F, G6 and G8 may also find these DIY instructions to be helpful. The procedure should be the same or similar for earlier generations of Corolla vehicles such as the 2003-2008 models. I purchased this Toyota Corolla cargo net with mounting hardware on Amazon. The only tool needed to install the cargo net is a standard flathead screwdriver or a pop rivet removal tool used to pop out the black plastic "Christmas tree" or "pop rivet" friction fasteners. |
||
|
|
||
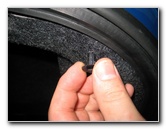
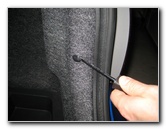 Pry Out Plastic Fastener |
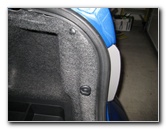
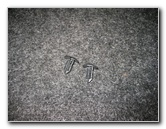 Two X-Mas Clips Removed |
 Peel Back Trunk Carpet |
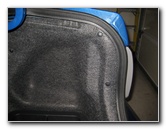
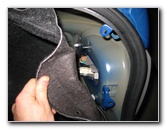
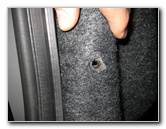
| First pop open the
trunk and locate the two round black plastic fasteners at each corner of the
trunk closest to the tail lights. Gently pry out the two fasteners at one corner of the trunk with the flathead screwdriver or a automotive panel removal tool. Peel back the trunk carpeting and slide the self threading panel clip metal piece of the mounting hardware on to the mounting hole near the bottom of the trunk. |
||
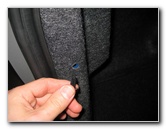
 Slide On Metal Threads |
 Replace Trunk Carpet |
 Screw On Cargo Net Hook |
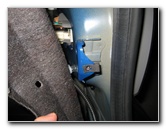
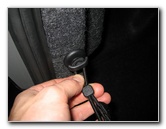
| Make sure that the
hole in the self threading panel clip lines up with the hole in the trunk's
body panel. Replace the trunk carpeting and thread in the cargo net hook into the lower hole. Do not over tighten the cargo net hook. |
||
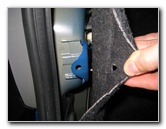
 Push In Top Friction Fastener |
 Right Side Complete |
 Left Side - Remove Fasteners |
| Re-insert the pop rivet friction fastener into the upper hole. | ||
|
|
||
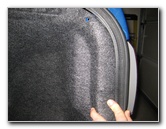
 Peel Back Carpet |
 Slide On Metal Hardware |
 Replace Trunk Carpet |
|
Repeat the same steps on the right side. Pry out the two friction fasteners, slide the self threading panel clip onto the lower hole, replace the carpet, screw on the cargo net hook, and push in the top friction fastener. |
||
 Lower Hole - Screw In Hook |
 Attach Cargo Net |
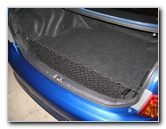 Envelope Bungee Net Installed |
| The final step is to attach the loops on the envelope style bungee cord cargo net to the hook on each side. | ||
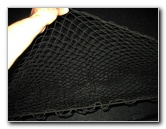 Bungee Cargo Net Opened |
 |
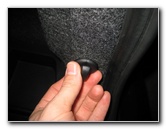
 Save Friction Fasteners |
| Be sure to save the
two pop rivet friction fasteners that you removed just in case you need them
in the future. For more check out my other guides below - |
||
| If you found this guide to be helpful,
please consider making a small donation by clicking on the PayPal.com
"Donate" button located to the right of this paragraph. Thank you!
(Note: I am not a registered charity. Donations are not tax deductible.) |