Honda Pilot
Key Fob Battery Replacement Guide
How to change a dead battery in the key
fob remote control for a 1st generation 2003 to 2008 Honda Pilot SUV.
By Paul B. Michaels Author & Photographer Auto Mechanic Since 1989 |
||
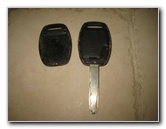
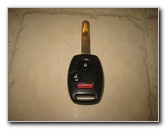 2006 Pilot Key Fob |
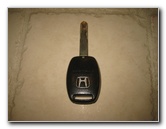 Back Side of Key Fob |
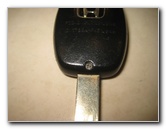 Small Phillips Head Screw |
|
This
automotive maintenance tutorial was specifically written to assist
owners of the first generation (2003, 2004, 2005, 2006, 2007 and
2008) Honda Pilot SUV in changing a dead battery in the key fob
remote control for the keyless entry system. Owners of other Honda or Acura vehicles such as the Accord, Civic, Crosstour, CR-V, CR-Z, Fit, Insight, Odyssey, Pilot, Ridgeline, ILX, TSX, TLX, TL, RLX, RDX, NSX and MDX may also find these DIY instructions to be helpful. The compatible replacement coin cell (A.K.A. "watch" or "button") battery is part number CR1616. It is available from various manufacturers such as Panasonic, Sony, GE, Maxell, Energizer, Toshiba and Renata. The tools needed to access and replace the key fob battery include a small #0 Phillips head screwdriver and a small flathead screwdriver such as in a Jewelers Screwdriver Set. You may also want some Loctite Blue to secure the screw again. |
||
|
|
||
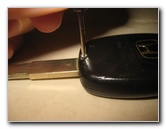
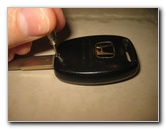 Loosen Counterclockwise |
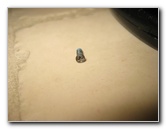 Phillips Head Screw Removed |
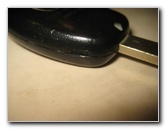 Small Notch On Side |
| The first step is
to separate the key ring and your other keys from the fob. Then turn over the key fob and locate the small Phillips head screw. Use a small #0 Phillips head screwdriver to carefully loosen the screw in the counterclockwise direction. The screw may seem tight and can be very easy to strip, so be sure to apply some downward pressure and turn very slowly. (Honda uses a thread locking compound similar to Loctite or Permatex Blue threadlocker liquid to keep the screw from vibrating out of the fob. If you do strip or damage the screw, you may need to use a very small drill bit and an electric drill to carefully remove it.) Set the screw aside in a safe place. Locate the small notch on the side of the fob. |
||
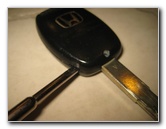 Insert Flathead Screwdriver |
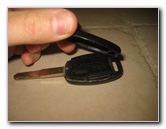 Lift Bottom Edge First |
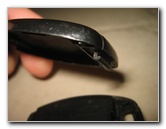 Plastic Hook - Top Hinge |
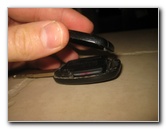
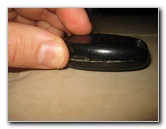
| Insert a small
flathead screwdriver in to the notch and gently pry apart the two halves of
the fob. Raise the bottom part of the rear cover first and then lift the plastic hook out of the front cover by the key ring loop. |
||
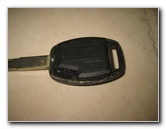 Remote Control Unit |
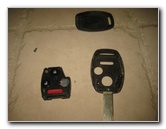 Lift Out Remote Control |
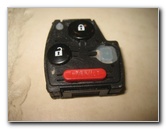 Remote Control Removed |
| Pull the remote
control unit out of the front cover of the fob. The remote control unit has a clip on the bottom and another on the top that hold together the two halves. |
||
|
|
||
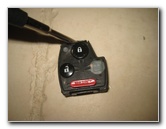 Gently Loosen Top Clip |
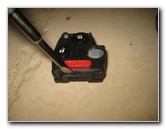 Gently Pull Back Bottom Clip |
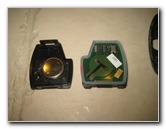 Separate Two Halves |
| Gently insert the
blade of the small flathead screwdriver in between the clip and the remote
control unit to release the locking tabs. Pull apart the remote control unit and the rear cover which houses the battery socket. |
||
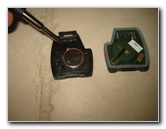 Gently Pry Out Old Battery |
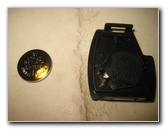 Old Battery Removed |
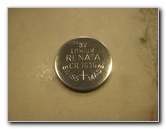 Renata CR 1616 3V |
| Either use your
finger nail or the small flathead screwdriver to gently pry the old battery
out of the holder. The old battery in this fob was a Renata CR1616 lithium 3 volt cell. |
||
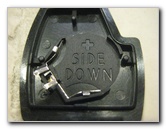 Positive Side Down |
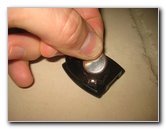 Install New Battery |
 New Battery Installed |
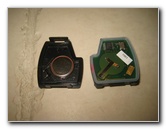
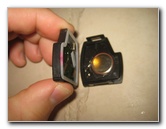
| Push a new CR1616 battery in to the socket with the "+" positive side facing down and the "-" negative side facing up towards you. | ||
 Snap Together Remote |
 Press Button - Red LED Light |
 Replace Remote Control |
| Line up the top of
the remote control unit with the bottom cover and gently snap them back
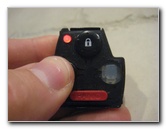
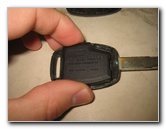
together. Press the "Unlock" button to test the new battery. You should see the red LED light illuminate. Lower the remote control unit in to the fob housing. |
||
 Remote Control Replaced |
 Re-Insert Plastic Hook |
 Close Rear Cover |
| Re-insert the
plastic hook at the top of the rear cover in to the slot on the front part
of the fob. Lower the bottom half of the rear cover towards the metal ignition key. Snap together the two halves of the fob housing. |
||
 Tighten Phillips Screw |
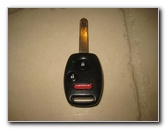 Key Fob Re-Assembled |
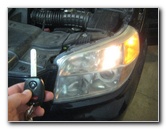 Test New Key Fob Battery |
| Re-insert the tiny
screw and tighten it in the clockwise direction with the Phillips head
screwdriver. An optional step is to apply a very small amount of Loctite Blue medium strength threadlocker to the screw to prevent it from becoming loose and possibly lost. Try to avoid over tightening the screw to prevent from stripping it or cracking the plastic fob housing. To test the new key fob battery, stand near your SUV and press the "Unlock" or "Lock" buttons. If the new battery is working properly, you should see the parking lights flash and hear the door locks opening or closing. For more, check out all of my
2003-2008 Honda Pilot DIY Repair & Maintenance Guides. |
||
| If you found this guide to be helpful,
please consider making a small donation by clicking on the PayPal.com
"Donate" button located to the right of this paragraph. Thank you!
(Note: I am not a registered charity. Donations are not tax deductible.) |

