
Toshiba
Satellite A105 Laptop Dust Removal Guide
A guide to disassembling an overheating
Toshiba Satellite A105 laptop & removing dust from the processor heat sink.

|
This guide was specifically written to assist owners of the Toshiba Satellite A105 series of laptops in disassembling the computer to access and clean dust away from the heat sink to prevent the processor from overheating or becoming damaged. Owners of other Toshiba laptops including the A205, A305, M115, A135, A215, A300, A355, L300, L305, L355, M105, M205, M300, M305, P105, P205, P305, S300, or U400 series may find this guide to be useful due to a similar body style. |
||
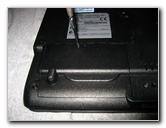
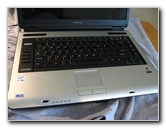
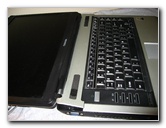
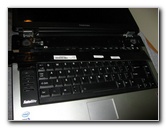
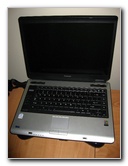 Toshiba A105-S4254 |
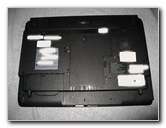 Satellite Laptop Underside |
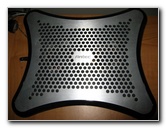 Antec Laptop Cooler |
| I've been
using this Toshiba Satellite A105-S4254 laptop just about every day,
all day, for the past three years.
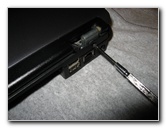
Recently I noticed that the laptop's main cooling fan was ramping up to it's highest (and loudest) speed during processor intensive activities such as encoding videos for this site. I thought that this could be an early sign of a dust clogged heat sink, which would eventually lead to processor overheating. The laptop never seems to overheat while it's on top of the Antec Laptop Cooler, but I didn't want to risk it overheating when I travel without the cooling pad. So I decided to completely take it apart to clean out all the dust. First, I laid down an old t-shirt to protect the laptop lid from scratching and removed the Li-Ion battery. |
||
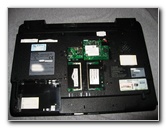
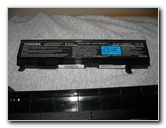 Battery # PA3399U-2BRS |
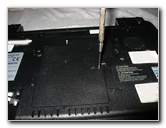
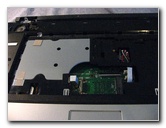
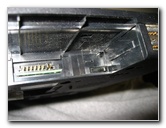
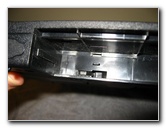
 Unscrewing HD Cover |
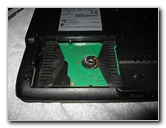 80GB SATA Hard Drive |
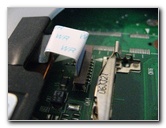
| The
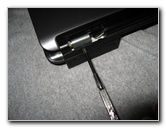
next step is to remove the hard drive cover (just one screw), slide the hard
drive to the left to disconnect it, and lift it out of the laptop case.
(If you live in a static prone environment, be sure to wear an anti-static wristband.) |
||
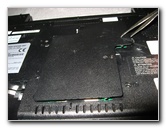
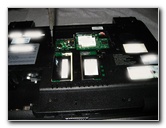
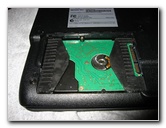 Slide HD To Left |
 Hard Drive Removed |
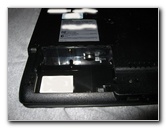
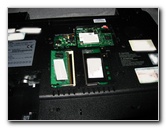
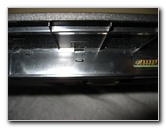
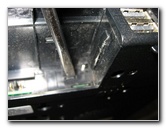
 Unscrew Ram Cover |
| Then unscrew the RAM memory cover (just one screw again) and pop it off using a flathead screwdriver or tweezers. | ||
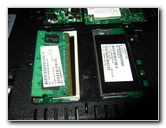
 Popping Off Ram Cover |
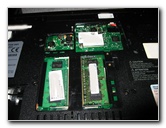 2 512MB RAM Sticks |
 Popping Out RAM |
| Remove
the two sticks of RAM by moving the side rails away from the RAM modules.
Put them aside somewhere safe away from liquids or static electricity prone surfaces. |
||
 |
 |
 RAM Removed |
 Unscrewing DVD Drive |
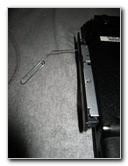 Manual Eject DVD Tray |
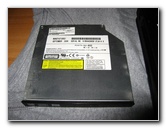 DVD Drive Removed |
|
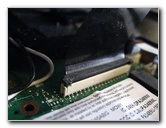
Next remove the one small screw that holds the DVD-RW/CD-RW multi drive in place. I had trouble getting the drive to slide out, so I used a paper clip to manually eject the DVD/CD tray and pulled the drive out of the laptop body. |
||
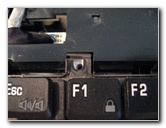
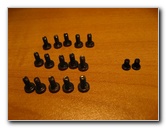 17 Laptop Underside Screws |
 Top of Laptop Body |
 Popping Up Keyboard Strip |
| The
first picture in the row above is of the 17 screws that I removed from the
bottom of the laptop.
Fifteen of the screws are the same size and two are slightly smaller. Double check to make sure that you got all of the screws out before you continue. There's nothing worse than trying to open up the case of a delicate electronic device without realizing that one screw is still holding it together. |
||
 Two Tabs, Each Side |
 Screen Folded Back |
 |
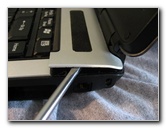
| The
hardest part about disassembling this Toshiba Satellite A105 laptop is
popping off the very stubborn keyboard strip.
Don't rush and be gentle or you will break the strip or cause damage to your computer's speakers. Start by inserting a small flat headed screwdriver in between the keyboard strip and the laptop. |
||
 Popping Tabs Along Strip |
 Keyboard Strip Removed |
 Removing Keyboard Screws |
| On each
side of the keyboard strip, there are two small hooks located in the middle
of the strip in line with the speaker openings.
They are about half an inch back from the side of the laptop. Once you get the strip popped up on both sides, fold the laptop's LCD screen back all the way. Then lift up the keyboard strip from the rear of the laptop towards yourself. |
||
 Left Keyboard Screw Out |
 Two Keyboard Screws |
 Keyboard Connector Removed |
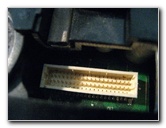
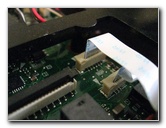
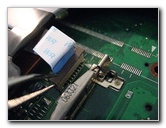
| Under
the keyboard strip, you'll find the two small screws that secure the
keyboard to the laptop.
Take them off and then carefully lift the keyboard until you can access the keyboard connecting cable. This type of connector has a lock that must be raised on each side before the cable can be removed. I used a pair of tweezers to pry up the locking mechanism. If you use a screwdriver instead, be very careful to not scratch or gouge the motherboard. |
||
|
|
||
 Keyboard Connector Unlocked |
 Rear Screen Hinge Screw |
 2nd Screen Hinge Screw |
| Once the keyboard is out of the way, unscrew the two screws on the rear of the LCD screen's hinge. | ||
 Two Rear Screen Hinge Screws |
 Keyboard Removed |
 LCD Screen Screws, Left |
 2 Screen Screws, Right |
 Removing LCD Screws |
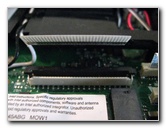
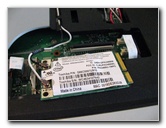 Pop Out WiFi Card |
|
Then unscrew the four screws on the front side of the laptop that hold the screen to the lower half of the computer. |
||
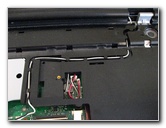 Wireless Card Antenna Wires |
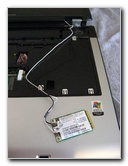 WiFi Antenna Wires Out |
 LCD Video Connector |
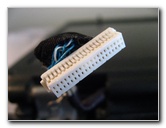
| Before you can completely remove the LCD screen, we have to pop out the WiFi card along with its antenna wires and the video connector cable. | ||
 Prying Up LCD Connector |
 LCD Video Connector |
 LCD Screen Socket |
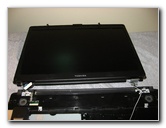
| After the 2 rear hinge screws, 4 top hinge screws, video connector, and wireless card with antenna wires are removed, the screen can be removed. | ||
 LCD Screen Disconnected |
 Disconnect Cables |
 DVD Control Cable |
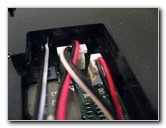
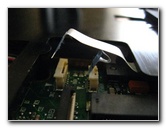
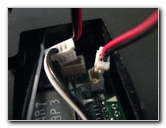
| Next we
need to disconnect the two audio connectors that go to the headphone and
microphone jacks.
They can just be lifted out with tweezers or you can pry them out with a flat head screwdriver. |
||
 Speaker & Audio Cables |
 Touchpad Control Cables |
 Unlocking DVD Connector |
| Then unlock and remove the DVD drive control cable and the two touchpad control cables. | ||
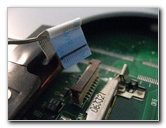 DVD Cable Disconnected |
 Touchpad Cable Disconnected |
 Cables Disconnected |
| Verify
that all of the cables have been disconnected before proceeding.
I forgot to disconnect the audio connectors and had to stop my attempt to separate the top and bottom halves of the case. |
||
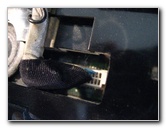
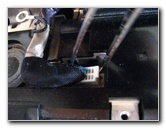
 3 Tabs, Battery Compartment |
 Case Tab 1 |
 Case Tab 2 |
| Next located the three tabs inside of the battery compartment and pop them in using a flathead screwdriver. | ||
 Case Tab 3 |
 Screwdriver, Popping Tabs |
 Disconnect Audio Connectors |
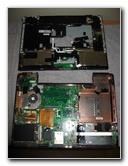
| Now
slide a thin piece of plastic along the side of the laptop to release the
tabs holding the left and right sides of the upper part of the laptop case
to the lower half. Just be gentle and take your time.
It took me a few tries to get it apart. |
||
 Case Top Removed |
 A105 Motherboard |
 Case Top & Motherboard |
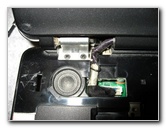
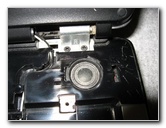
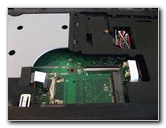
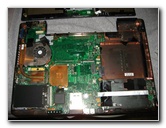
| With the top of the case finally removed, I could see the dusty motherboard inside my three year old Toshiba Satellite A105 laptop. | ||
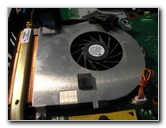
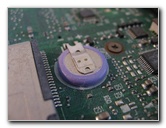 Toshiba CMOS Battery |
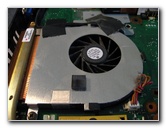 Main Laptop Cooling Fan |
 Intel Processor Heat Sink |
| At
first glance, the motherboard didn't seem to be all that dusty.
I decided to dig a bit deeper into the motherboard by removing the cooling fan housing. |
||
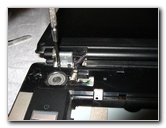
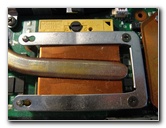
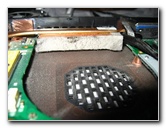
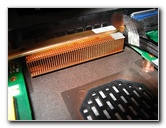
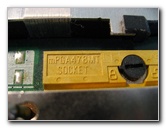 mPGA478MT Socket |
 Copper Heat Transfer Bar |
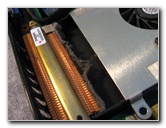 Copper Heatsink & Fins |
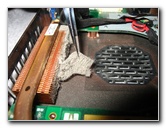
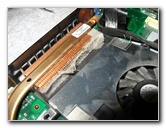 Fan Housing Removed |
 Thick Sheet of Lint & Dust |
 Heat Sink Fins Clogged |
| As you can see from the pictures above, the real culprit behind my laptop's poor cooling performance was a thick, clothes dryer lint screen style, sheet of dust covering the entire length of the copper heat sink. | ||
 |
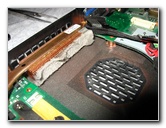
 Peeling Off Dust Layer |
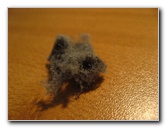 Ball of Dust & Lint |
| I
peeled off the dust sheet with tweezers and then blew the rest of it away
with a "Hurricane" brand dust blower bulb.
To reassemble my Toshiba Satellite A105, I reversed the steps above. At first, the laptop wouldn't boot up. If this happens to you, don't panic. Many times you just need to reseat the RAM chips. After I reseated the RAM modules, the computer booted up and ran perfectly with a breeze of cool air flowing freely out of the side. It took a lot of work to complete this procedure but it was worth the effort to keep my laptop performing well and extend it's useful life for a few more years. |
||
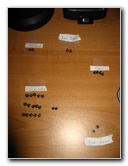 Laptop Case Screws Labeled |
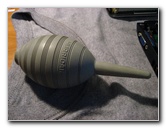 Camera Dust Blower |
 Cleaned Heatsink Fins |
| For
more of my related photo galleries, check out the following links:
Desktop Computer Ram Upgrade Guide,
TiVo Hard Drive Upgrade Guide,
HP iPAQ PDA GPS Navigation System,
Toshiba Satellite M115 Laptop Review,
Toshiba Satellite A105 Laptop Review,
Canon S5 IS Digital Camera Review,
HP iPAQ HX4700 Backup Battery Replacement Guide,
Microsoft Natural Keyboard 4000 Sticky Spacebar Repair Guide, and the
SanDisk Sansa Fuze 4GB MP3 Player Review. |
||
| If you found this guide to be helpful,
please consider making a small donation by clicking on the PayPal.com
"Donate" button located to the right of this paragraph. Thank you!
(Note: I am not a registered charity. Donations are not tax deductible.) |