
Nissan Altima Head Light Bulb Replacment
How to change a burnt out headlight bulb in a third generation 2002 to 2006 Nissan Altima sedan with the part numbers.
|
Main Menu Home Digital Cameras Misc. Pictures Articles My Blog |
 Home |
 Next |
 Last |
 |
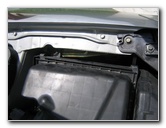
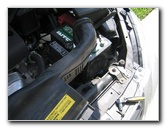
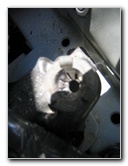
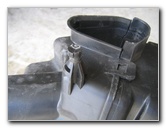
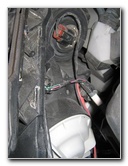
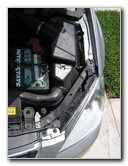 The Airbox Blocks The Bulb |
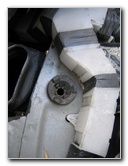
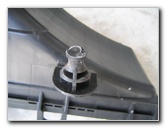
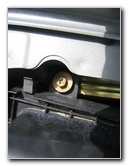 Remove This Bolt |
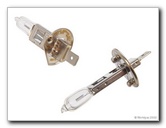
I recently helped a friend replace the head light bulb in his 2002 Nissan Altima. This picture illustrated replacement guide should be useful for all Nissan Altima owners with 3rd generation vehicles that are model year 2002, 2003, 2004, 2005 & 2006. The first picture in the row below is the Sylvania H1 55 Watt headlight bulb that was purchased for the swap. This guide is specifically written for the driver side but I will also give you a rough guide on how to replace the passenger side bulb. (The high beam bulb is part number
9005 and the front turn
signal is an 1157.) |
||
|
|
||
|
|
||
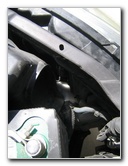
 Bolt Removed |
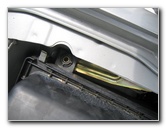
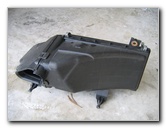
 Pop The Airbox Latches |
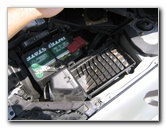
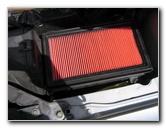 Red Air Filter |
|
Then unhinge the air box and move the top of the air box up and out of the way. It won't go far but you can move it a little bit. Then remove the air filter itself. If you'd like to replace the engine air filter, I recommend buying the Fram CA4309 since it has excellent reviews on Amazon. |
||
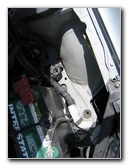
 Pop The Fasteners |
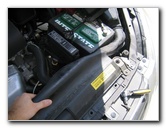 |
 Pull The Air Dam Out |
|
Then pop the fasteners that hold down the air dam that feeds into the air box. Pull the air dam out of the way and place it off to the side. |
||
 |
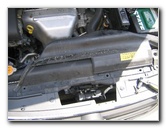
 Pull The Airbox Out |
 |
| Now you can pull the air box up and off the car. It is held in place by two friction push fasteners that you have to wiggle up and out of their respective holes. | ||
 |
 Airbox Fastener Hole |
 |
| Above you can see the air box fastener holes and below you'll see the corresponding pegs on the air box that fit in those holes. | ||
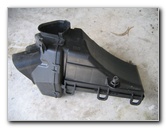 |
 Airbox Fastener |
 |
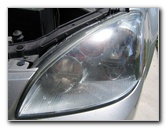 Driver Side Headlight |
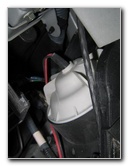 Headlight Bulb Housing |
 |
|
Once the air dam collector and the air box are out of the car, you can easily access the turn signal bulb, high beam and low beam head light bulbs. The last two pictures on this page are of the low beam
headlight bulb housing (white circular plastic cover). |
||
| If you found this guide to be helpful,
please consider making a small donation by clicking on the PayPal.com
"Donate" button located to the right of this paragraph. Thank you!
(Note: I am not a registered charity. Donations are not tax deductible.) |
Main Menu
Home
My Digital Cameras
Misc. Pictures
Articles
My Blog
|
Home |
Next |
Last |