
Mr. Beer Home
Brewing Kit Review & Guide
A consumer's opinion of the Mr. Beer Home
Brew system including step by step picture illustrated instructions.

 Mr. Beer Deluxe Kit |
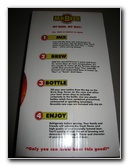 4 Easy Steps |
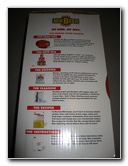
 Beer Mix Varieties |
|
This Mr. Beer Deluxe Kit was a birthday gift from my thoughtful brother.
I really enjoy these type of "Do It Yourself" (DIY) projects, especially
when they involve tasty food or beverages. My first batch of beer was the "West Coast Pale Ale" which was included with this home brewing system. I bottled it in 20 ounce water bottles and it received favorable reviews from my friends. Since then the Mr. Beer box had gathered dust in my garage due to an extremely busy senior year of college. Now that I have a little more time, I ordered the "Whispering Wheat Weizenbier" light mix and a set of eight 1 Liter Mr. Beer plastic PET screw top bottles. The mix's description promised a German Hefeweizen style beer that is a cloudy pale gold color with a fruity flavor that goes great with a slice of lemon. |
||
 Microbrewery Contents |
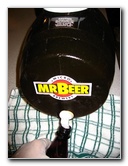
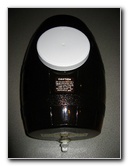 Plastic Brew Keg |
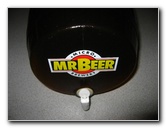 Spigot |
| One of the best
commercially available Hefe-Weizen beers, which is German for "Yeast Wheat",
is made by the Toucher brand.
I had really enjoyed their "Toucher Hefe Weiss" product in the past so I was really excited to try brewing my own similarly styled beer. |
||
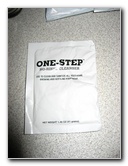 One Step Cleanser |
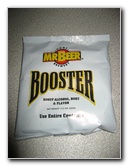 Booster Corn Sugar Pouch |
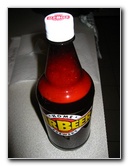
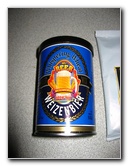 Whispering Wheat Weizenbier |
| Before I got
started, I re-read the "Brewing Instrucitons" booklet and also the "Brewing
With Mr. Beer Guide"
book because I didn't want to make a mistake and waste the mix kit
ingredients.
The first step was to sanitize everything that would come in contact with the water or wort mixture. You can use either the One-Step sanitizer powder or diluted household bleach. The instructions mentioned that the using the One-Step did not require rinsing, but I felt better washing everything again with hot water. If you opt to utilize bleach instead, definitely rinse everything well until you can't smell the chlorine odor anymore. |
||
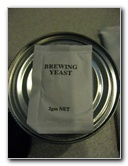 Brewing Yeast Packet |
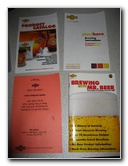 Instruction Manuals |
 4 Quarts Cold Tap Water |
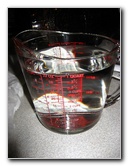
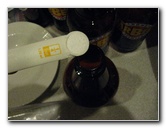
| Once everything was
sparkling clean, I put on some powder free white latex medical examination
gloves that I had bought on eBay for performing messy engine oil changes.
"Nurse, wheel in the patient."
I added the 4 quart of cold tap water to the plastic brewing keg and put the beer mix can in a measuring cup full of hot tap water. |
||
 Sanitized Ladle & Cup |
 4 Cups Cold Water |
 Heating Up Beer Mix Can |
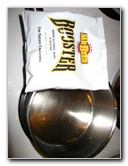
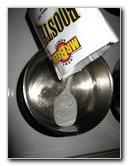
| I combined four
cups of cold tap water and the pouch of Booster corn sugar into a medium
sized metal pot.
Then I stirred until the sugar completely dissolved, heated it to a boil and took it off the burner. The final step in creating the wort mixture was to add the sweet syrupy concentrated Whispering Wheat Weizenbier malt extract into the pot and mixing well. |
||
 |
 Stirring In Booster |
 Corn Sugar Booster |
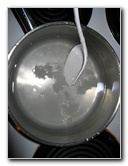 Completely Dissolve |
 Boiling Water & Booster |
 Warmed Beer Mix Can |
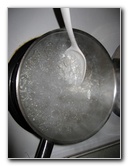
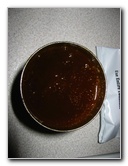
 Stirring In Whispering Wheat |
 Weizenbier Wort Mixture |
 Transfer Wort To Measuring Cup |
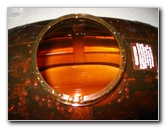
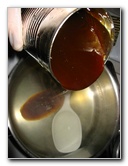
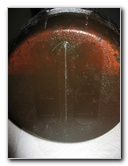
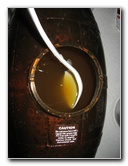
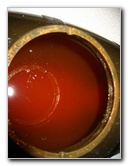
| The aroma of the
sweet fruity syrup filled the kitchen as I poured the hot wort from the pot
into a large Pyrex measuring cup.
I then carefully transferred the mixture into the Mr. Beer brew keg, topped it off to the 8 1/2 quart mark with cold tap water, and stirred for a minute. |
||
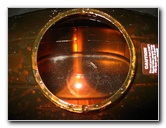
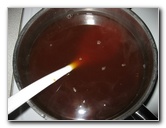
 Wort In Brewing Keg |
 Cold Tap Water To 8.5 Quart Mark |
 Sir Vigorously To Aerate |
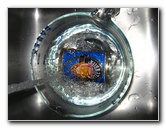
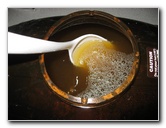
| Finally I opened
that little packet of brewer's yeast and sprinkled it on top of the wort.
I
felt as if I was feeding my pet fish who live in a very dirty tank.
As directed by the instructions, I waited 5 minutes, then aggressively stirred the keg to aerate it and introduce as much oxygen as possible into the liquid. |
||
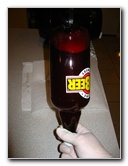
 Add Yeast & Stir Again |
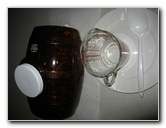
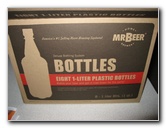 8 1 Liter PET Mr. Beer Bottles |
 Brown Plastic Bottles & Screw Caps |
|
Now the beer is ready for it's first fermentation stage in my high tech bedroom closet brewing facility. Fast forward a week later and it's ready to be bottled. I first washed out the bottles with the One Step cleaning powder and then applied the "Mr. Beer Home Brewery" vinyl stickers. |
||
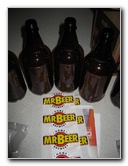 Applying Mr. Beer Labels |
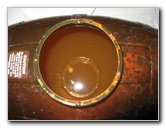
 Brew Keg 7 Days Later |
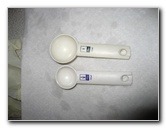 Sanitized Measuring Spoons |
 Sanitizing Bottles |
 |
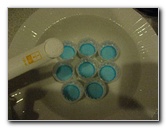 Sanitizing PET Bottle Caps |
 2.5 Teaspoons Sugar |
 Bottling The Beer |
 Flat Beer & Sugar |
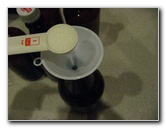
| The guide book
called for two and a half teaspoons of ordinary white table sugar to be
added into each bottle as fuel for the yeast's secondary fermentation and
carbonation process.
Be sure to verify the proper amount of sugar for your bottle size and to measure it carefully. If you add too little the beer will taste flat while too much sugar will cause the bottle caps to explode or the beer to spray out when you open them. I filled the 1 liter PET bottles up to the beginning of the neck or about one to two inches below the cap to allow room for the carbonation pressure. |
||
 Dissolving Sugar |
 Second Fermentation |
 Leftover Yeast Sediment |
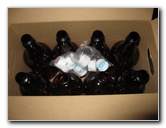
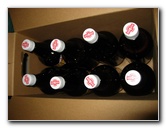
| To dissolve the
sugar I gently turned the bottles upside down several times and then placed
them inside their box.
After bottles 1 to 8 were tucked away in my closet to ferment and carbonate for seven more days, I decided to bottle the left over liquid and sediment. I was able to fill one full 12 ounce bottle of beer with "sludge" and added 3/4 of a teaspoon of sugar. |
||
 Special Bottle # 9 |
 Watered Down # 10 |
 |
| Not wanting to
waste the last of what was left in the keg, I bottled beer # 10 which had to
be topped off with a few ounces of water.
Again, I added three fourths of a teaspoon of white table sugar. |
||
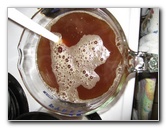
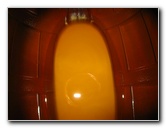
 12 Ounce # 9 |
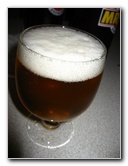
 # 9 Big Full Head |
 |
|
Let's skip ahead seven days ago and I'll end the suspense. Bottle # 10 was barely drinkable since it was watered down. It tasted like a beer that had been cooled down with ice cubes and left to sit for 10 minutes. This obviously wasn't a big surprise from bottle # 10. |
||
 |
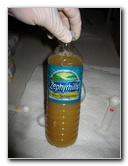
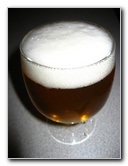
 Whispering Wheat Weizenbier |
 Foam Head Lacing |
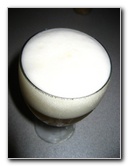
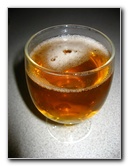
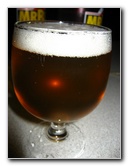
| The next chilled
bottle that I opened was the other 12 ounce bottle "# 9".
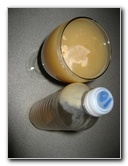
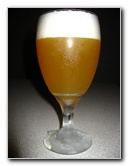
It had about an inch of sediment at the bottom and the bottle was very firm. It couldn't be stood up because the pressure of the secondary fermentation process had pushed out the bottom. Number 9 poured out with a thick creamy head and a very cloudy body. The distinct smell of fruity Hefeweizen beer wafted up to my nose. It tasted just as delicious as it smelled. I was elated that the final product had excellent characteristics. The addition of a traditional lemon slice completed the Weizenbier presentation. |
||
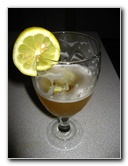 Great With Lemon Slice |
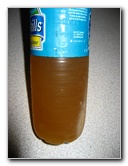
 Liter Bottle # 1 Under Carbonated |
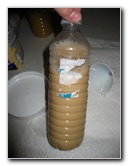
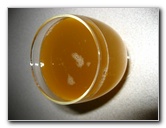 Full Bodied & Cloudy |
|
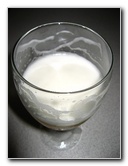
Much to my disappointment, when I opened the first of the one liter bottles it was slightly flat and didn't have a thick creamy foam head like the 12oz # 9. It still tasted good but didn't have the refreshing crispness of a beer with sufficient carbonation. Sadly all of the other seven 1L bottles were hit and miss when it came to having the correct amount of fizzy bubbles. Don't get me wrong, my friends and I still enjoyed the other 1L bottles but they became flat too quickly. Obviously I must have not put in enough sugar because I was too concerned about having the bottles burst in the closet all over my clothing. I did use a measuring spoon but perhaps I shook off too much of the "excess" sugar. For my next attempt, I plan on using slightly heaping spoonfuls of sugar rather than completely leveling them flat. To ensure that the bottles don't burst and spray on my shirts, I plan on gently pinching the bottles when I seal the cap to create a small vacuum. This will allow more room for the gas from fermentation to expand without popping the tops. Wish me luck! |
||
 |
 |
 Enjoy! |
| In order to get
free shipping, I plan on joining the Mr. Beer - Beer of the Month Club.
You can either choose from a variety of pre-selected beer mix combinations or choose your own with the "BrewFlex" plan as long as you spend at least $30.75. Then every 3 months they will send you another shipment of the same
mixes or you can change it up. |
||
| If you found this guide to be helpful,
please consider making a small donation by clicking on the PayPal.com
"Donate" button located to the right of this paragraph. Thank you!
(Note: I am not a registered charity. Donations are not tax deductible.) |