
Halloween Pumpkin Carving
2006
Pictures of our pumpkin carving process
from Halloween in October of 2006 including safety tips and creative techniques.

 |
 |
 |
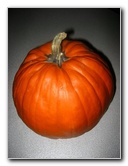
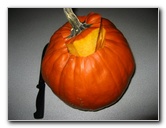
| In preparation
for Halloween 2006, we picked up a good sized pumpkin at the local
Publix Supermarket.
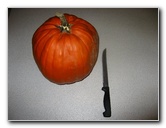
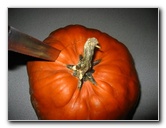
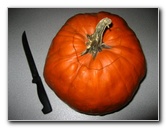
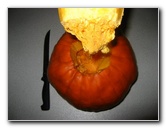
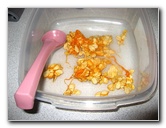
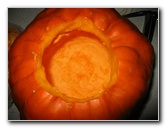
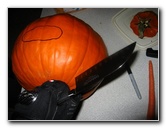
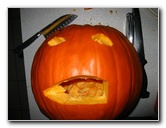
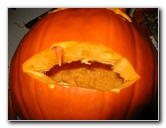
I plan on buying a pumpkin carving kit for next year with some cool designs that I can try out. After putting on my Alpinestars leather motorcycle gloves for added safety, I selected the sharpest knife possible to cut off the top of the pumpkin. Be sure to angle the knife downwards away from the pumpkin's stem so that the pumpkin cap won't just fall down on to the candles. The next step is the most messy and my favorite part. Get an ice cream scoop or any type of spoon and dig out all the pumpkin insides. Save the seeds if you'd like to create a lightly salted and baked pumpkin seed snack. You can also use the moist pumpkin innards to whip up a pumpkin pie filling. |
||
|
|
||
 |
 |
 |
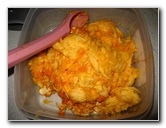
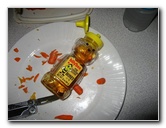
 Pumpkin Seeds & Innards |
 |
 Wear Gloves For Safety |
 |
 |
 Bake The Pumpkin Seeds |
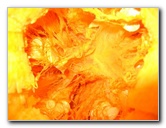
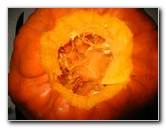
 Clean Pumpkin Insides |
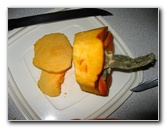
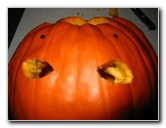
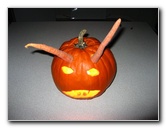
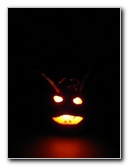
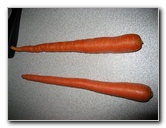 Carrot Pumpkin Horns |
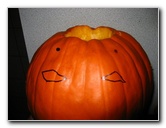 Draw Pumpkin Face |
 |
 |
 |
|
When I finished cleaning out the inside of the pumpkin and carving the eyes, I thought that it could use something extra. A search in the refrigerator revealed a bag of carrots that could become horns. I carved out small holes for the horns and used honey as an adhesive to keep them in place. |
||
|
|
||
 |
 |
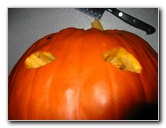
 Pumpkin Horn Honey Glue |
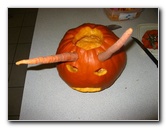
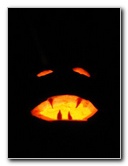
 Carved Carrot Fangs |
 |
 |
|
Rather than carving out some jagged teeth for my pumpkin, I decided to whittle a few carrot tips into sharp fangs and mount them into the pumpkin's mouth again using honey as a glue. |
||
 |
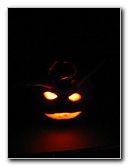
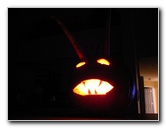 Spooky Glowing Pumpkin |
 |
| Our scary carved pumpkin for Halloween 2006 was finally complete. I dropped in a few tea light candles, lit them with a torch lighter and took these eerie pictures. | ||
 |
 |
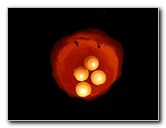 4 Tea Light Candles |
| Check out all of
the pumpkin carving tools and
templates at Amazon.com. |
||
| If you found this guide to be helpful,
please consider making a small donation by clicking on the PayPal.com
"Donate" button located to the right of this paragraph. Thank you!
(Note: I am not a registered charity. Donations are not tax deductible.) |