
Ford Explorer
Smart Key Fob Battery Replacement Guide
How to change the battery in the
intelligent smart key fob remote control of a 5th generation 2011 to 2015 Ford
Explorer.

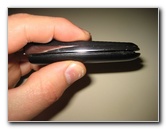
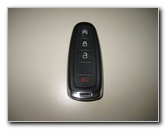 2014 Explorer Key Fob |
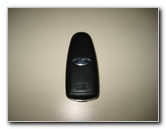 Back Side of Smart Fob |
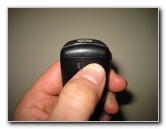 Slide Over Key Release Switch |
| This
automotive maintenance tutorial was specifically written to assist
owners of the fifth generation (2011, 2012, 2013, 2014 & 2015) Ford
Explorer SUV in changing the battery in the smart key fob remote
control for the keyless entry and push start ignition systems. Owners of other Ford or Lincoln vehicles such as the Fusion, Mustang, Taurus, Escape, Edge, Flex, Expedition, F-150, Focus, C-MAX, MKC, MKZ, MKX, MKS, MKT and Navigator may also find these DIY instructions to be helpful. A replacement coin cell (A.K.A. "button" or "watch") battery is part number CR2032 which is available from various manufacturers such as Panasonic, Sony, Duracell, Energizer, Maxell and GE. The only tool needed to replace the battery is a small flathead screwdriver. |
||
|
|
||
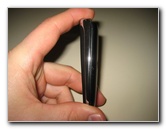
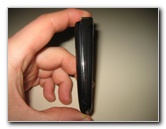
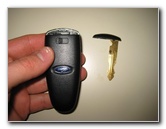 Remove Metal Ignition Key |
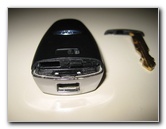 Empty Metal Key Slot |
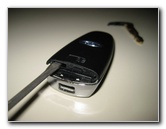 Screwdriver In Notch |
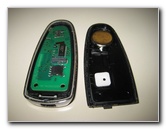
| The first few steps
are to turn over the key fob, slide the black plastic release switch and
pull out the back up metal ignition key from its slot. Set the metal ignition key aside in a safe place. Insert the blade of a small flathead screwdriver in to the slot where the key used to reside and gently pry apart the two halves of the fob. |
||
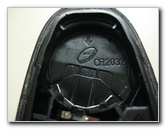
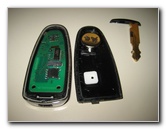 Back Cover Removed |
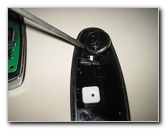 Pry Out Old Coin Cell Battery |
 Old Battery Removed |
| Gently pry out the old battery from its socket on the back cover of the fob either with your fingernail or carefully use the small flathead screwdriver. | ||
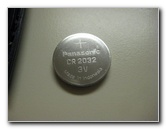 Panasonic CR 2032 3V |
 "-" Negative Side Up |
 Insert New CR2032 Battery |
|
|
||
| Insert a new
CR2032 3 volt coin cell battery in to the holder socket with the "+" positive side
facing down and the blank "-" negative side facing up towards you. Make sure that the new battery is securely installed in the back cover of the fob. |
||
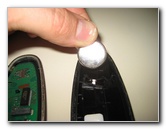
 New Battery Installed |
 Line Up Two Halves |
 Snap Together Key Fob |
| Line up the two
halves of the key fob and gently snap them together. Make sure that the two halves of the fob are flush together all the way around. |
||
 Flush Together All Around |
 Re-Insert Back Up Ignition Key |
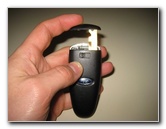
 Test New Fob Battery |
| Push the back-up
metal ignition key in to its storage slot until it clicks securely in to
place. Test the new key fob battery by standing near your SUV and pressing the "Unlock" or "Lock" buttons. If the new battery is working properly, you should see the parking lights flash and hear the door locks opening or closing. For more, check out my other
Ford Explorer DIY Repair & Maintenance Guides. |
||
| If you found this guide to be helpful,
please consider making a small donation by clicking on the PayPal.com
"Donate" button located to the right of this paragraph. Thank you!
(Note: I am not a registered charity. Donations are not tax deductible.) |