This automotive maintenance tutorial was specifically written to assist owners of the second generation (2017, 2018, 2019, 2020, 2021 and 2022) Mazda CX-5 SUV in taking off the plastic interior door panels and upgrading the OEM front door speakers.
Owners of other Mazda vehicles such as the CX-3, CX-30, CX-7, CX-9, Mazda3, Mazda6, MX-30, MX-5 Miata, Mazda2, CX-4, CX-8 and BT-50 may also find these DIY instructions to be helpful.
The tools needed to complete this procedure include a flat head screwdriver, a plastic pry bar tool, a Phillips head screwdriver, a 10mm socket and a 1/4″ drive ratchet from a standard socket set.
The first two steps are to lower the power window all the way down and fully open the door.
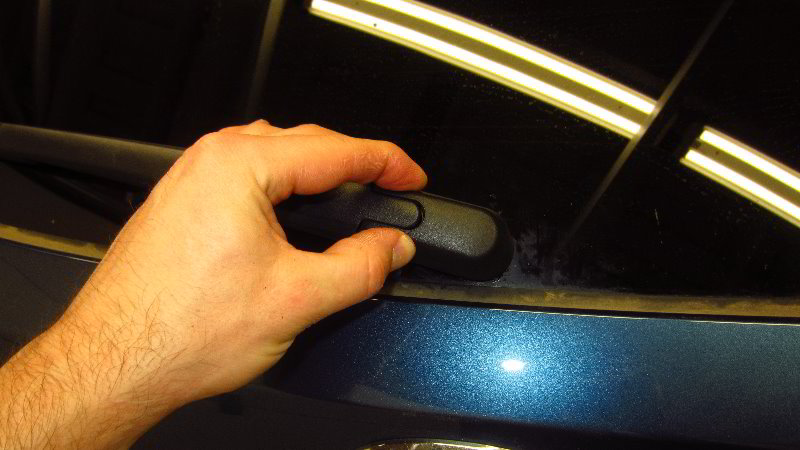
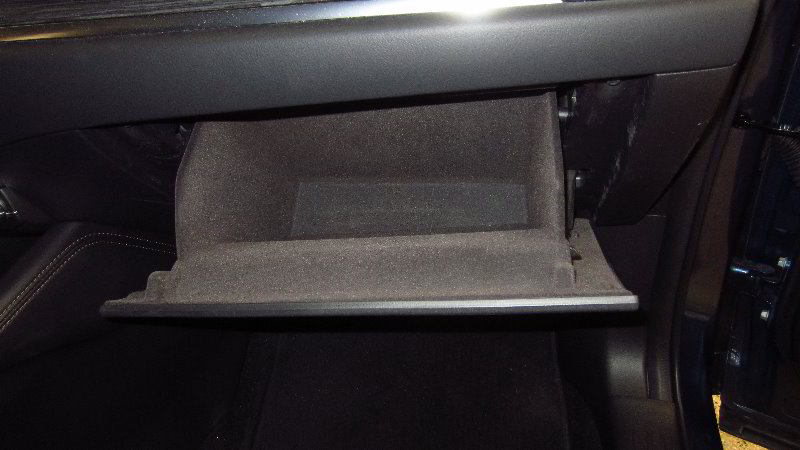
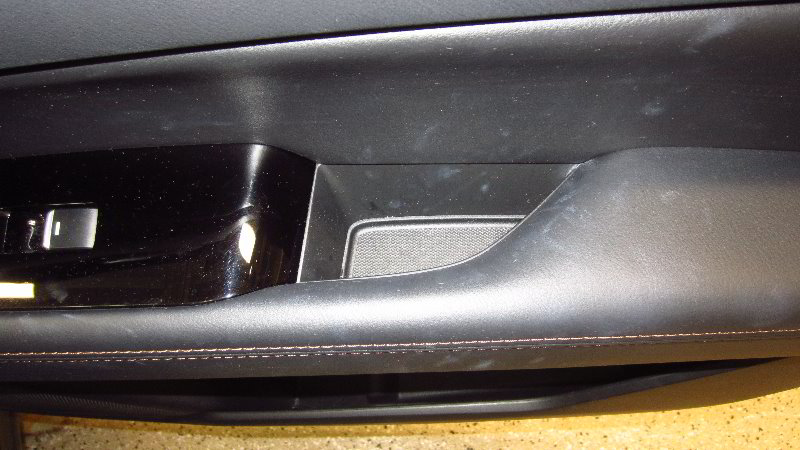
Locate the well (storage compartment) in the middle of the armrest behind the switch panel by the door pull handle.
Use the plastic pry bar tool or a flat head screwdriver to pry out the rubber cover at the bottom of the well.
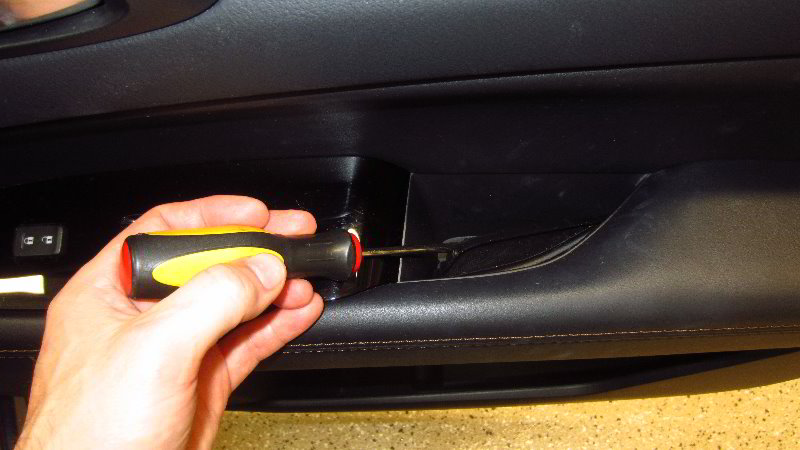

Set the rubber cover aside in a safe place.
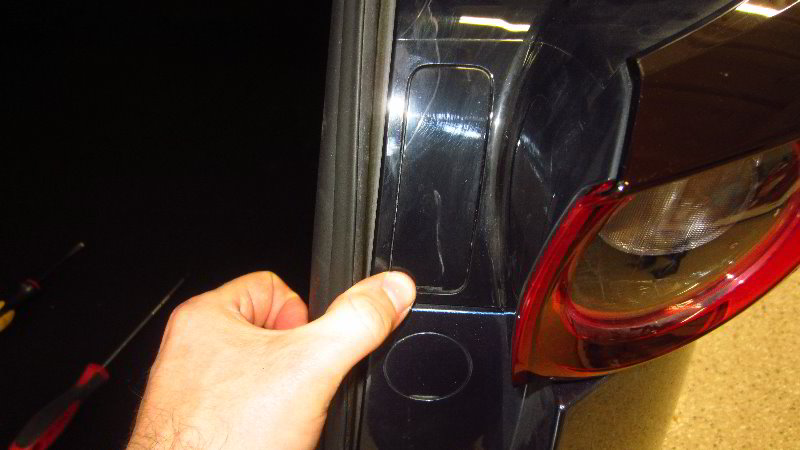
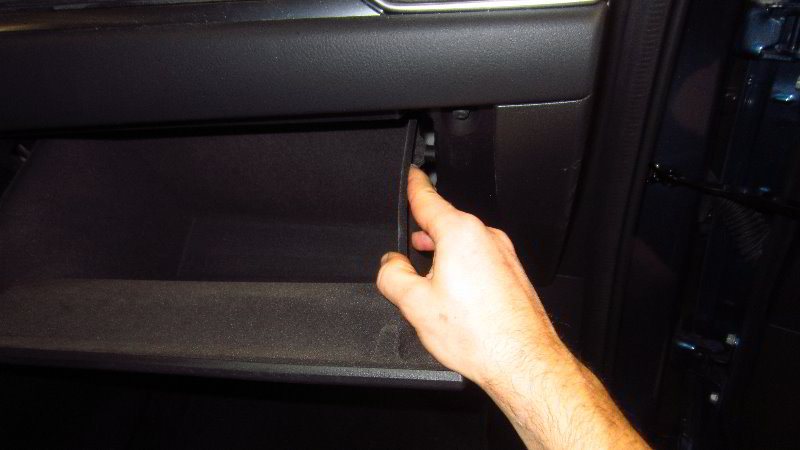
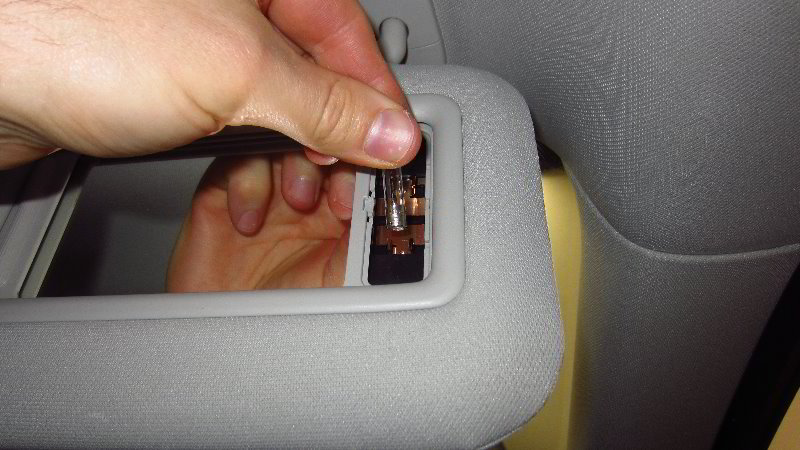
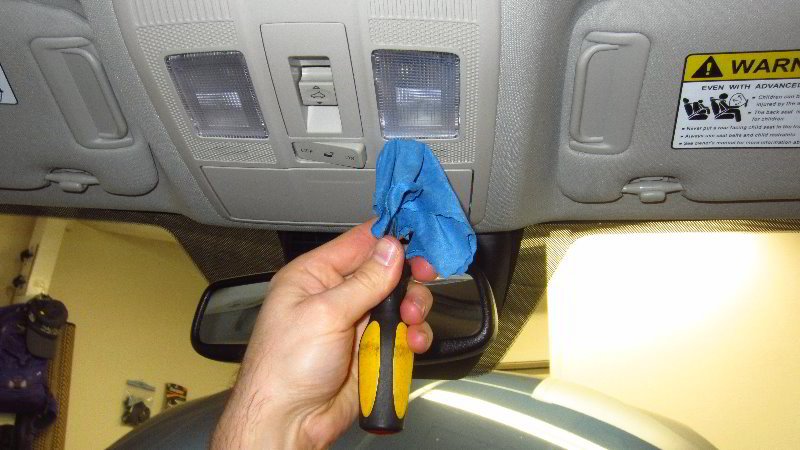
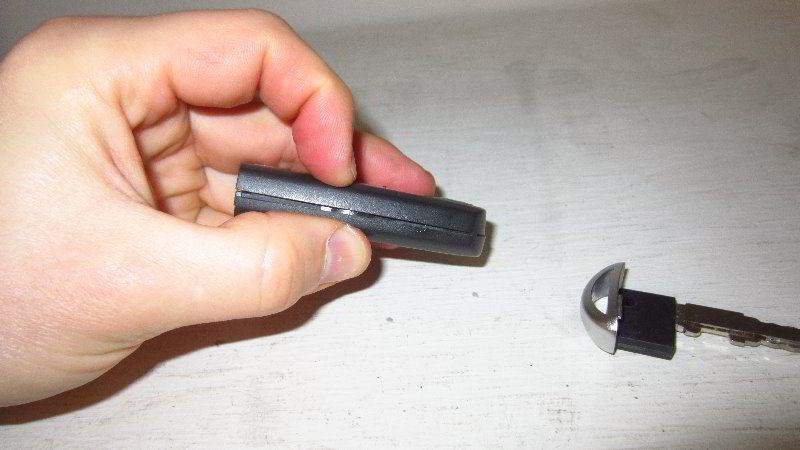
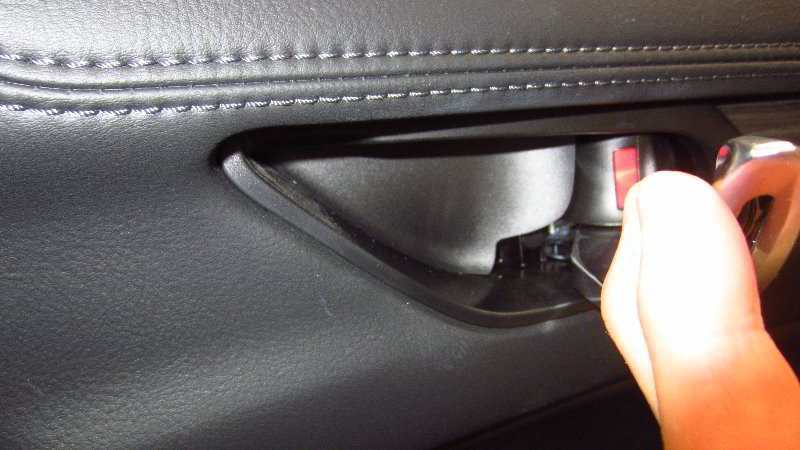
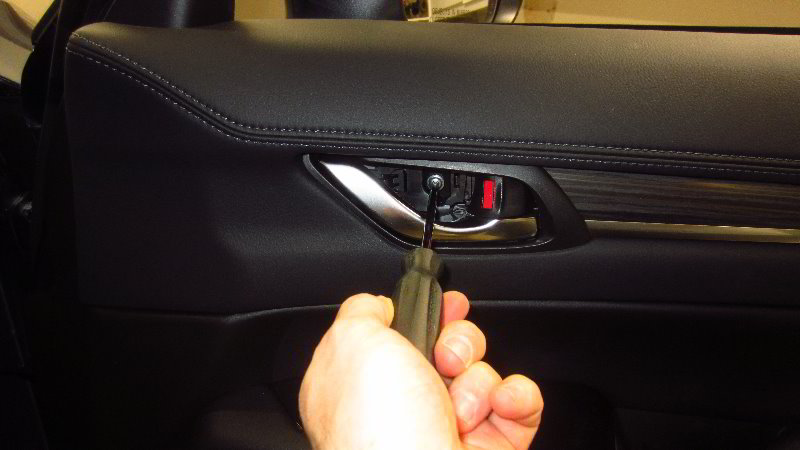
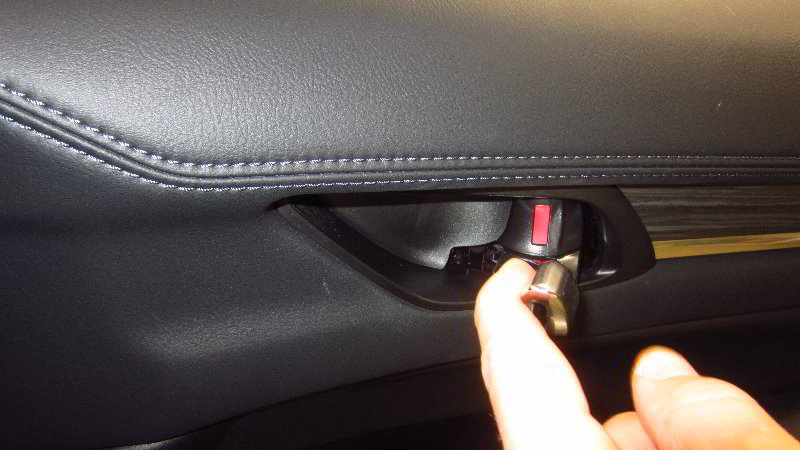
Move up to the door opener handle and door lock rocker switch.
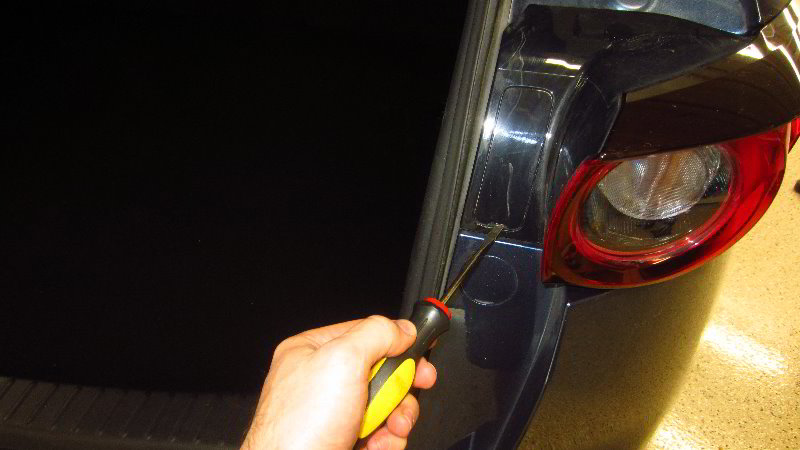
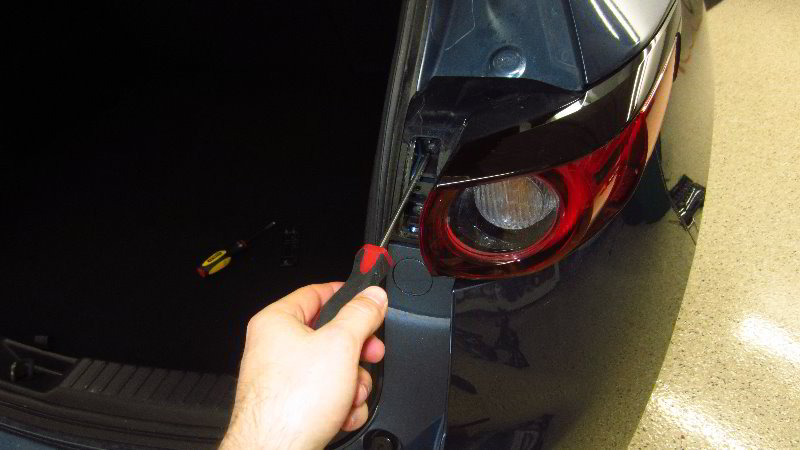
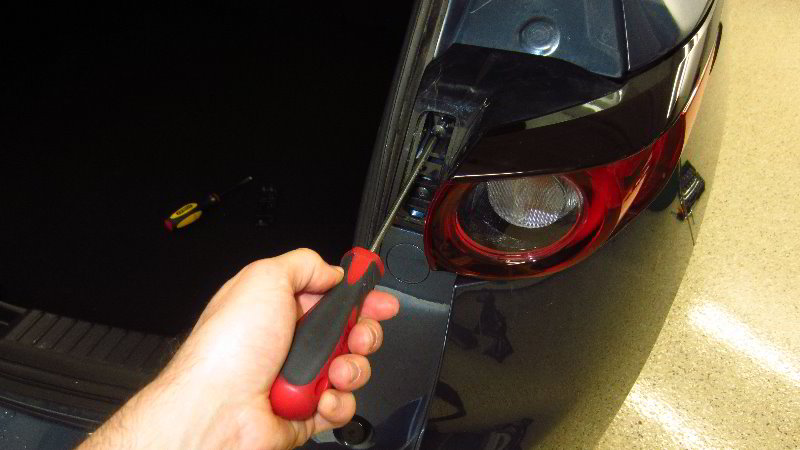
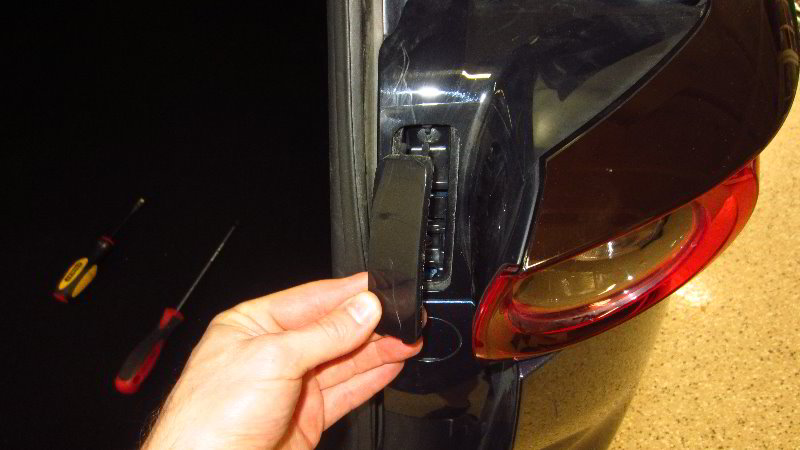
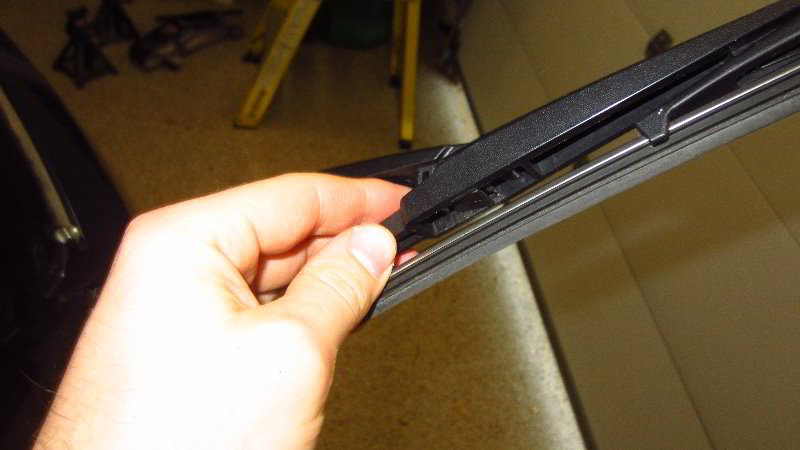
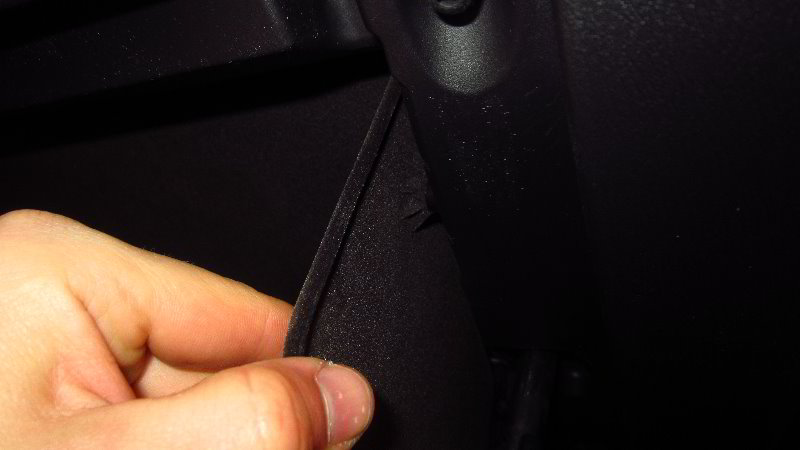
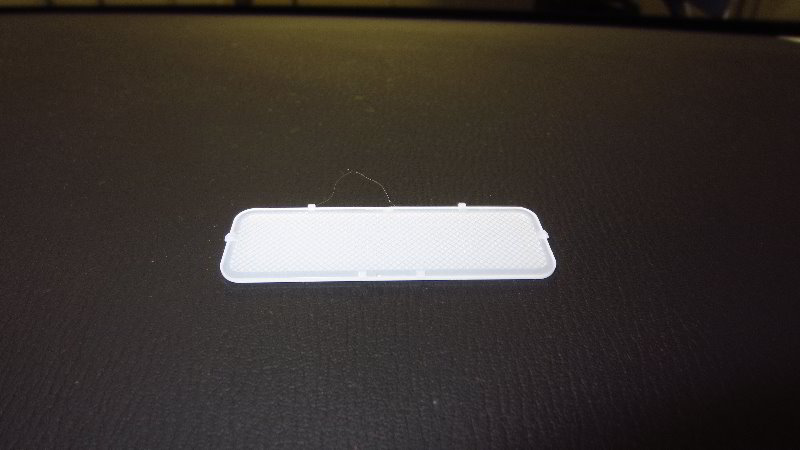
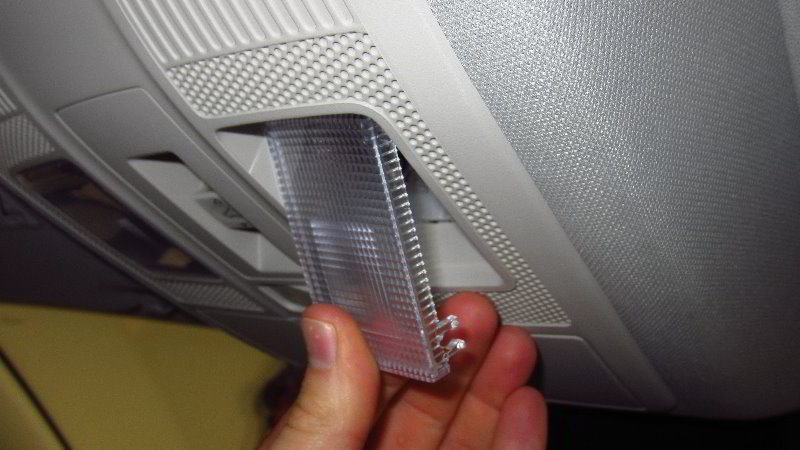
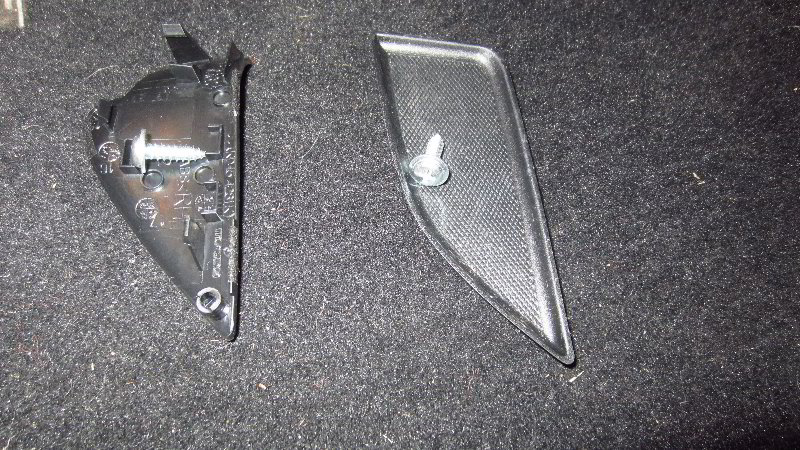
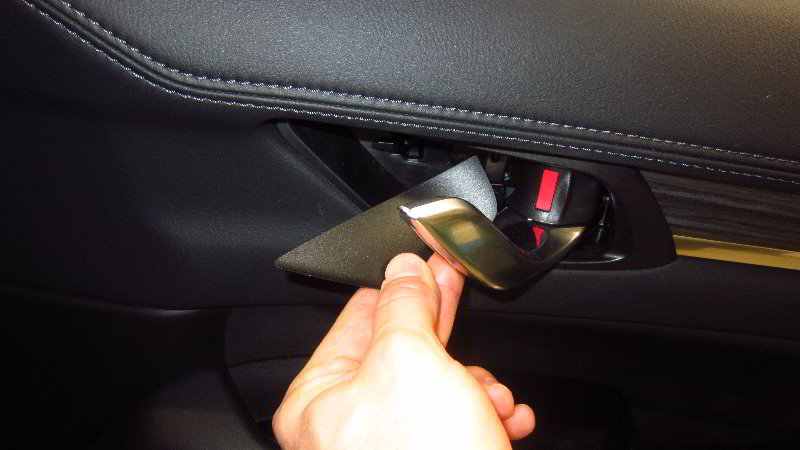
Swing out the door opener handle and locate the plastic trim piece behind it.
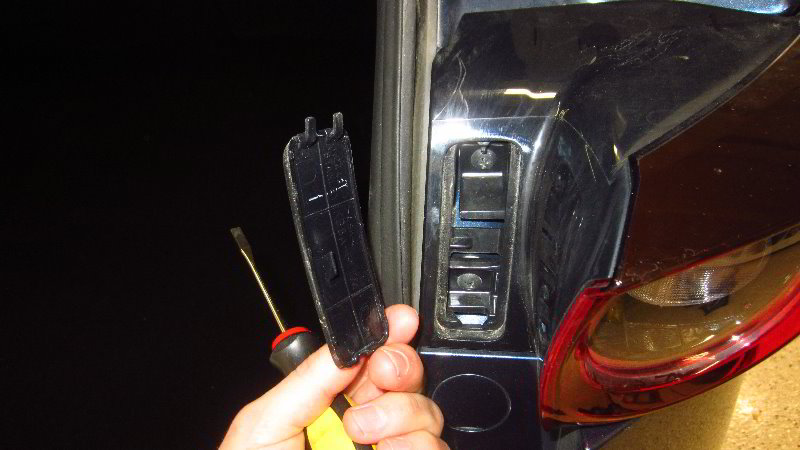
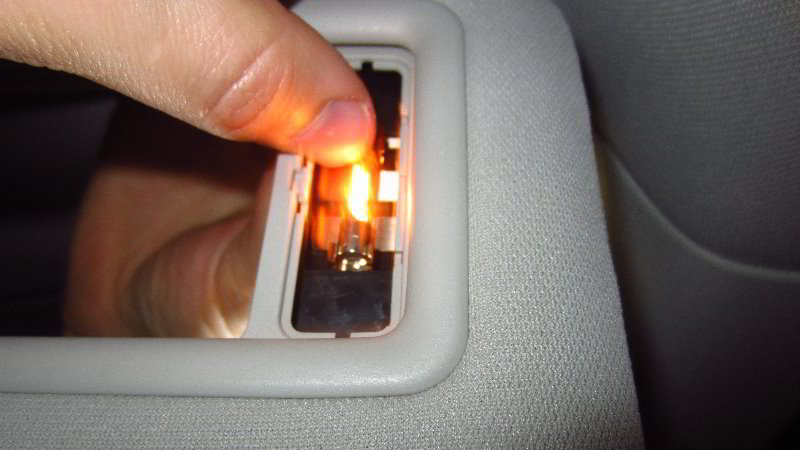
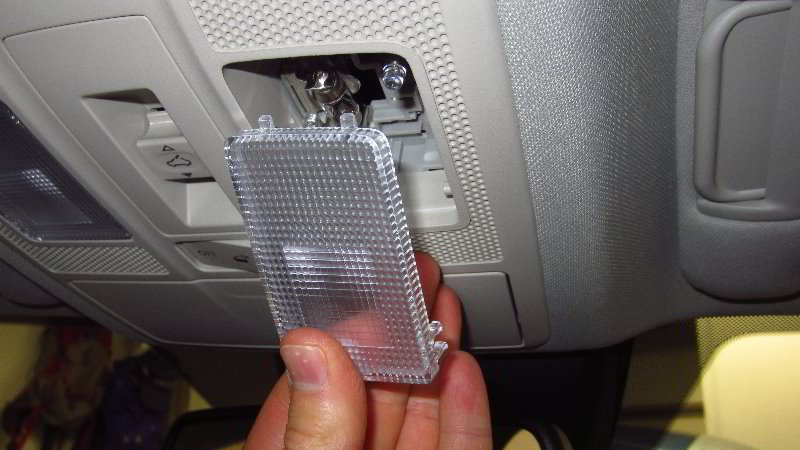
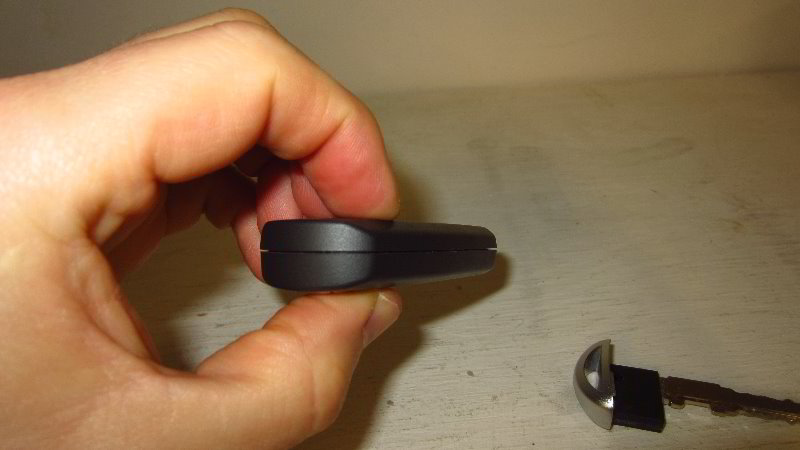
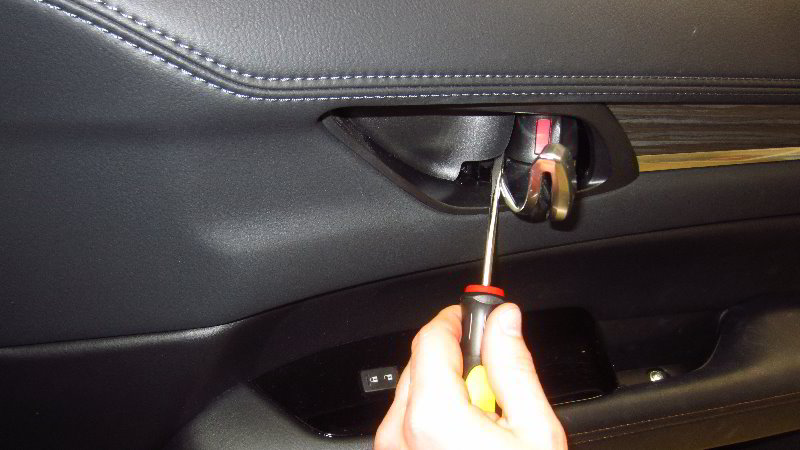
Use the flat head screwdriver to gently pry out the trim piece.
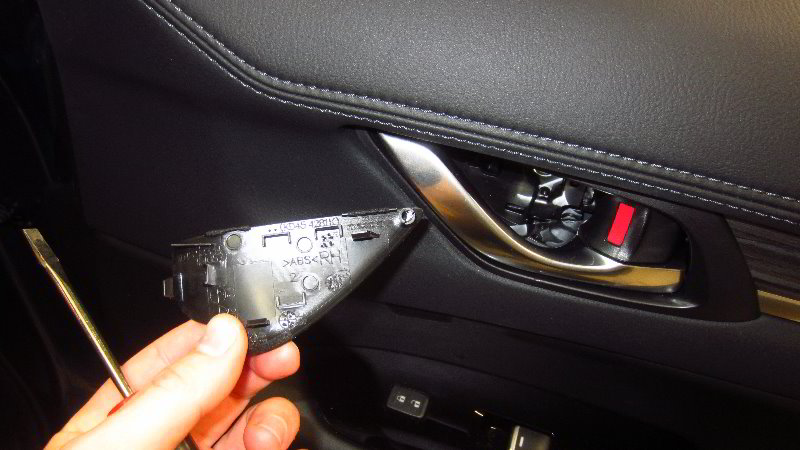

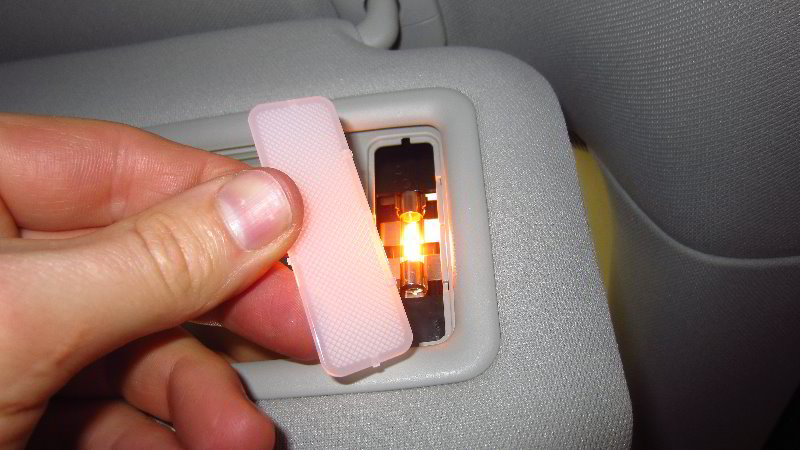
Set the trim piece aside in a safe place such as on the floor mat.
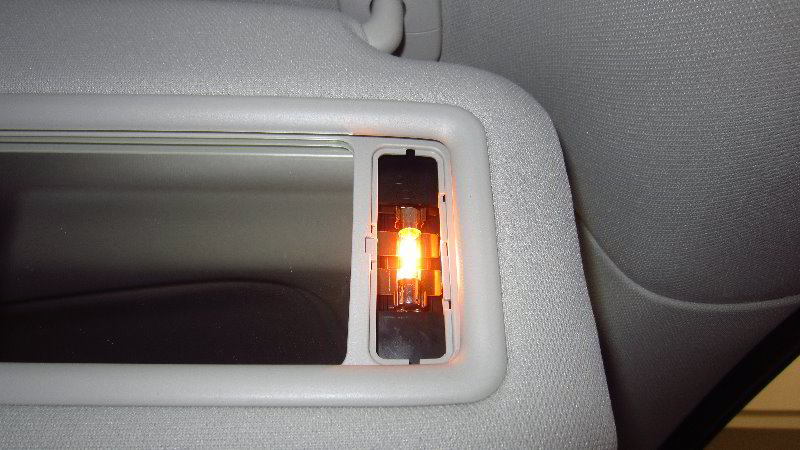
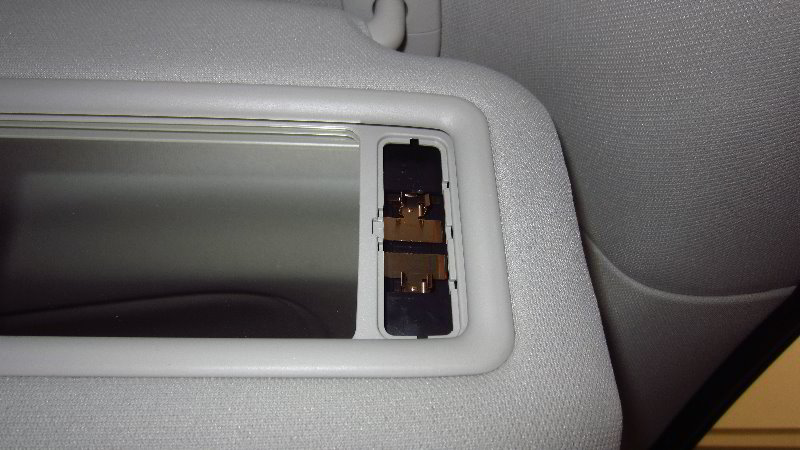
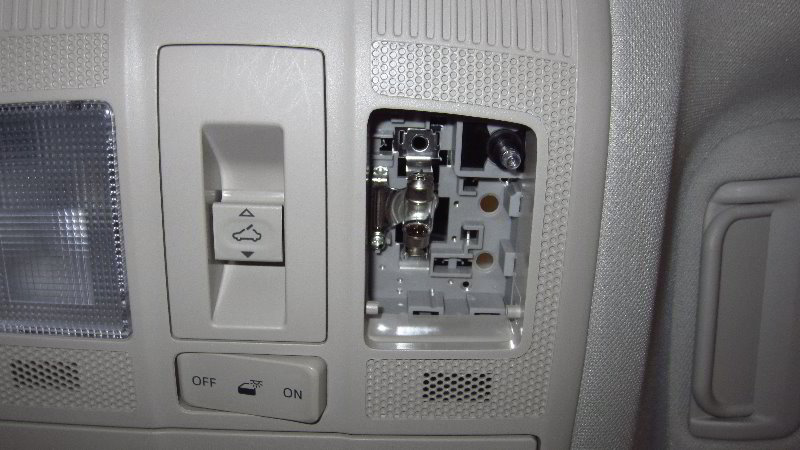
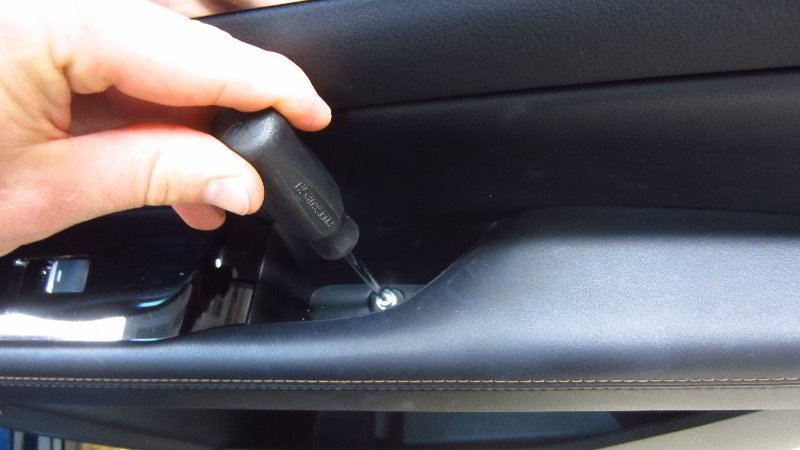
Loosen the screw behind the door opener handle by turning it in the counterclockwise direction with the Phillips head screwdriver.
Set the screw aside on its corresponding trim piece.
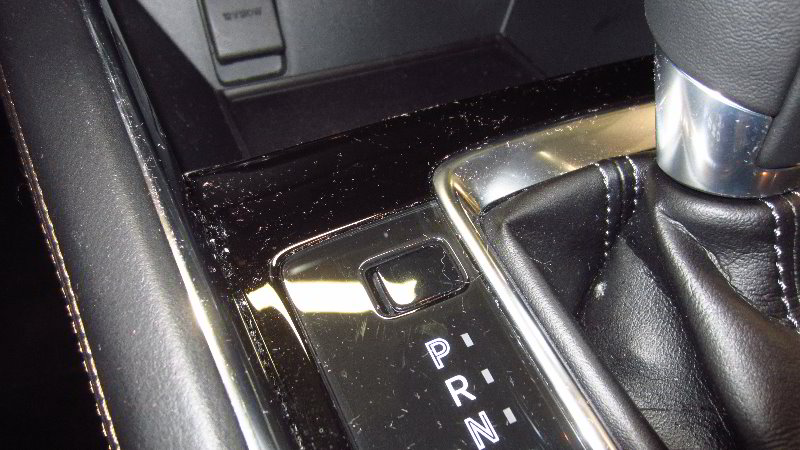
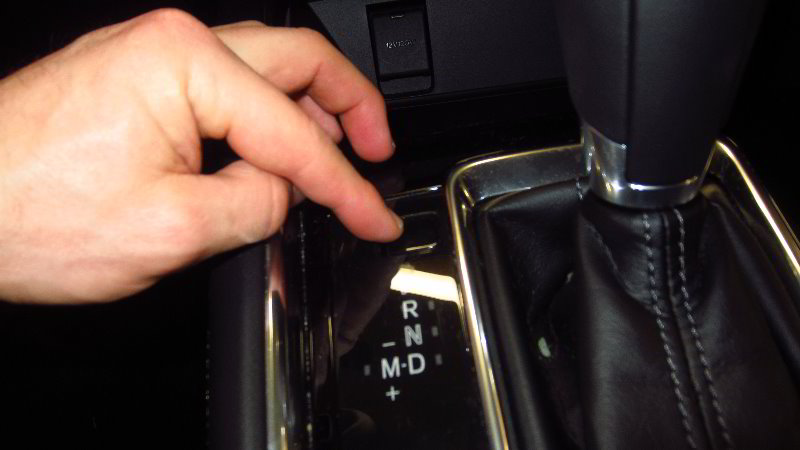
Remove the screw at the bottom of the well in the door pull handle by turning it in the counterclockwise direction with the Phillips head screwdriver.

Set the armrest screw on top of the rubber cover.
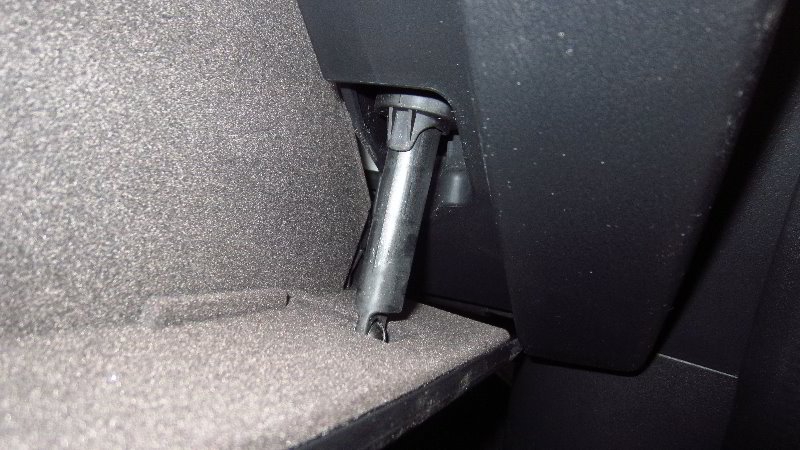
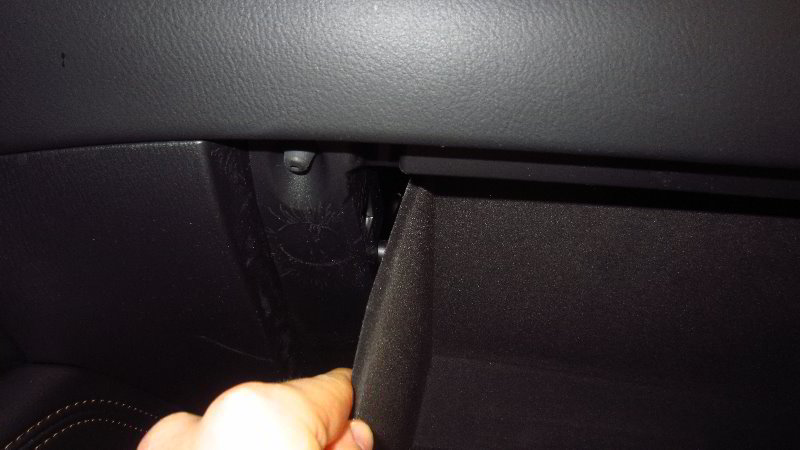
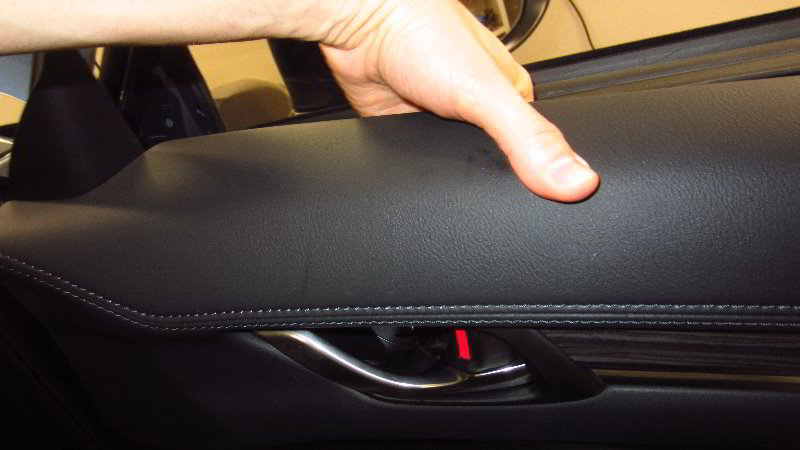
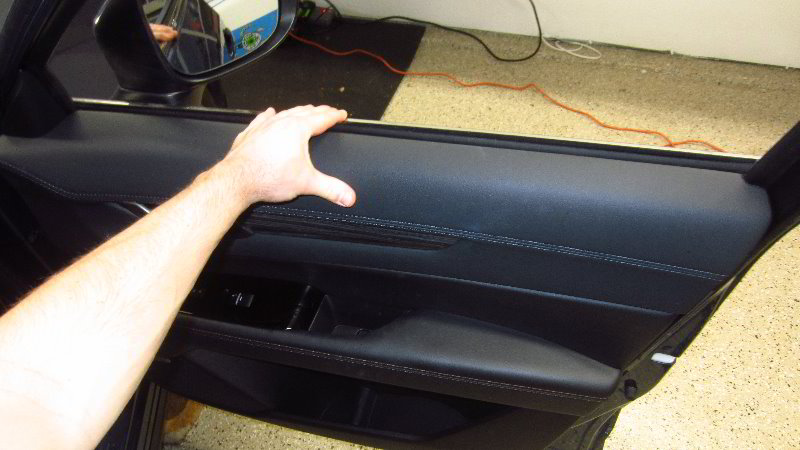
Move to the bottom edge of the door panel.
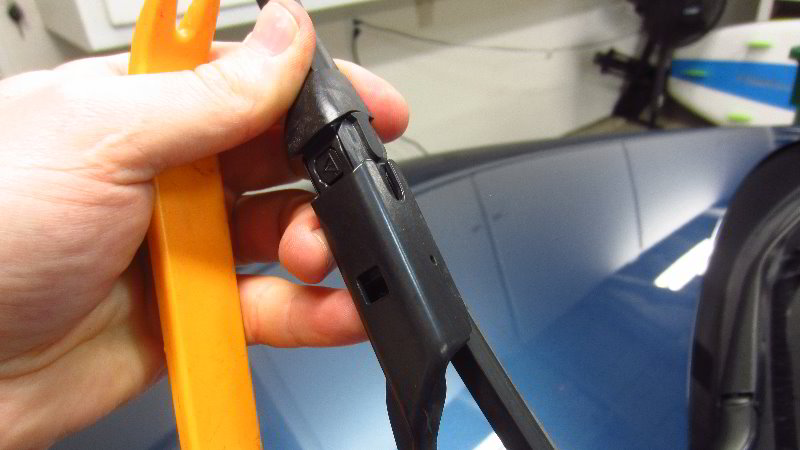
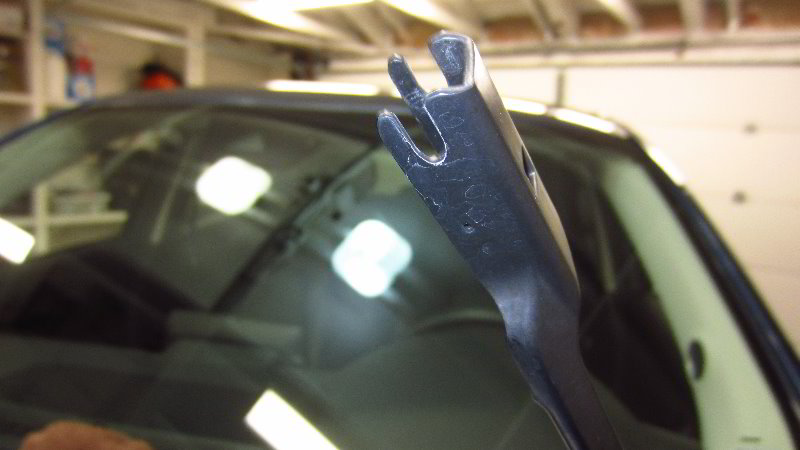
Insert the large plastic pry bar tool (also known as a trim panel removal tool) in between the bottom edge of the door panel and the metal door frame.
Firmly pull out the pop rivet friction fasteners all along the bottom edge and both sides of the door panel.
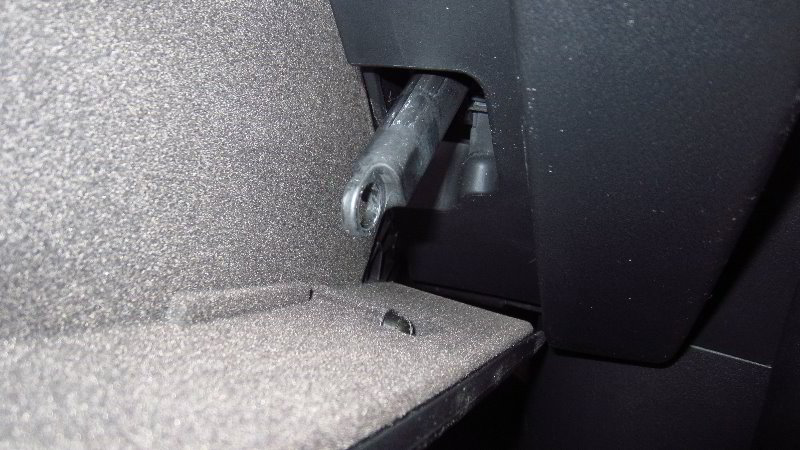
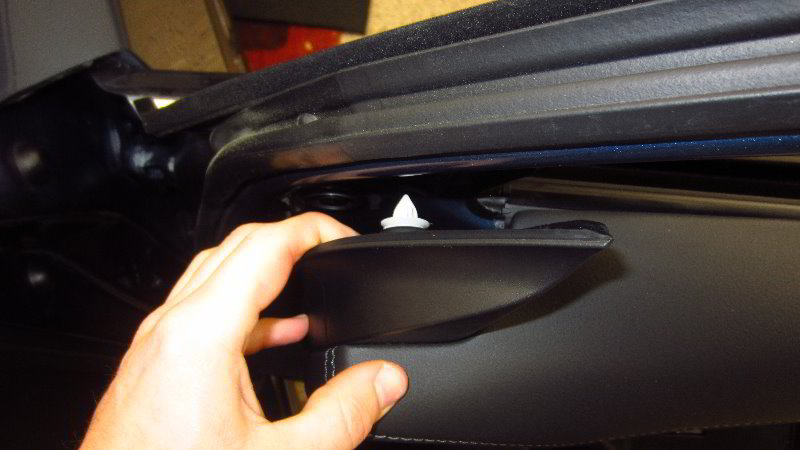
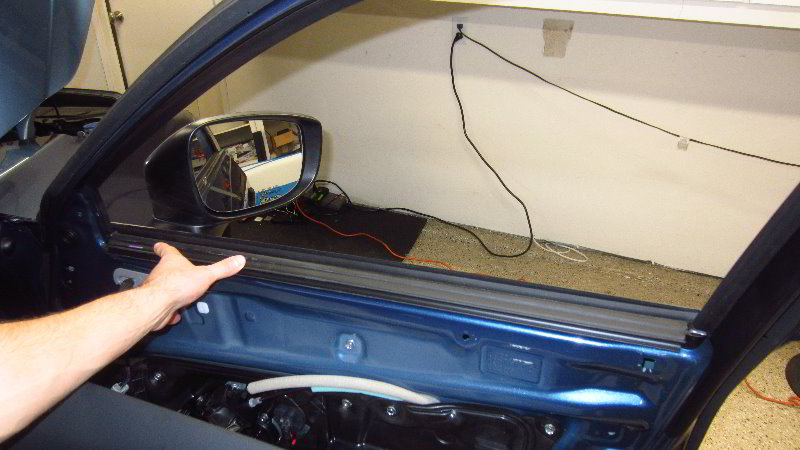
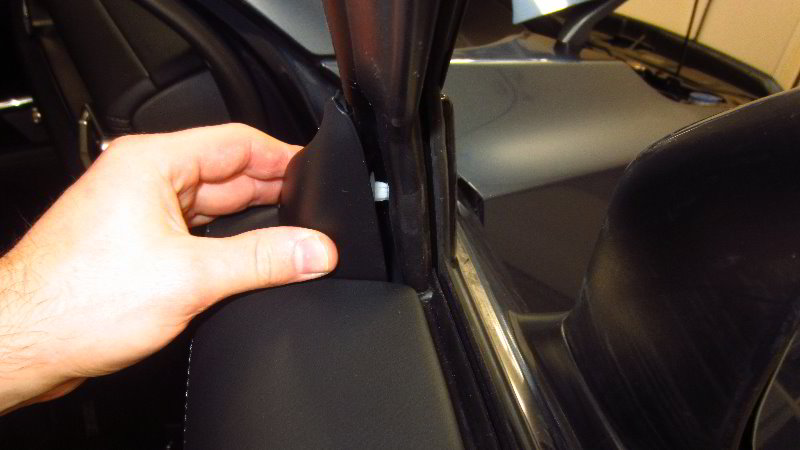
Move to the top inner edge and release that pop rivet (close to the side view mirror).
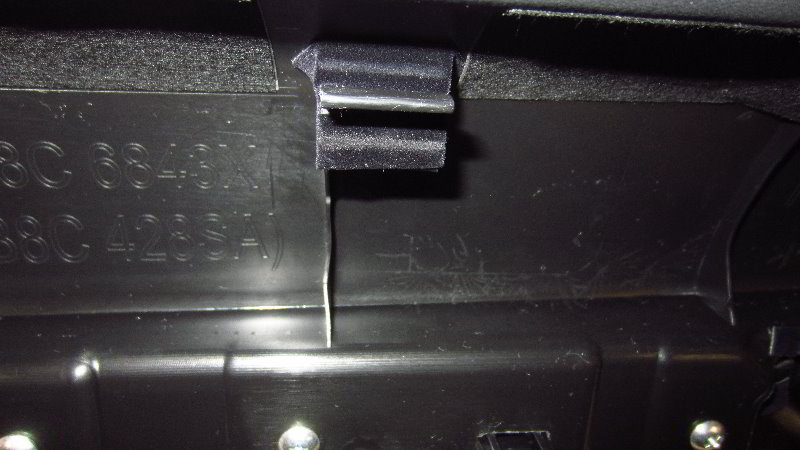
There is one more fastener at the top outer edge of the door panel. Unfortunately, I broke this retaining clip when removing the door panel. It still went back on securely so don’t worry if you break that clip.
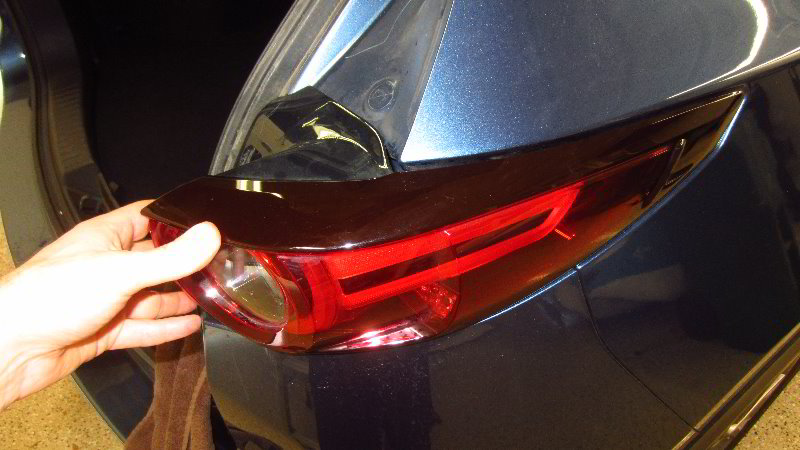
Carefully lift the door panel off the upper lip of the metal door frame.
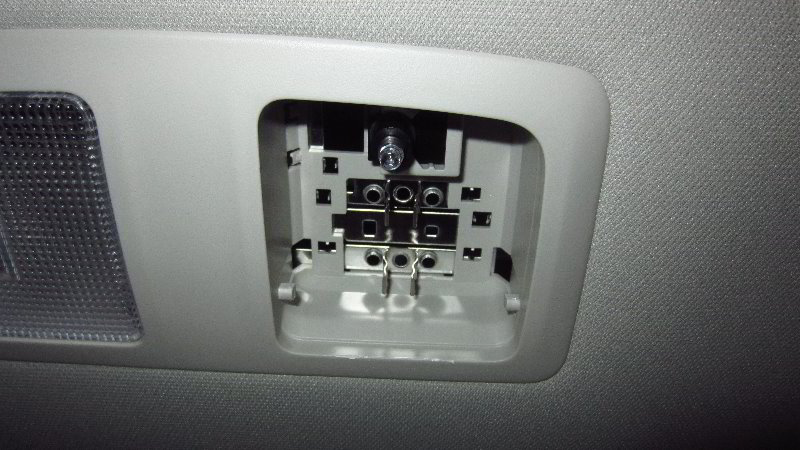
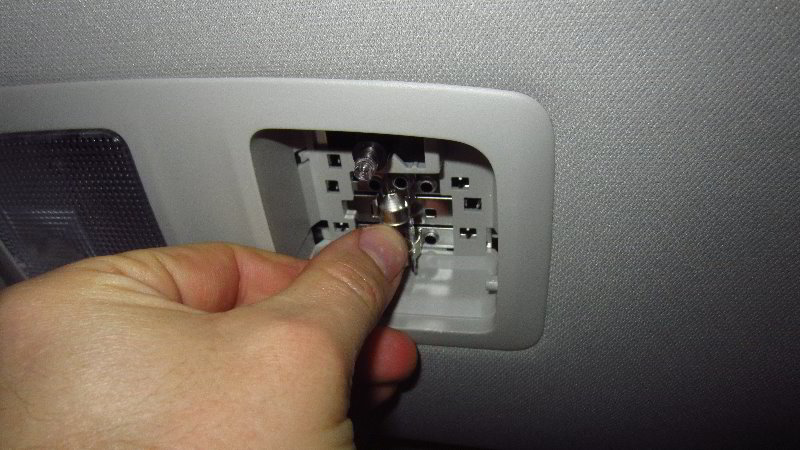
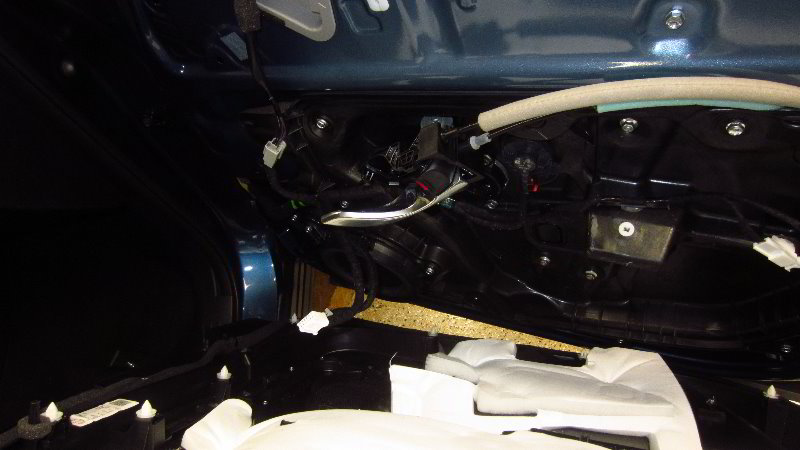
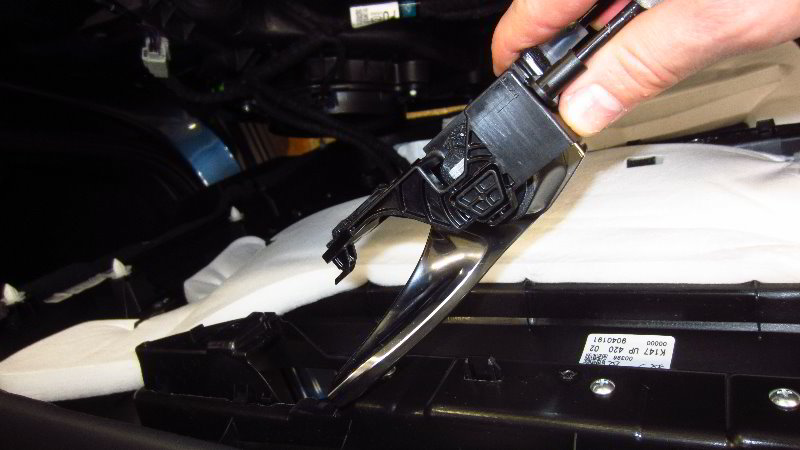
Locate the electrical connectors on the back side of the door panel.
Push in the release tabs and slide the power plugs straight out of their sockets.


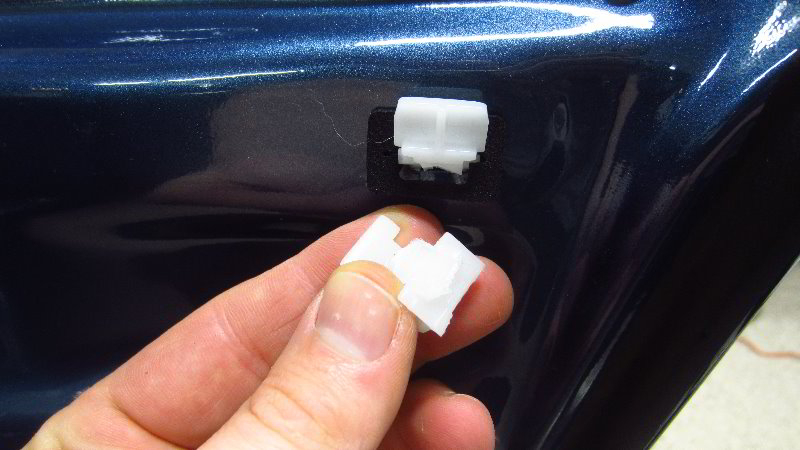
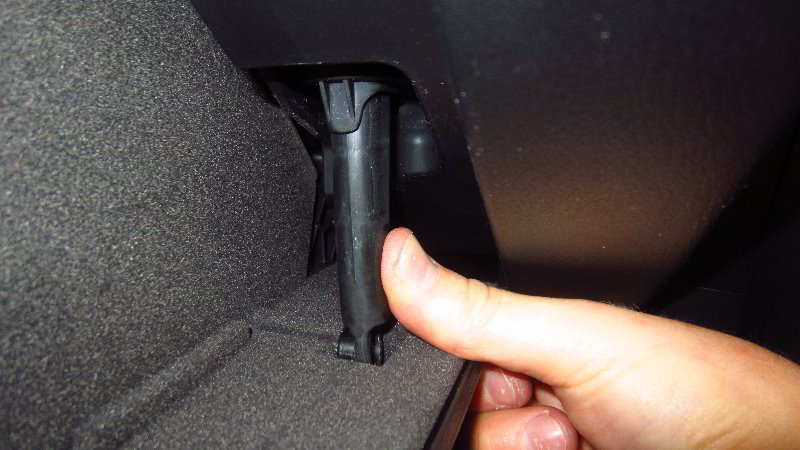
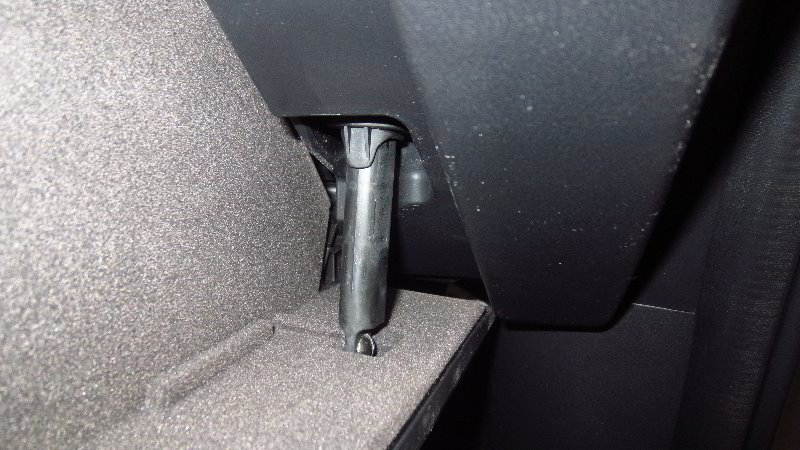
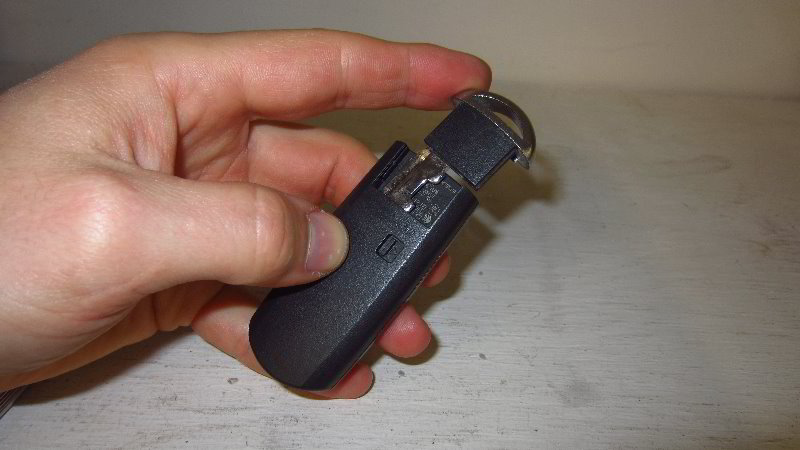
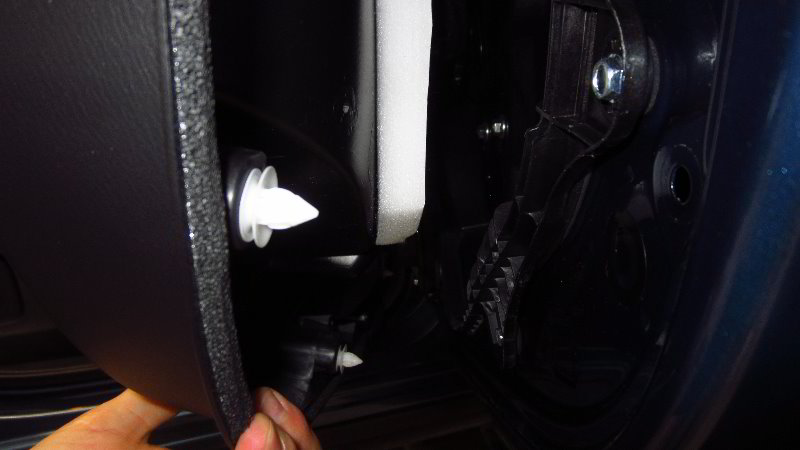
In the third picture above, you’ll see the plastic retaining clip that I broke while removing the door panel.
Breaking that clip didn’t seem to matter much since the door panel still feels very secure after re-installing it.
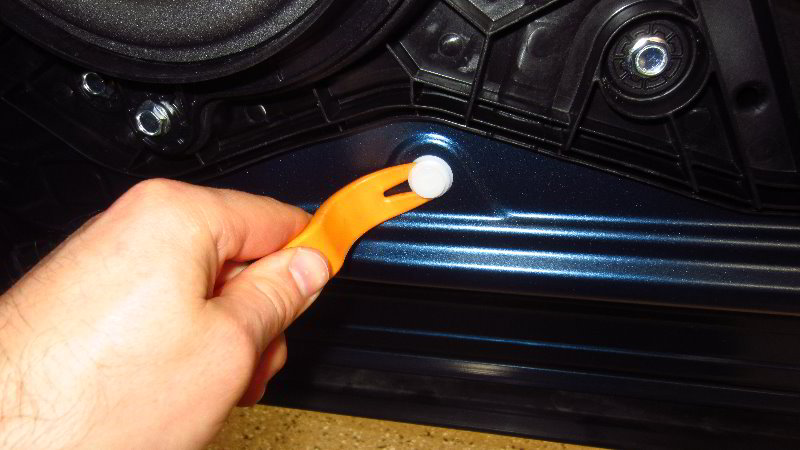


Check for any pop rivets that remained stuck to the door panel.
Reattach any stuck pop rivets back to their correct location on the door panel.

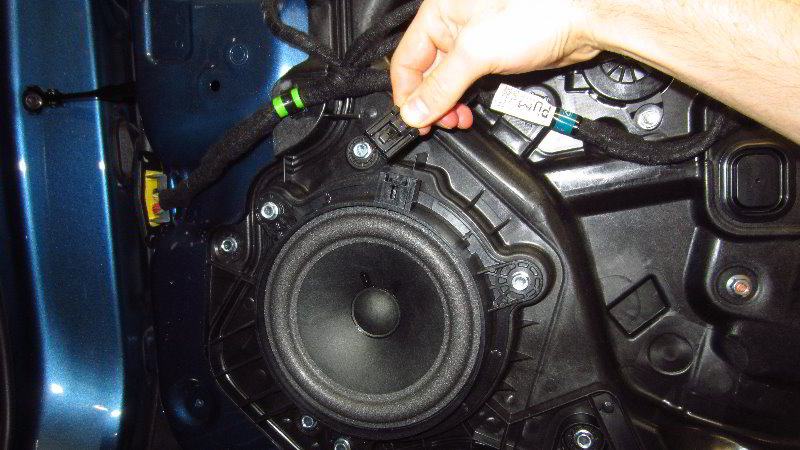

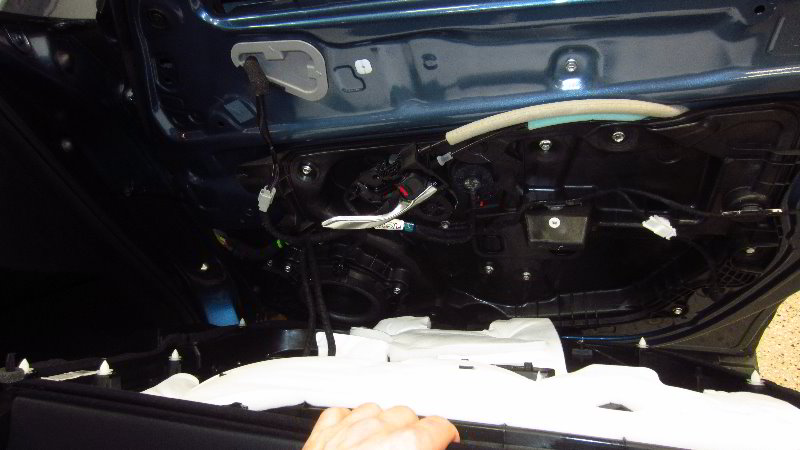
The OEM (original equipment manufacturer) front door speaker is located at the bottom front corner of the door frame.
Push in the release button on the electrical connector before sliding it straight out of its socket.
To remove the old speaker, loosen the three screws in the counterclockwise direction with the 10mm socket and a 1/4″ drive ratchet.


Set the three screws aside in a safe place.
Pull the old speaker straight out of the door frame.
The OEM front door speakers can be replaced with aftermarket speakers in the following sizes: 6 3/4″ and 6 1/2″.
For the best results, I highly recommend adding some Dynamat sound deadener to the metal door frame and the back side of the plastic door panel to help stop any vibrations or rattles when you crank up the volume.
(The power window motor is located near the center of the door frame. The window motor is also held in place by 10mm bolts.)

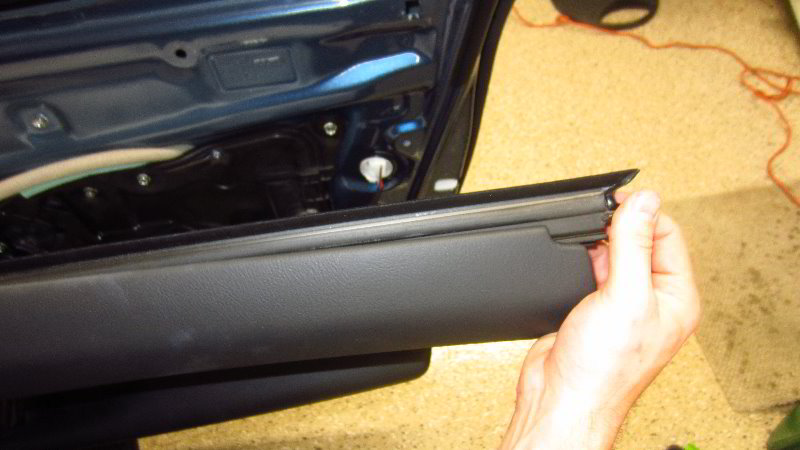
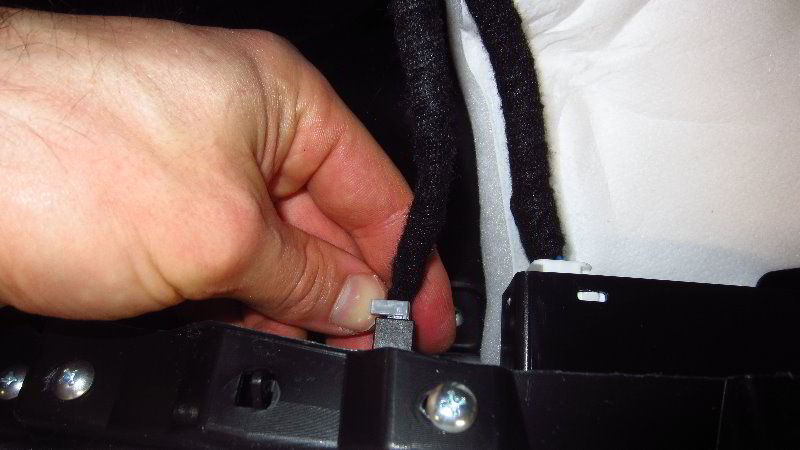
You might be able to reinstall the door panel with out the extra step of taking off the black rubber weatherstripping.
I had to slide the weather strip out of the door panel and reattach it to the top of the metal door frame to make it easier to reinstall the door panel.
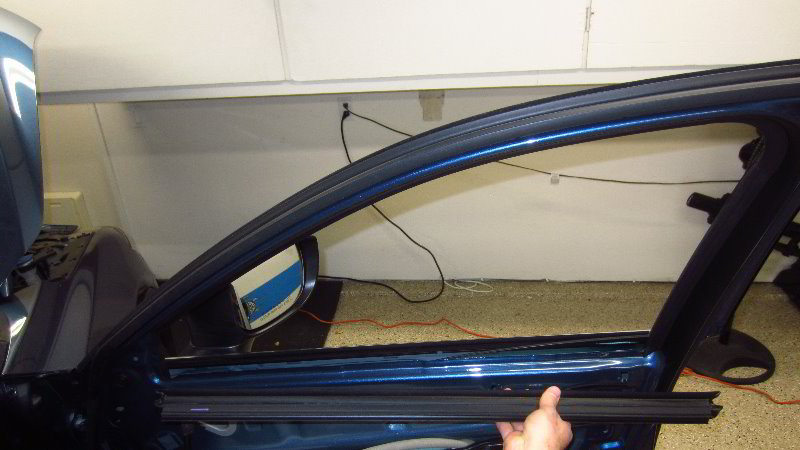
Make sure the weather stripping is properly installed on to the top lip of the metal door frame by the window pane.
There are some clips on the back side of the door panel that will pop on to the weatherstripping.
Re-insert the door opener handle and door lock rocker switch through the opening in the back side of the door panel.
Carefully hang the top of the door panel over the door frame and on the weatherstripping.


Push in the pop rivet at the top inner corner of the door panel (close to the side view mirror).
Line up the pop rivets on the back side of the door panel with their corresponding holes in the door frame.
Firmly tap in all of the pop rivets all along the bottom edge and both sides of the door panel.


Replace the screw into the bottom of the armrest well and tighten it in the clockwise direction with the Phillips head screwdriver until it is snug.
Replace the screw behind the door opener handle by turning it in the clockwise direction with the Phillips head screwdriver until it is snug.
Try to avoid over tightening the screws to prevent from cracking the plastic door panel.
Lower the rubber cover down into the bottom of the well.

Push the plastic trim piece behind the door opener handle. You should feel or hear the trim cover “click” securely into place.
Sit in the vehicle, close the door and verify that the door opener handle, door lock rocker switch, new speaker, power window switch and the power door lock switch are all still working properly.
Be sure to write down the speaker upgrade in your vehicle’s service records.
Please check out all of my 2017-2022 Mazda CX-5 DIY Repair & Maintenance Guides.