
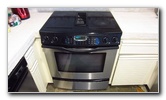
Jenn-Air Oven
Light Bulb Replacement Guide
How to change a burnt out oven light bulb
in a Jenn Air range including the compatible replacement part number.

 Jenn-Air Range |
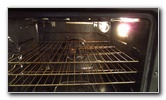
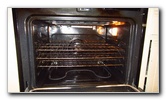 Oven Racks & Light |
 Oven Light - Right Side |
| This
appliance maintenance tutorial was specifically written to assist
owners of a Jenn-Air range in changing a burnt out light bulb inside
the oven. Owners of other appliances made by the Whirlpool corporation including KitchenAid, Amana, Kenmore and Maytag may also find these DIY instructions to be helpful. The compatible replacement two pin 12V 10W halogen light bulb part number is Osram 64415S. The only tool needed to access and replace the light bulb is a small flathead screwdriver or a plastic pry bar tool. (Avoid the temptation to upgrade the oven light to an LED unit since those have plastic parts that will melt in the high temperatures and release toxic gases.) |
||
|
|
||
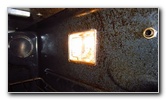
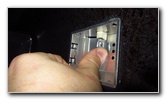
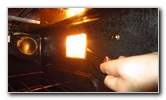 Pry Out Glass Cover |
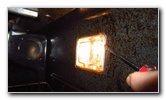 Thick Glass Lens Cover |
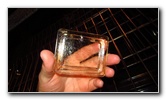 Glass Cover Removed |
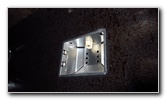
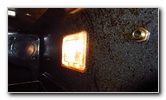
| Make sure the oven
is completely cool before continuing.
Open the oven door and locate the light housing on the right side wall. Use a small flathead screwdriver or a plastic pry bar tool to gently pull off the glass access cover. |
||
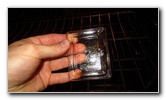 |
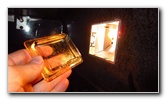
 Old Light Bulb In Socket |
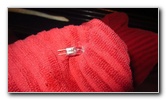 Pull Out Old Light Bulb |
| Set the glass lens
cover aside in a safe place. If the old light bulb was recently turned on, be careful when you remove it. The bulb might still be hot enough to burn your fingers. Pull the old light bulb down and straight out of the socket. |
||
|
|
||
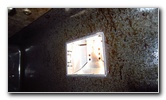
 Empty Bulb Socket |
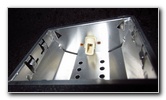 Two Pin Socket |
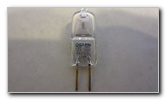 Old Halogen Light Bulb |
| Discard the old
light bulb. The OEM light bulb is part number Osram 64415S. |
||
 Push In New Light Bulb |
 New Light Bulb Installed |
 Line Up Glass Cover |
| Push a new light
bulb straight into the socket. Make sure the new light bulb is fully seated in the socket. Line up the thick glass cover with the light housing. |
||
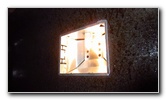
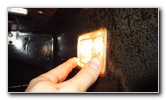 Lens Cover Replaced |
 Test New Light Bulb |
 Oven Light Bulb Replaced |
| Gently push the
glass cover back into place. Make sure the glass cover is securely attached. For more, please check out my other
Home Repair &
Maintenance DIY Guides. |
||
| If you found this guide to be helpful,
please consider making a small donation by clicking on the PayPal.com
"Donate" button located to the right of this paragraph. Thank you!
(Note: I am not a registered charity. Donations are not tax deductible.) |