
Honda CR-V Engine Air Filter
Replacement Guide
How to clean or change the engine air
filter element in a 3rd generation 2007 to 2011 Honda CR-V with the K24Z motor.

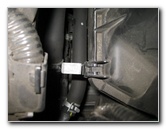
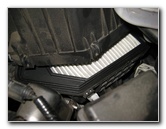
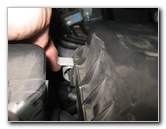
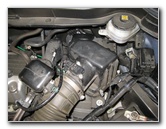
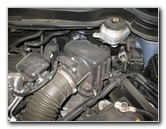 2011 CR-V Engine Air Box |
 Metal Latch Fasteners |
 Two Latches On Each Side |
| This
automotive maintenance tutorial was specifically written to assist owners of the
third generation (2007, 2008, 2009, 2010 & 2011) Honda CR-V in
cleaning or changing the engine air filter element in the K24Z
series of 2.4L I4 motors. Owners of other Honda or Acura vehicles with similar engine air boxes such as the Pilot, Insight, CR-Z, Accord, Civic, Fit, Crosstour, Odyssey, Ridgeline, TSX, ILX, TLX, TL, RLX, RDX and MDX may also find these DIY instructions to be helpful. A few compatible replacement filters with their part numbers include the following: Honda 17220-REZ-A00, K&N 33-2437, Fram CA10885, Beck Arnley 042-1819, Wix # 49230, Ecogard XA6119, Mahle LX 3019 and Champ / Champion Labs AF4067. No tools are needed to replace the filter. A wet/dry shop vacuum can be useful for cleaning sand and debris out of the bottom of the air box. |
||
|
|
||
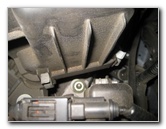
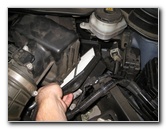
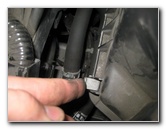
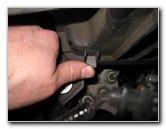
 Flip Off Metal Latch |
 Fastener Released |
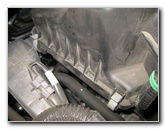
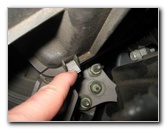 Release 3rd Fastener |
| The engine air box
is located on the right (driver) side of the engine bay near the brake fluid
reservoir and behind the 12V automotive battery. The top half of the air box is held in place to the bottom half by four metal latches with one located at each corner. Release the metal latches by pulling them off and away from the top half of the air box. |
||
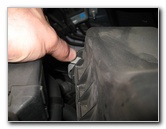
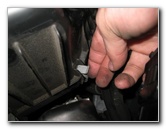
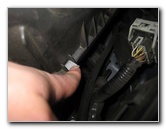 4th Metal Latch Released |
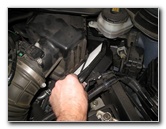
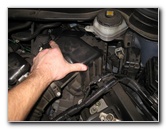
 Lift Off Top Half Air Box |
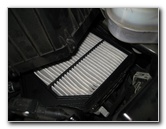
 Old Filter Exposed |
| Carefully lift up the top half of the air box to reveal the old air filter. | ||
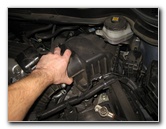
 Pull Out Old Air Filter |
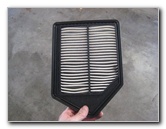 Inspect Both Sides |
 Clean With Vacuum |
| Pull the old air
filter out of the bottom half of the box and inspect both sides. If the old filter is relatively clean, just tap out any large debris and remove any fine dust with a vacuum. If the old filter is dark grey or black and clogged with dirt, dust, hair, insects, leaves, twigs and pollen, it should be replaced with a new element. I recommend buying the genuine OEM Honda 17220-REZ-A00 engine air filter since it has excellent reviews on Amazon. |
||
|
|
||
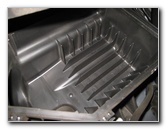 Clean Bottom Half Air Box |
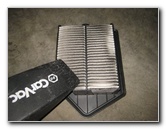
 Insert New Air Filter |
 New Filter Installed |
| If your vacuum has
a crevice attachment, clean out the bottom half of the air box. Orientate the new filter in the correct position and insert it in to the lower half of the air box with the pleats facing down. |
||
 Replace Top Half Air Box |
 Lift Up Metal Latch |
 Secure Fasteners |
| Lower the top half
of the air box in place over the new filter. Swing up the four metal latches and snap them in place over the top half of the air box to secure it in place. |
||
 Flip Up 3rd Fastener |
 Secure 4th Metal Latch |
 Engine Filter Replaced |
| Make sure that the
two halves of the air box are flush together with no part of the filter
visible. Be sure to record the filter change in your vehicle's service records. For more,
check out my other
Honda CR-V Repair & Maintenance Guides. |
||
| If you found this guide to be helpful,
please consider making a small donation by clicking on the PayPal.com
"Donate" button located to the right of this paragraph. Thank you!
(Note: I am not a registered charity. Donations are not tax deductible.) |