GMC Acadia V6
Engine Air Filter Replacement Guide
How to clean or change the engine air
filter for a 1st generation 2009 to 2016 GMC Acadia with the 3.6L LLT V6 motor.
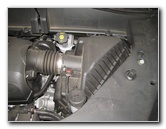 2016 Acadia Engine Air Box |
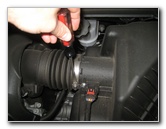 Loose Metal Hose Clamp |
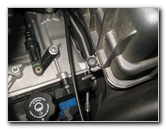 Six Air Box Screws |
| This
automotive maintenance tutorial was specifically written to assist
owners of the first generation (2009, 2010, 2011, 2012,
2013, 2014, 2015 & 2016) GMC Acadia equipped with the 3.6 liter
LLT V6 motor in cleaning or changing the engine air filter element. Owners of other General Motors vehicles such as the Buick Verano, Regal, LaCrosse, Cascada, Encore, Enclave, Envision, GMC Canyon, Sierra 1500, Terrain, Yukon, Denali, Savana, Spark, Sonic, Cruze, Malibu, Impala, Volt, Camaro, Corvette, SS, Trax, Equinox, Traverse, Tahoe, Suburban, Colorado, Silverado and Express may also find these DIY instructions to be helpful. The tools needed to complete this procedure include a flathead screwdriver and a Torx T25 star bit screwdriver. A few compatible replacement filters with their part numbers are as follows: Fram CA10110, K&N 33-2394, Wix 49634, ACDelco A3083C, Purolator A66313, Hastings AF1377, AEM 28-20394, GKI AF101110 and Pentius PAB10110. |
||
|
|
||
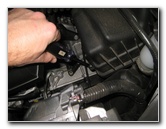 Loosen Counterclockwise |
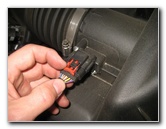 Slide Back Red Lock Tab |
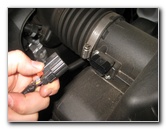 Pull Off Electrical Connector |
| The first two steps
are to open the hood and then move to the right side of the engine bay. The engine air box is located on the right side in between the brake fluid reservoir and the windshield washer fluid filler tube. There are six screws that hold the top cover of the engine air box in place. Loosen the metal hose clamp on the air intake hose by turning the screw counterclockwise with a flathead screwdriver. Then slide back the red locking tab on the electrical connector for the IAT / AIT (air intake temperature) sensor before pressing the release tab and sliding it straight out of its socket. |
||
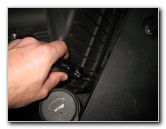 2nd Screw |
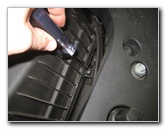 3rd Screw |
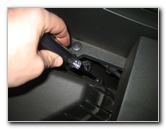 4th Screw |
| Remove the 5 visible screws by turning them counterclockwise with a Torx T-25 star bit screwdriver. | ||
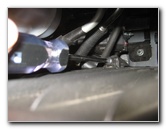 Remove 5th Screw |
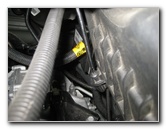 6th Screw Location |
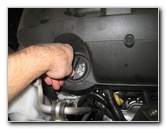 Remove Oil Filler Cap |
| Set the 5 screws
aside in a safe place. To access the sixth screw, you'll need to remove the black plastic engine cover and the plastic air intake tube. Spin off the engine oil filler cap by turning it 1/4 turn counterclockwise. Set the oil filler cap aside in a safe place. |
||
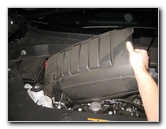 Pull Off Plastic Engine Cover |
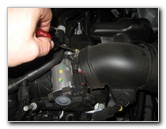 Loosen Air Intake Clamp |
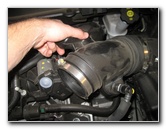 Pull Off Air Intake Hose |
| Gently pull the
plastic engine cover straight off and set it aside in a safe place. Loosen the hose clamp on the plastic air intake tube by turning it counterclockwise with the flathead screwdriver. |
||
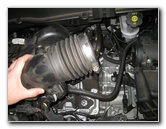 Disconnect Air Box Hose |
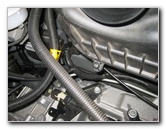 Sixth Screw Accessible |
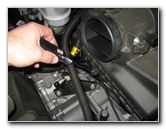 Loosen Counterclockwise |
| Remove the air
intake hose and set it aside in a safe place. Now you can finally access the 6th and final air box cover screw. Loosen the screw by turning it counterclockwise with the Torx T25 screwdriver. |
||
|
|
||
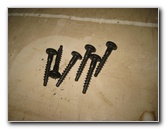 6 Torx T25 Screws Removed |
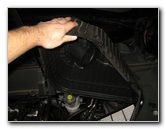 Pull Off Air Box Cover |
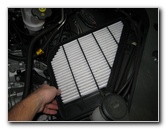 Pull Out Old Engine Filter |
| Set the sixth screw
aside with the other 5 screws. Lift the engine air box cover off the lower half and set it aside in a safe place. |
||
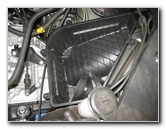 Clean Out Lower Half |
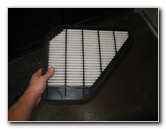 Inspect Both Sides |
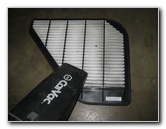 Clean With Vacuum |
| If your vacuum
cleaner has a crevice attachment, clean out any sand, dust, dirt, pollen,
debris, insects, leaves, or twigs from the bottom half of the air box. Inspect both sides of the old filter. If the old filter is dark grey or black and clogged with soot, dust, dirt, insects, hair and other debris, it should be replaced with a new element. I recommend buying either the GM OEM ACDelco A3083C filter or the Fram CA10110 filter since they both have excellent reviews on Amazon. If you'd prefer to have a re-usable filter, go with the K&N 33-2394 filter which will need to be washed and re-oiled every 50,000 miles. If the old filter is relatively clean, just tap out the large debris and remove any fine dust with a vacuum cleaner. |
||
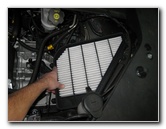 Install New Air Filter |
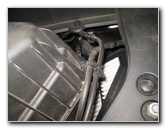 Line Up Air Box Cover |
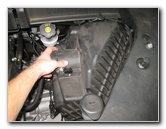 Lower Air Box Cover |
| Lower the new air
filter in to the bottom part of the air box. The filter's shape will only allow it to be installed in the correct orientation. Carefully lower the air box cover on to the bottom half of the box. Make sure that the two halves of the air box are flush together with no parts of the new filter visible. Replace the sixth screw that will be blocked by the air intake assembly. Turn it clockwise with the Torx T25 screwdriver. |
||
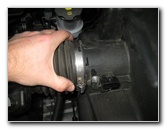 Push On Air Intake Hose |
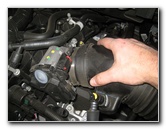 Slide On Engine Air Intake |
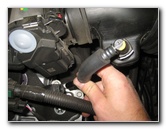 Re-Insert Rubber Hose |
| Push the rubber air
intake hose on to the air box. Slide the black plastic air intake tube on to the silver metal engine air intake. Re-insert the smaller rubber hose on the front of the air intake tube in to the larger hose attached to the engine. |
||
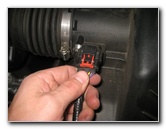 Push In Sensor Connector |
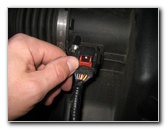 Slide In Red Locking Tab |
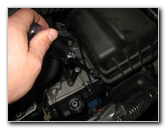 Tighten T25 Screws |
| Push the air intake
temperature sensor electrical connector straight in to its socket. Slide in the red lock tab to secure the plug in place. |
||
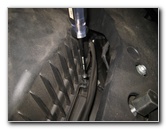 Tighten Clockwise |
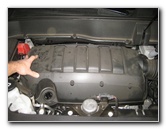 Push On Plastic Engine Cover |
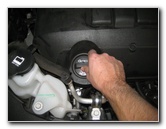 Replace Oil Filler Cap |
| Tighten the other 5
screws in the clockwise direction until they are snug. Try to avoid over tightening the screws to prevent from cracking the plastic air box assembly. Push the plastic engine cover back in to place and spin on the oil filler cap in the clockwise direction. Be sure to record the engine air filter change in your SUV's service records. For more, check out my other
2007-2016 GMC Acadia DIY Repair & Maintenance Guides. |
||
| If you found this guide to be helpful,
please consider making a small donation by clicking on the PayPal.com
"Donate" button located to the right of this paragraph. Thank you!
(Note: I am not a registered charity. Donations are not tax deductible.) |

